There are multiple ways for you to create a self-signed certificate. The steps in this topic include KeyStore Explorer, a free third-party utility. This product is not supported by IDERA and is only an example.
IDERA Dashboard must be installed prior to performing this task.
IDERA users in environments that have not yet added a certificate signed by a Certification Authority (CA) receive a warning message in their browser each time they attempt to open the SSL version of the IDERA Dashboard. Note that the default certificate provided with an IDERA product is not signed by any well-known CA and is intended only for use in testing purposes ONLY. You can resolve this issue by adding a signed CA using the steps provided in Run IDERA Dashboard over TLS or SSL, or you can use the following steps to resolve this issue at no certificate cost.
To resolve the certificate message at no cost
- Download the free KeyStore Explorer utility from the following website:
http://keystore-explorer.sourceforge.net/ - Install the utility.
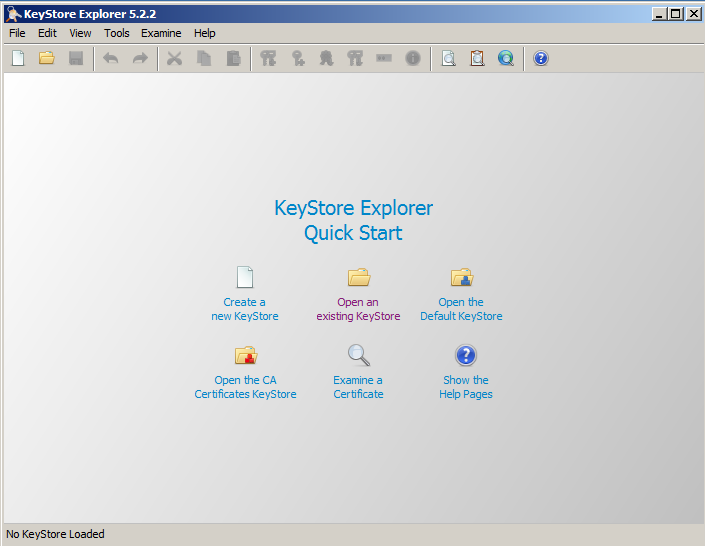
- Open KeyStore Explorer. KeyStore Explorer displays the following Quick Start options. On launch, it may ask you to download an updated Java Cryptography Extension (JCE) Unlimited Strength file.
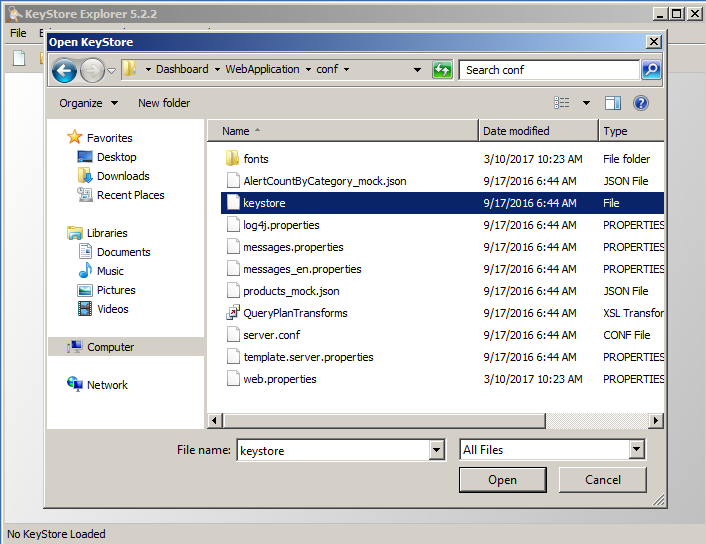
- Open the KeyStore Explorer console by clicking Open an existing KeyStore. KeyStore Explorer displays the Open KeyStore window.
- Browse to the IDERA Dashboard \conf directory (e.g. C:\Program Files\Idera\Dashboard\WebApplication\conf), and then open the keystore file.
KeyStore Explorer displays the Unlock KeyStore window. - In the Enter Password field of the Unlock KeyStore window, type:
password
and then click OK.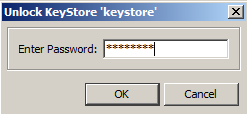
KeyStore Explorer displays a list of any existing certificates, as shown in the following image.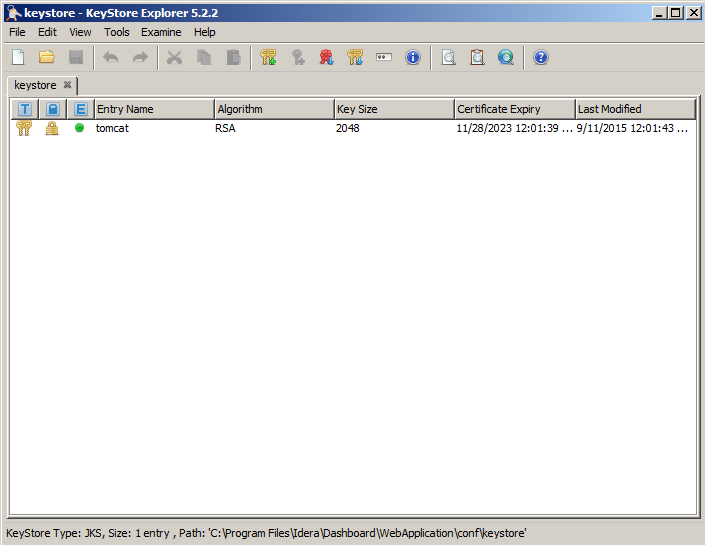
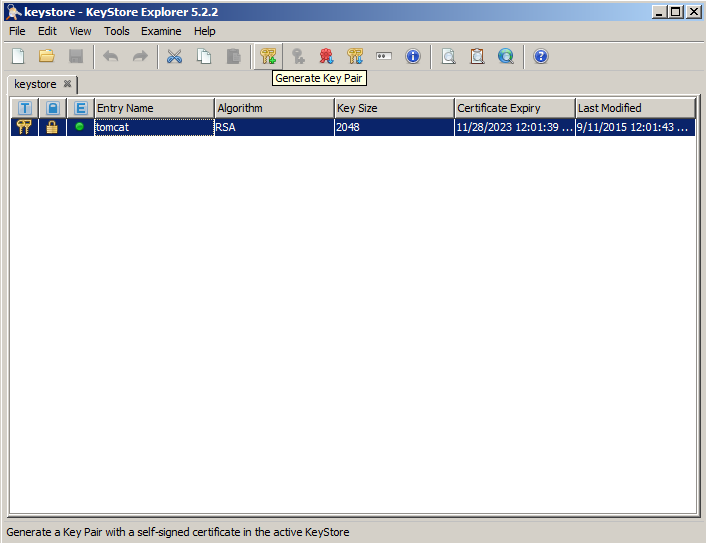
- Create a new key pair by selecting the existing key, and then clicking the Generate Key Pair icon, as shown in the following image.
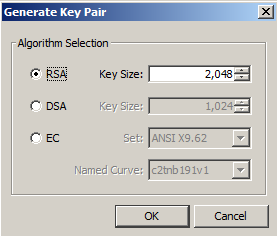
- In the Generate Key Pair window, verify the proper algorithm is selected, and then click OK.
KeyStore Explorer begins to generate a new key pair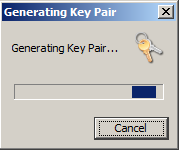
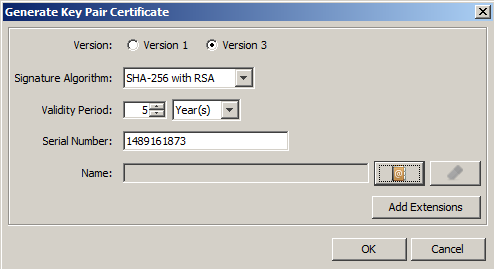
and then displays the Generate Key Pair Certificate window. - In the Generate New Pair Certificate window, make the following changes:
- In the Signature Algorithm list, select SHA-1 with RSA or SHA-256 with RSA. This example uses SHA-1 with RSA.
- In the Validity Period fields, select the number of years the certificate is valid. This example uses 5 years.
- Click the Edit Name icon to enter identifying information.
KeyStore Explorer displays the Name window. - In the Name window, complete each of the available fields. The entry in the Common Name (CN) field should correlate with the name of the website.
In essence, the name that you provide should match the URL that you intend to use. For example, the following image shows an entry that creates a certificate for https://localhost.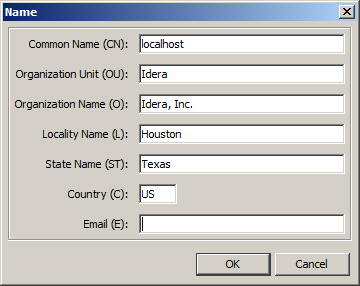
Click OK. KeyStore Explorer displays the New Key Pair Entry Alias window.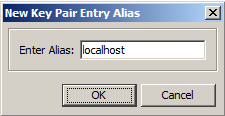
- Verify that the displayed alias matches the name of your website, and then click OK.
KeyStore Explorer displays the New Key Pair Entry Password window. Type and confirm the password you want to use for the key pair, and then click OK.
This password must match the password entered in step 6.
In this case, type the following password in both input boxes:
password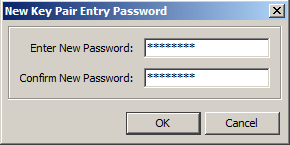
KeyStore Explorer displays a message stating that the key pair generation is successful.- Click OK to close the success window, and then verify the new line in the KeyStore Explorer certificate list, as shown in the following image.
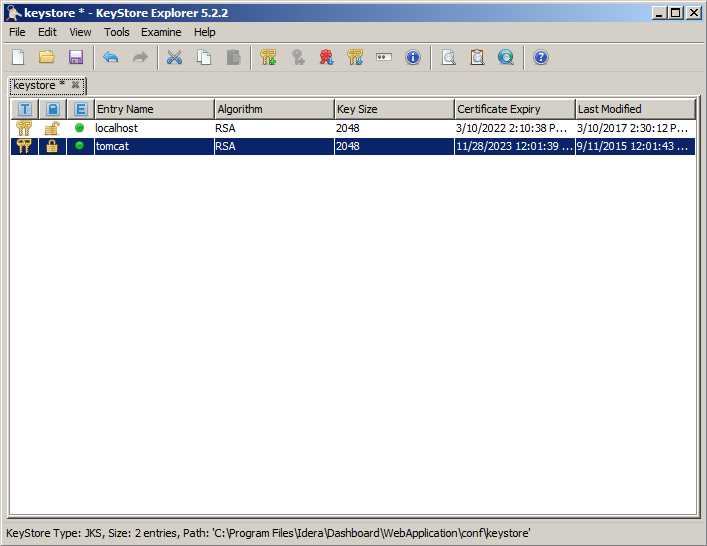
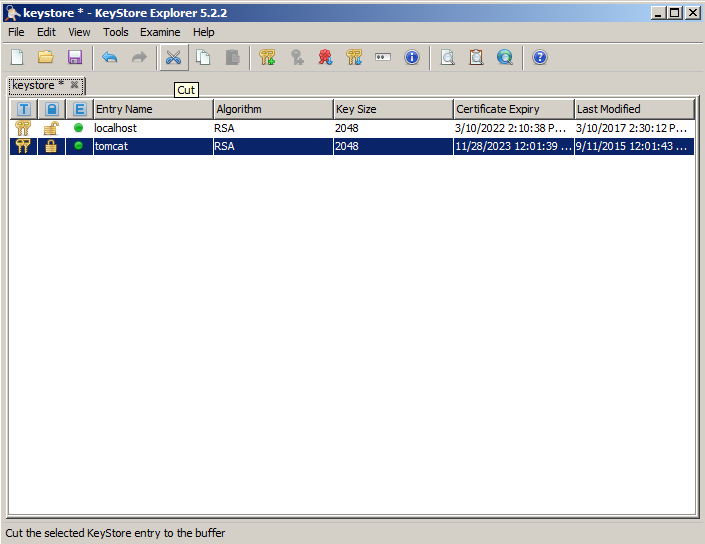
- Delete the old certificate by selecting the appropriate line, and then clicking the Cut icon, as shown in the following image.
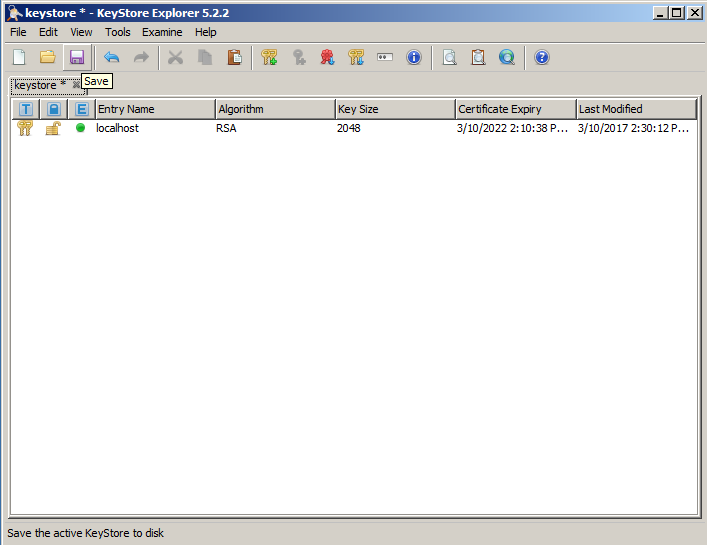
- Click the Save icon, as shown in the following image.
- Restart the IDERA Dashboard Web Application service.
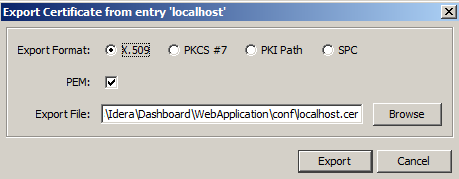
- Double-click on the certificate that you created to see the details.
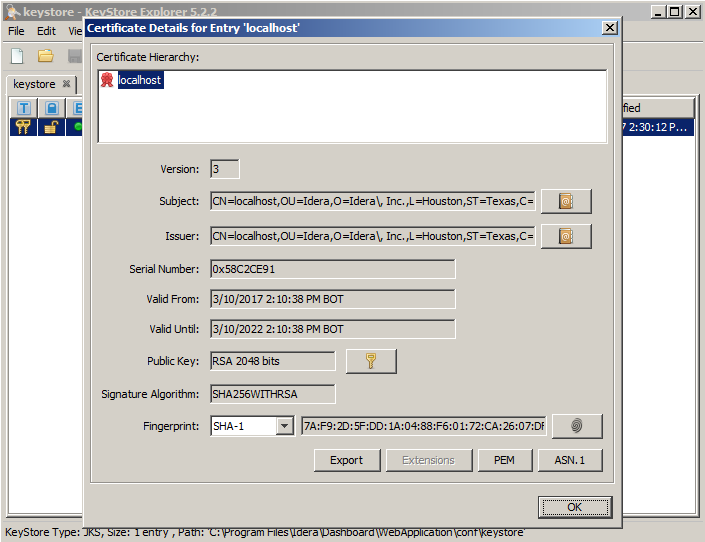
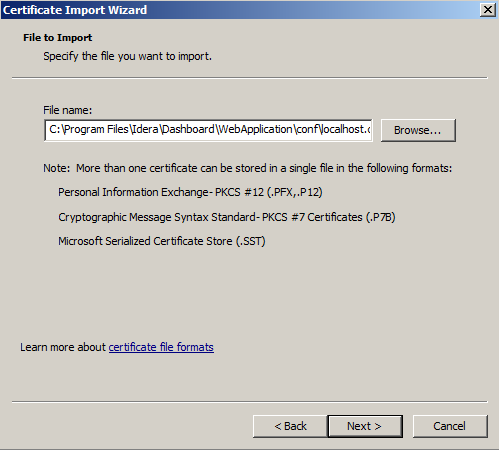
- Click Export and save the certificate to conf directory in the IDERA Dashboard conf directory (e.g. C:\Program\Files\Idera\Dashboard\WebApplication\conf\)
Click OK on the certificate details window to close it.

Open Certificate Manager by pressing Win+R to summon the Run dialog box, type certmgr.msc, and press ENTER.
If you are prompted for an administrator password or confirmation, type the password or provide confirmation.
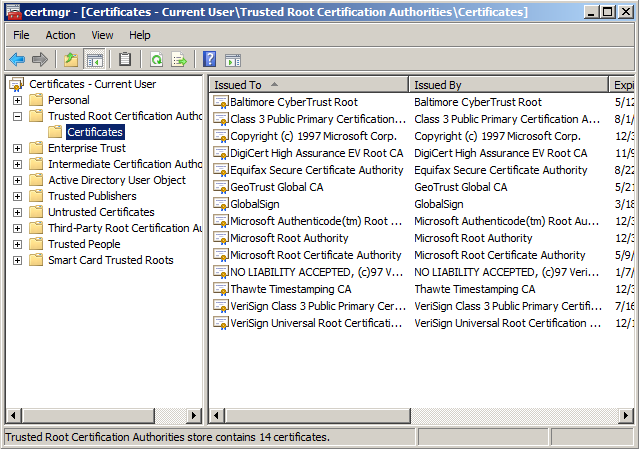
Right-click on the Trusted Root Certification Authorities > Certificate node and select All Tasks > Import.

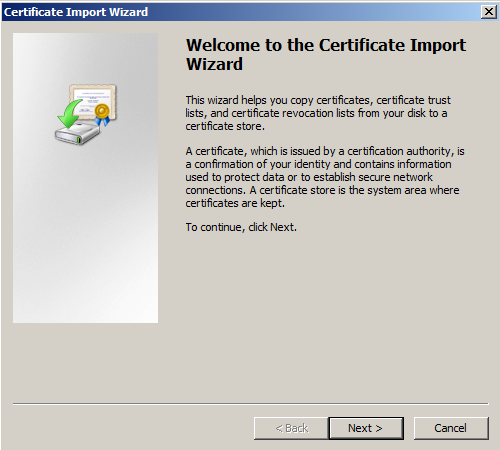
On the Certificate Import Wizard, click Next.
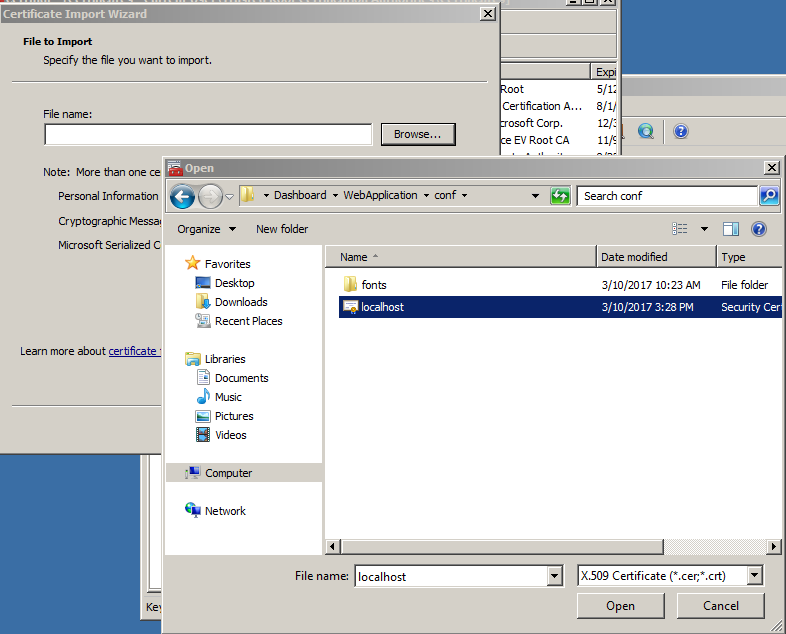
Select the certificate that was exported and click Open.
Click Next.
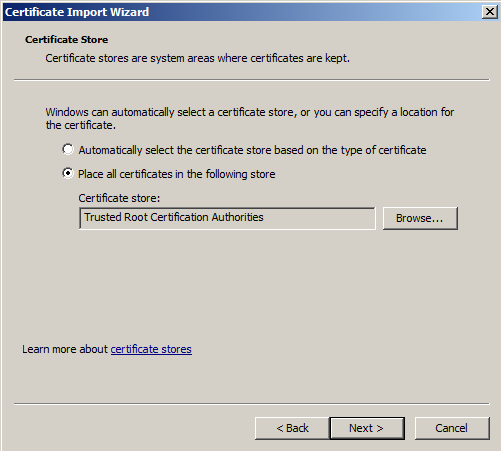
- Select Place all certificates in the following store. The correct store would be Trusted Root Certificate Authorities. Then click next.
- Click Finish.

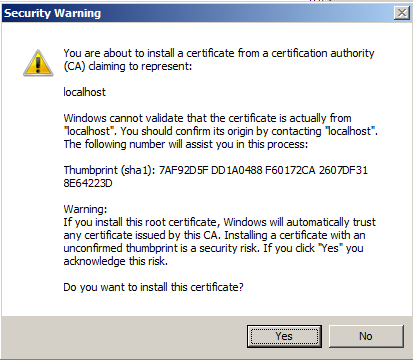
- Select Yes.
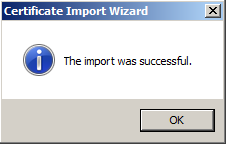
- Click Ok on the confirmation window.
- At this point, you will need to close any browser that is open and then attempt to access the IDERA Dashboard.