If you want to access to the complete list of tags across all your environment, use the following options:
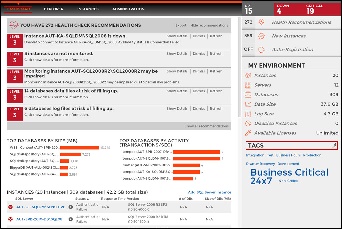
- Dashboard - pencil icon on the Tag section of the right sidebar.
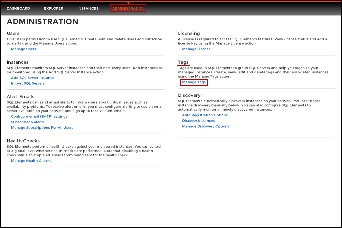
- Administration tab - Manage Tags section
Below you can see the respective tabs and sections where you can find the Manage Tags option. Click the image to view full size.
|
|
In the Manage tags window you can:
- Add new tags
- Edit the list of instances associated with a tag
- Delete tags
Tip
On the Manage tags list of this section, if you click on any tag name, SQL Elements opens the respective dialog window for editing that tag.
Add a new tag
If you select this option, SQL Elements opens a new dialog window.
Type the name of the new tag you wish to add, or type several names separating them with a semicolon.
Below the name field, you can see a list of your environment´s registered instances; select those instances you wish the new tags to be associated with. Click Save.
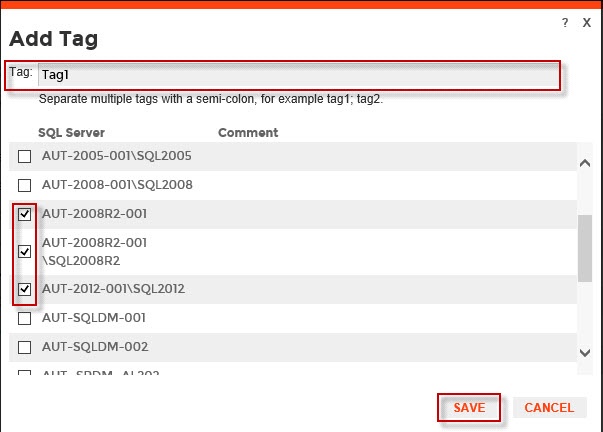
Warning
- The tag name must begin with an upper or lowercase alphanumeric character.
- Your tag name must have a maximum length of 20 characters.
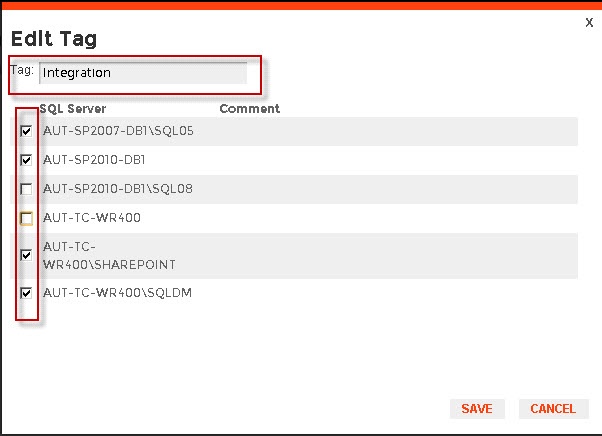
Edit a tag
Editing a tag lets you rename the tag or change which instances are associated with the tag.
To edit a tag, select the checkbox next to the tag you want to edit and click Edit. You can also access this option by clicking directly on the tag name.
Type a new name for this tag or check/uncheck the instances that you wish to associate/disassociate this tag with.
You can only edit one tag at a time.
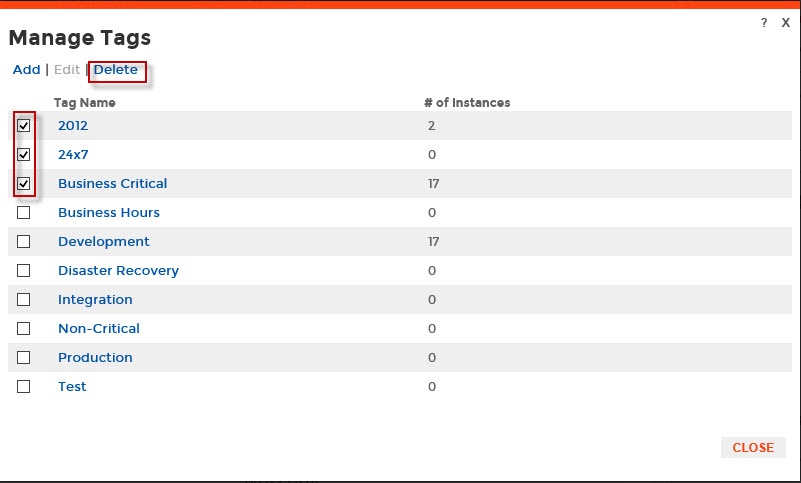
Delete Tags
To delete one or several tags, select the checkbox next to the tag or tags you want to delete and click Delete.
When an instance is deleted, the mappings to its tags are also deleted, but not the tags since they may be used for other instances