Page History
This procedure guides you through a typical install of SQL Defrag Manager. This process installs all SQL Defrag Manager components on one computersystem. Use this procedures procedure for first-time installations and evaluation installations.
...
Check Ports Availability
Make sure SQL Defrag Manager service can use port TCP 5280 for listening.
Start the setup program
You can Before you install IDERA SQL Defrag Manager on any computer , be sure to have:
...
- A system that meets or exceeds the product requirements.
To start installing SQL Defrag Manager:
- A local administrator account
...
- on the
...
- system you are installing the product.
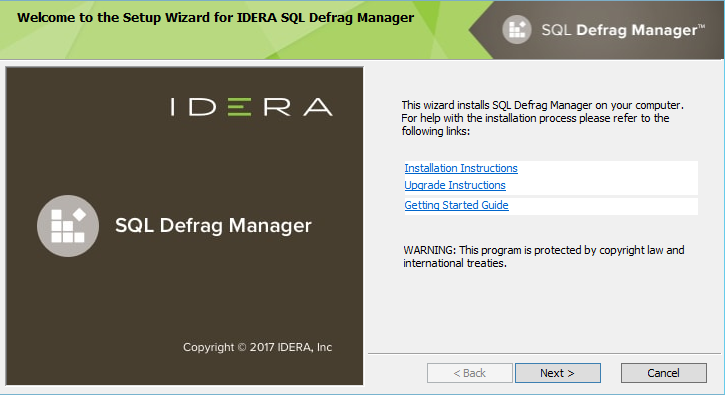
1. On the IDERA SQL Defrag Manager setupwindow, click Next to continue with the installation.
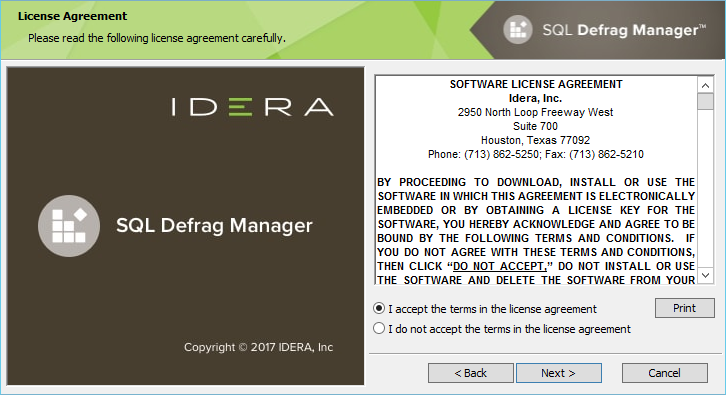
2. Read the License Agreement. If you agree, click I accept the Terms and Conditions
...
and then click Next.
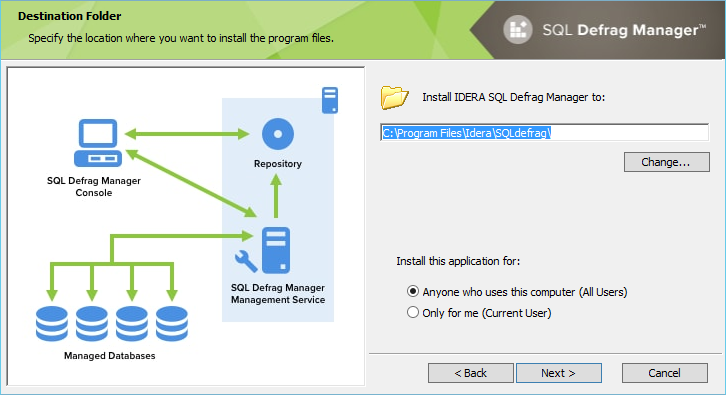
Choose where you want to install SQL Defrag Manager and who should use the product on this computer
You can use the default install location or specify a different location. For your first install, we recommend using the default location.
To specify the installation location and access:
- Either use the default installation directory, or click Change to navigate to the location you want to use.
- Choose whether you want any user or only you to access this application.
- Click Next.
Choose which components you want to install
3. To use the default installation settings, click Next.To use a different path, click Change.
4. Choose a setup type. For your first install, we recommend using the Typical setup type. This type ensures that you install and configure all required IDERA SQL Defrag Manager components, so you can immediately begin using SQL Defrag Manager the product in your environment.
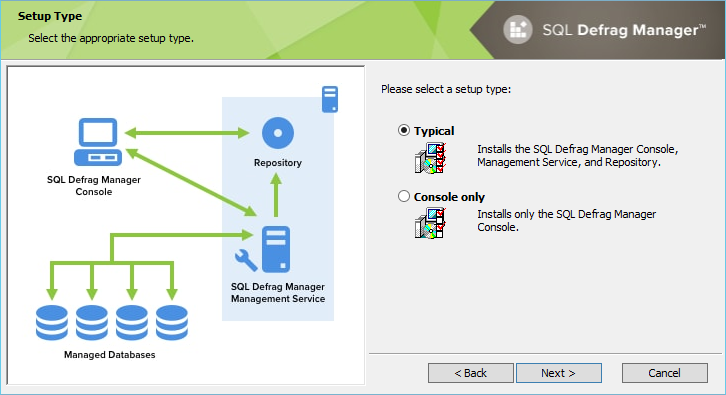
To install the components, click Typical, and then click Next.
Choose which SQL Server instance you want to host the Repository database
...
5. To select an instance for the SQL Defrag Manager Repository, type in the name of the instance or use the drop-down option to select an instance from the available local instances and click Next.
| Info |
|---|
| The SQL Defrag Manager Repository stores all collected activity and defragmentation information, which you can then access in the SQL Defrag Manager Console. SQL Defrag Manager can connect to the selected SQL Server instance using the credentials of your current Windows login account or a SQL Server login. For your first install, we recommend using your current login account credentials. |
...
To choose a different instance:
- Click Browse to select the SQL Server instance you want to use, and then click OK. The Select SQL Server window lists all available instances in your current domain and other trusted domains.
- Click Next.
To specify a SQL Server login:
- Click
- Select Use Microsoft SQL Server authentication .
- Specify the credentials of a login with sysadmin privileges on that instance, and then click OK .
- Click Next .
Choose which Windows user account you want the Management Service to use

6. The SQL Defrag Manager service uses a Windows account to connect to the SQL Defrag Manager Repository. For your first install, we recommend using local system account for the Management Service account.
To choose a different account:
- Determine whether your environment uses Windows or SQL authentication, and then pick a secure account that has the appropriate permissions.
- If you use Windows authentication, click User Account, and then provide the appropriate credentials.
- If you use SQL authentication, click Use Microsoft SQL Server authentication, provide the appropriate credentials, and then click OK.
- Click Next.
Complete the install
Indicate that you are ready to complete your install and apply the configurations you specified.
Type in the appropriate credentials in the requested format (Domain\Username and password) and click Next.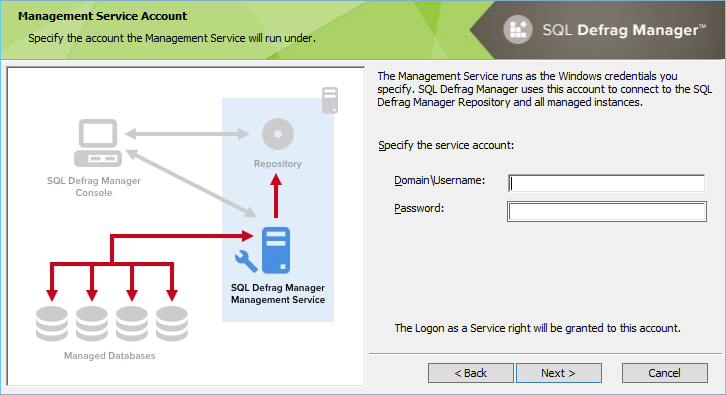
7. Click Install to perform the installation, click Back to review your settings. Click Finish when the installation finishes.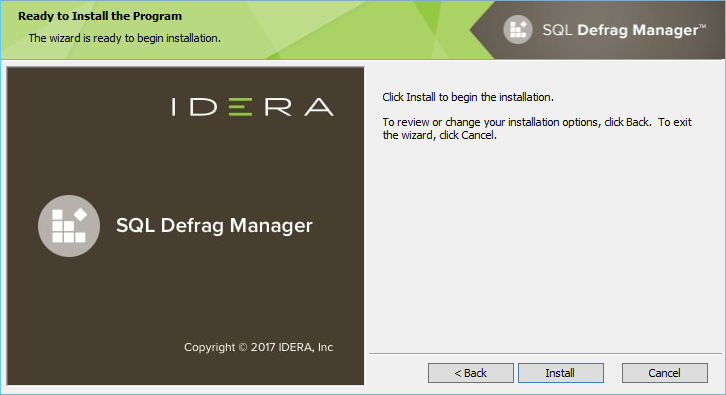
...