Page History
This procedure guides you through a typical install of IDERA SQL Secure. A typical install sets up all SQL Secure components on the same computer. Use this procedure for first-time installs and evaluation installs.
| Info |
|---|
Before you begin the installation process, ensure you have all permissions to create databases on SQL Server and review the product requirements. |
| Warning |
|---|
SQL Secure installer does not support remote installation or installing the repository on Azure SQL Database instances or Amazon RDS for SQL Server instances. |
| Info |
|---|
Installing the Repository on remote SQL Server instances is not supported. |
Start the setup program
You can install SQL Secure on any computer that meets or exceeds the product requirements.
To start installing SQL Secure:
- Log on with an administrator account to the computer on which you want to install SQL Secure.
- Close all open applications.
- Run
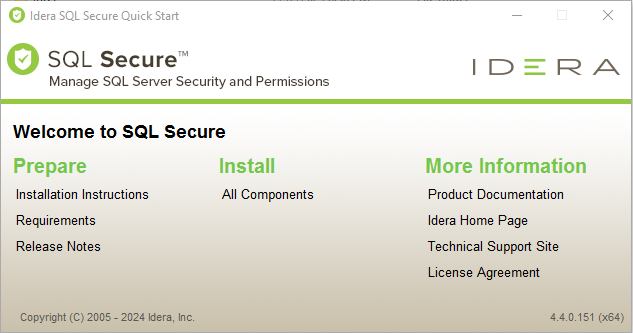
Setup.exein the root of the installation kit. - Click All Components under Install on the Idera SQL Secure SQLsecure Quick Start window, and then click Run to start the installation.
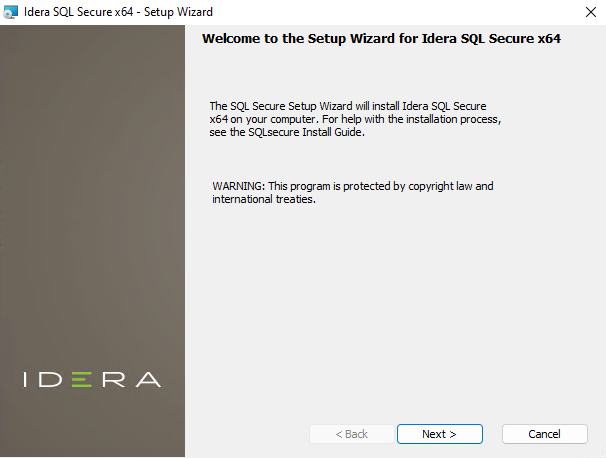
- On the Welcome window of the setup programto the Setup Wizard for Idera SQLSecure, click Next.
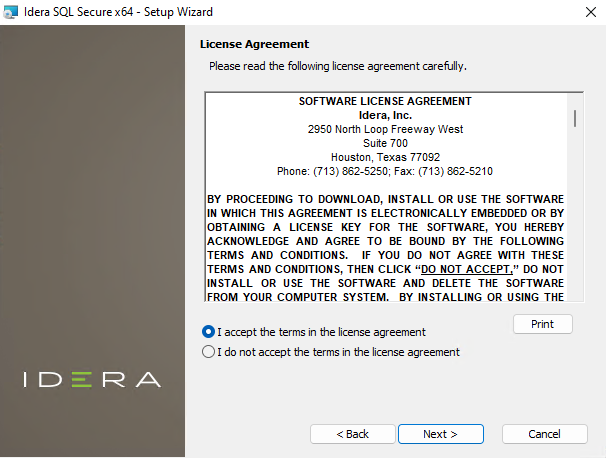
- Review and accept the license agreement by clicking I accept the terms in the license agreement, and then click Next.
Choose where you want to install SQL Secure and who should use the product on this computer
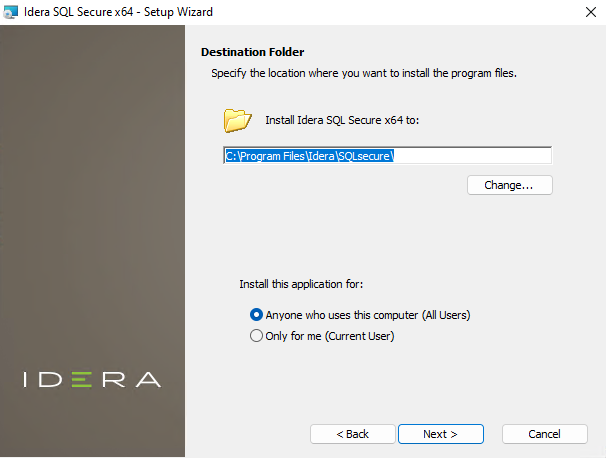
You can use the default install location or specify a different location. For your first install, we recommend using the default location.
To choose a different location:
- Click Change to navigate to the location you want to use, and then click Next.
To restrict access:
- Choose whether you want any user (Anyone who uses this computer) or only the current user (Only for me) to access this application,
- Click Next.
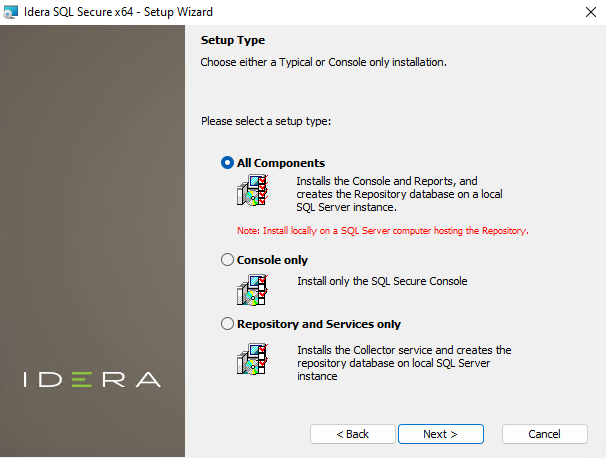
Choose the type of
...
installation you want to perform
...
All Components
For your first install, we recommend using the Typical setup typethat you select to install All Components. This type option ensures that you install and configure all required SQL Secure components locally on the SQL Server computer hosting the Repository, so you can immediately begin using SQL Secure in your environment.
To perform a typical install, click Typical All Components, and then click Next.
Console
...
only or Repository and Services only
Alternatively, you can choose to install the Console only or the Repository and Services only. These options allow you to customize installation on each computer.
To install only the SQL Secure Console or the Repository and Services, select this the appropriate option, and then click Next.
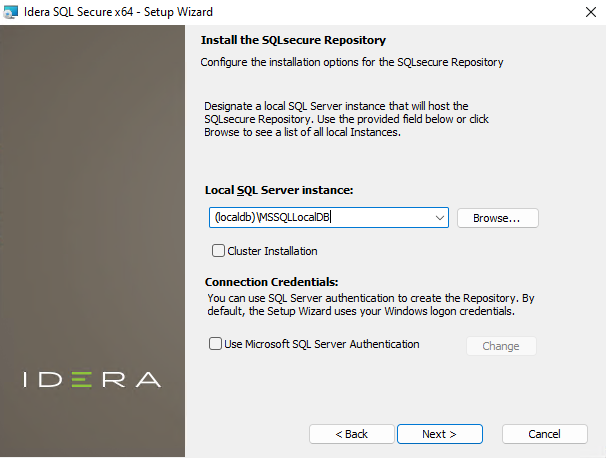
Choose which SQL Server instance you want to host the Repository database
Select the local SQL Server instance where the SQL Secure repository will be installed.
To choose the instance where the repository will be installed:
- Click Browse to access a new window where a list of all available instances, in your current domain and other trusted domains will be displayed. Select the SQL Server instance you want to use.
- Click OK.
| Tip |
|---|
If you do not see your SQL Server instance in the list, enter the host name hostname and instance in the space provided. |
To install on a cluster:
If you
...
are installing on a Failover Cluster,
...
check the Cluster
...
Installation checkbox.
To specify the Connection Credentials:
By default, SQL Secure will connect to the selected SQL Server instance using the credentials of your current Windows logon login account. For your first install, we recommend using your current logon login account credentials.
To use a SQL Server login:
- Click Use Microsoft SQL Server authentication. A new window for specifying the login credentials opens.
- Specify the credentials of the login with sysadmin privileges on that instance, and then click OK.
- Click Next.
Complete the install
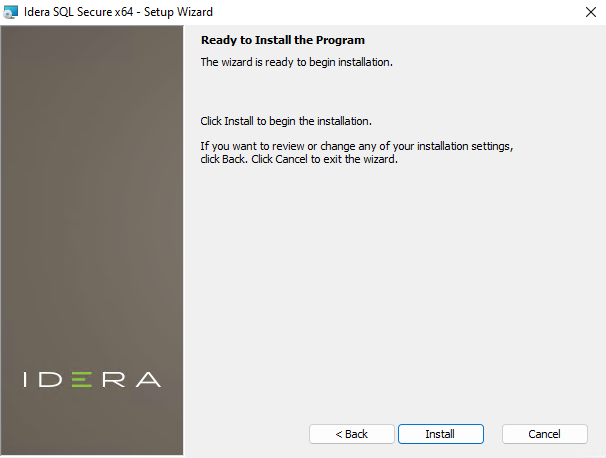
Indicate that you are ready to complete your install installation and apply the configurations you specified. If you want to make changes or review your installation settings, click Back.
To complete your install:
- Click Install and wait until the installation process finishes.
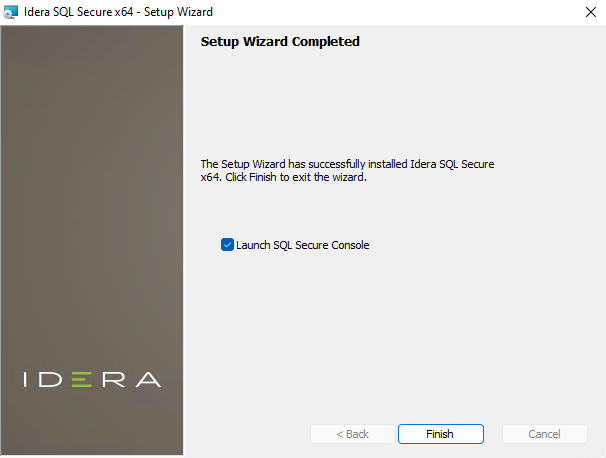
- Check the Lauch SQL Secure Console checkbox to run the application after the installation finishes. Click Finish to exit the IDERA SQLsecure Setup Wizard.
After the installation is complete, you can start the Management Console to immediately begin experiencing the benefits SQL Secure provides.
| Excerpt |
|---|
SQL Secure tells you who has access to what on your SQL Server databases. Learn more > > |
...
