Page History
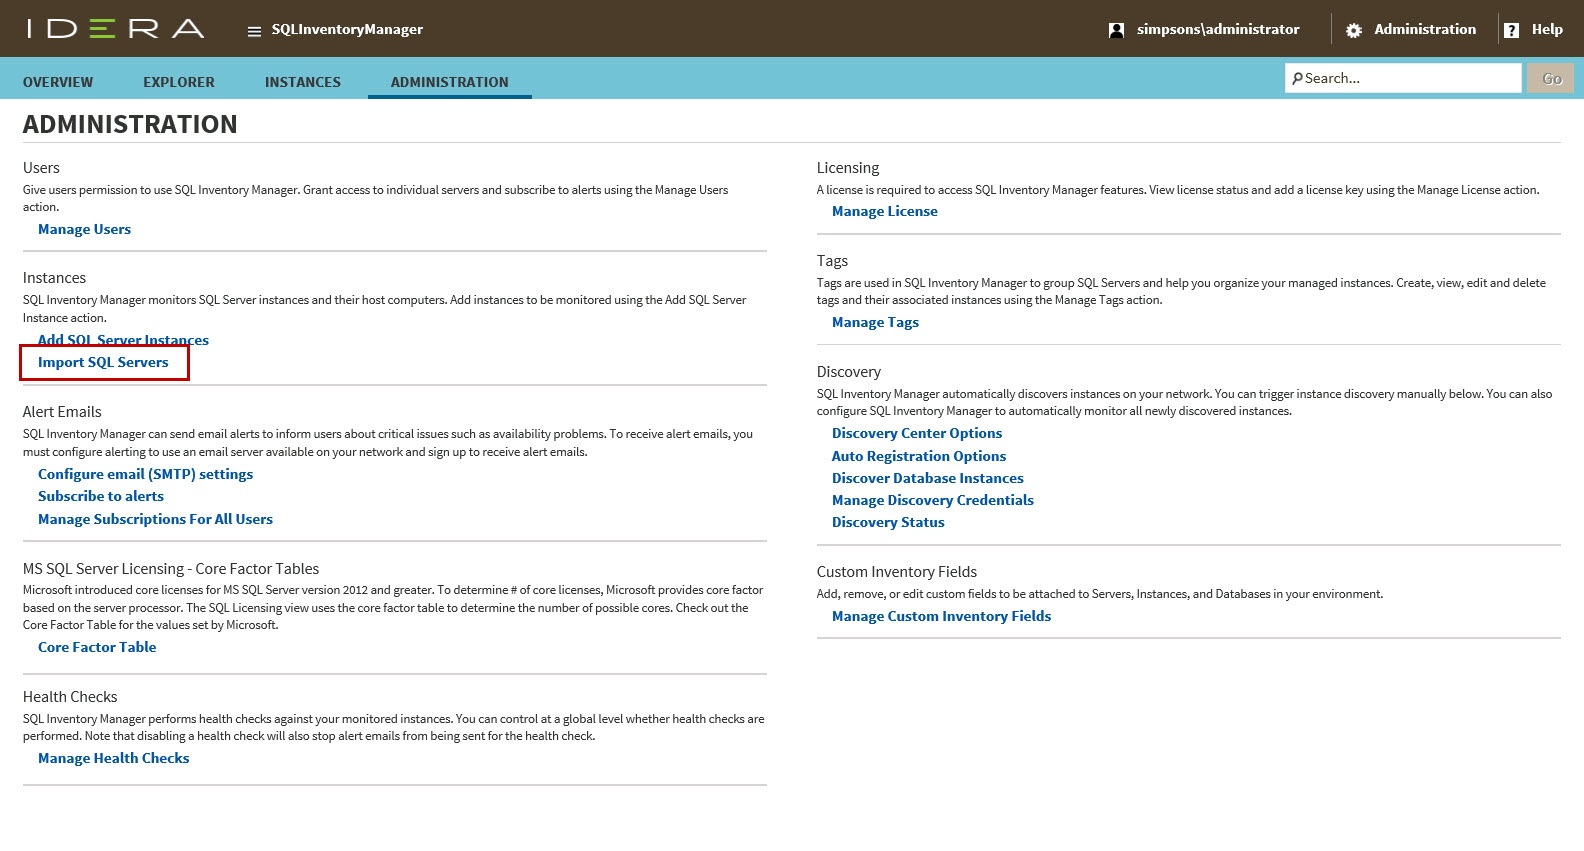
IDERA SQL Inventory Manager constantly discovers SQL Server instances so you can select those ones that you want to monitor. When you open the Add SQL Server Instance wizard, you can choose those ones you want to register with IDERA SQL Inventory Manager; however, you can also import a list of instances from your computer. Go to the Administration tab, on the Instances section you can find the option Import SQL Servers. Use this option to import a .csv file from your computer.
Acceptable .csv format
For a successful import of SQL Server instances, please use the following general rules and .csv file format.
- Instance Owner should be unique across an instance.
- Instance Location should be unique across an instance.
- The next time the user uploads a record for the same instances, the Instance Tags / Database Name / Database Tags should be added to the existing IDERA SQL Inventory Manager data. But the Instance Owner and Instance Location should be updated with the new values.
- Database Tags can be a list of comma separated values.
- Instance Name cannot be null.
- Instance Owner, Instance Location, Instance Tags, and Instance Database can be null.
| Instance Name | Instance Owner | Instance Location | Instance Tags (Comma separated list in quotation marks) | Database Name | Database Tags (Comma separated list in quotation marks) |
|---|---|---|---|---|---|
| ABC_1 | Group1 | West | "InstProd, Production, 24Hour" | Test | "X, A, C" |
| ABC_1 | Group1 | West | "InstProd, Production, 24Hour" | DB2 | "DBA, ProductionDB, TESTDB" |
| XYZ | Owner | , | , | , | , |
Importing a .csv file
To import a file:
- Click Upload to choose a .csv file from your computer. IDERA SQL Inventory Manager displays the instances from your uploaded .csv file.
- Select or clear those instances that you want to import, and then click Import.
...