You can also add a new data source manually.
To manually add a new data source
- Click File > New > Data Source.
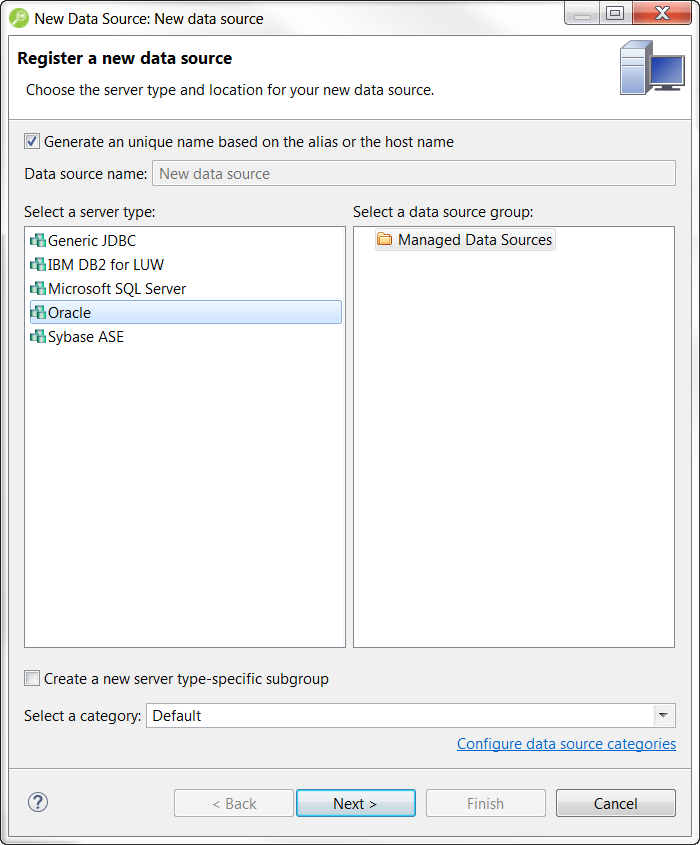
- If you want the system to assign a name to the data sources, select Generate a unique name based on the alias or the host name.
If you want to enter the data source name, deselect Generate a unique name based on the alias or the host name, and then in the Data source name field, enter the data source name. - In the Select a server type area, select the type you want to add.
- In the Select a data source group area, select the data source group where you want the new data source to appear in the Data Source Explorer.
If you want to assign the new data source to a category (useful if you have a large number of data sources to manage), click the Select a category list, and then choose one of the categories.
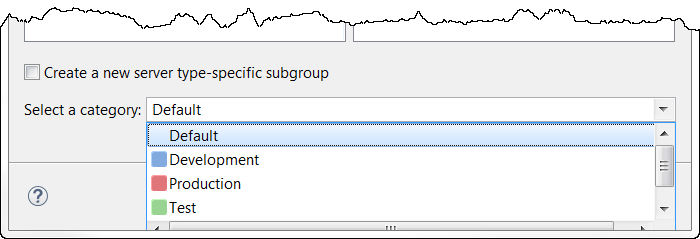
Categorized data sources appear with the color for the designated category on the bottom left of the data source icon in the bottom of such as for the Test category and
  for the Production category.
For information on adding custom categories, see Customizing data source categories.
When you open a tuning job or SQL Editor window to create SQL for the categorized data source you will see that the category color is applied to the top of the window, as follows.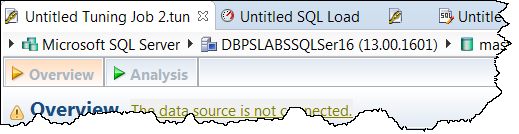
Click Next.
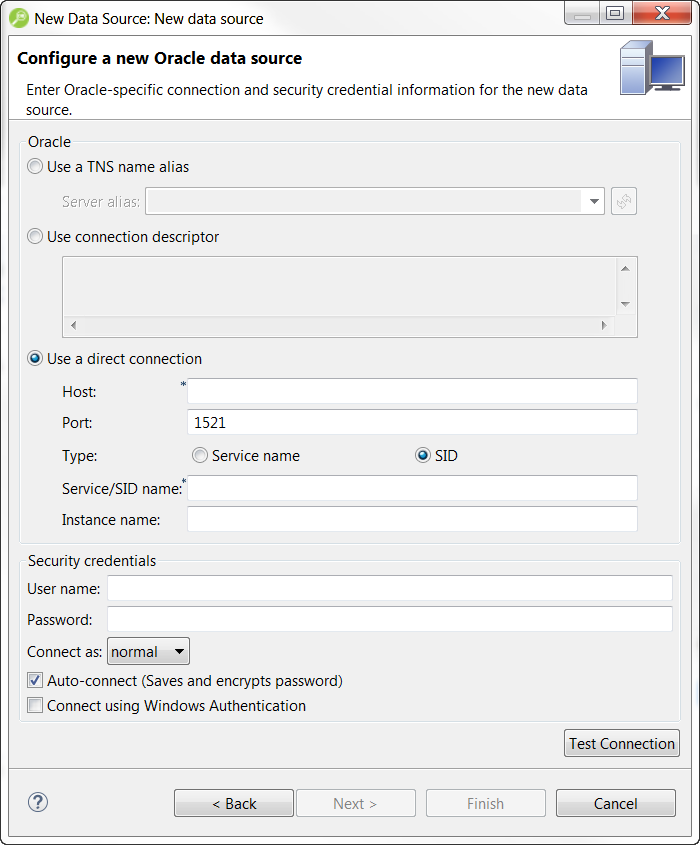
Complete the data source configuration and then click Test Connection. This will ensure your configuration is correct. If the connection test fails, make the necessary corrections, and then click Finish. The new data source appears in the Data Source Explorer.