Scheduler jobs can be created from Object Groups, Projects and Project Groups defined in RED via the Build > Build Job context menu. The detailed steps are described in the following sections.
Building Scheduler Jobs from Projects or Groups
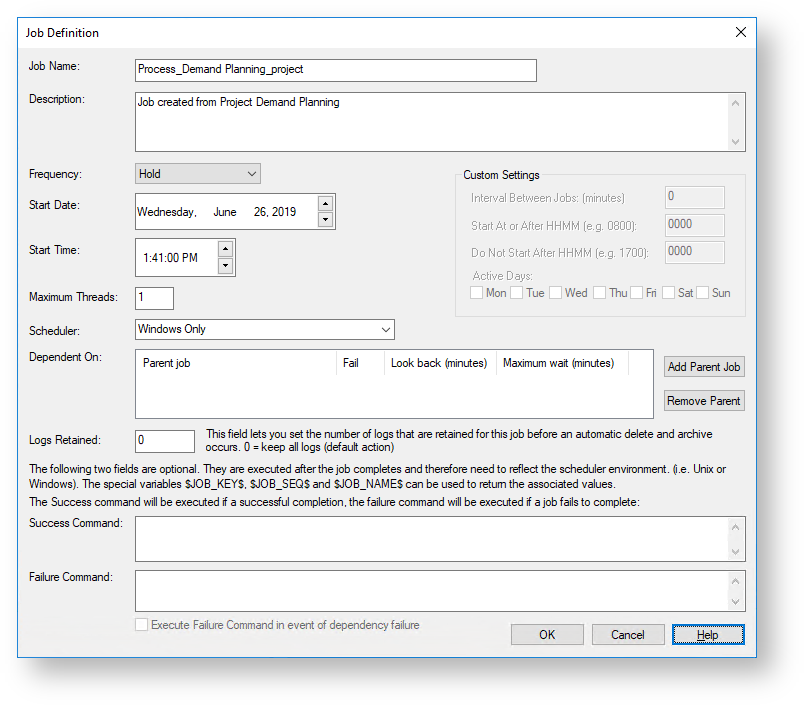
WhereScape RED enables you to automatically create a Scheduler job from the table objects in a Project or Project Group defined in RED. This feature utilizes the track-back information for all the objects included in a Project or Project Group to determine their task dependencies and then creates the Scheduler job.
The steps are outlined below:
- Right click the Project or Group from the left pane of the Builder window.
- Select the Build > Build Job option from the context menu.
- Make any changes to the details and settings in the Job Definition window as required and then click OK to define the tasks in the Scheduler job.
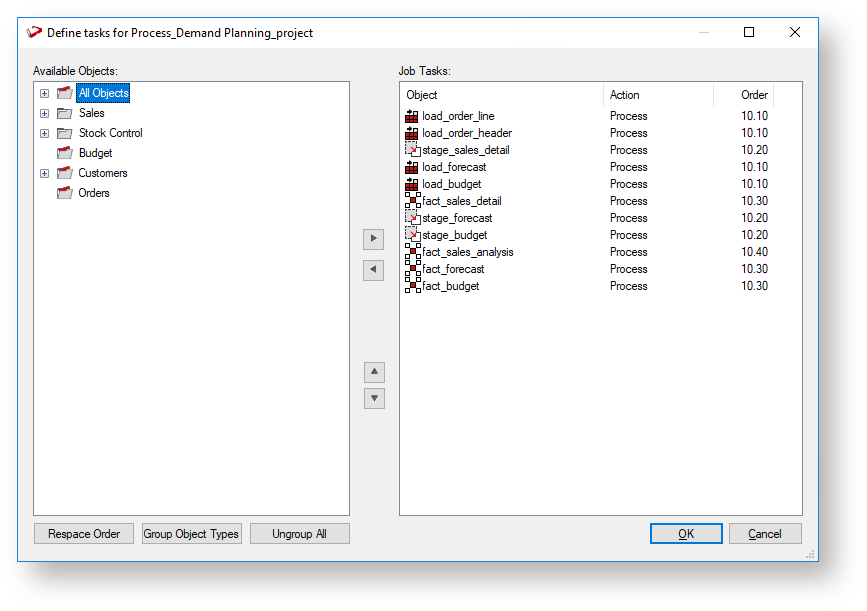
- Review the Job Tasks that have been defined for the job and remove tasks you want to exclude as required.
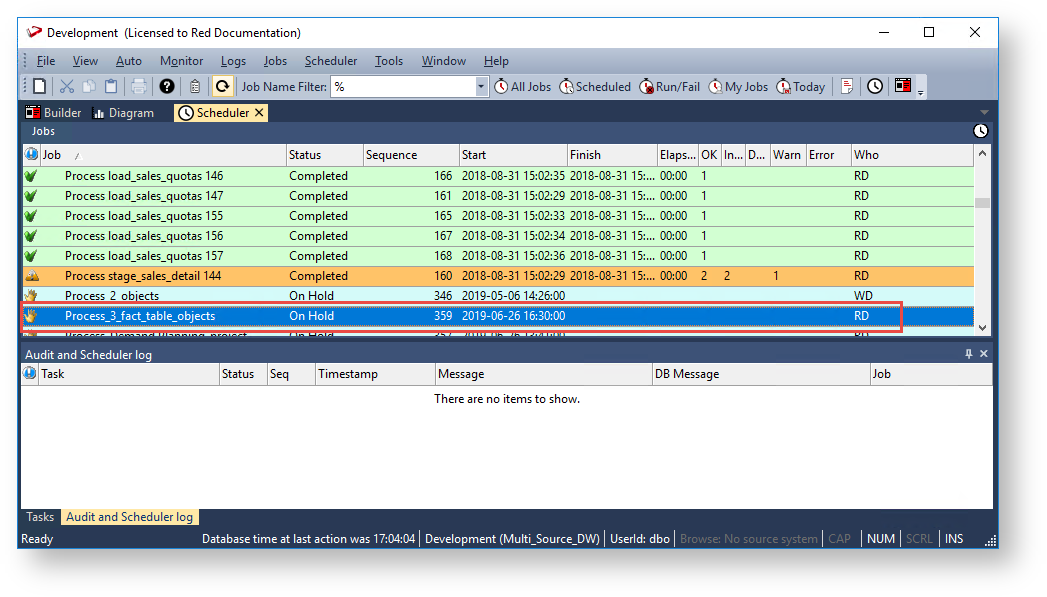
- Click OK to create the job, the Scheduler window is displayed. Refresh the screen to see the created job, its status and other details.

Refer to Creating a Job for details about the fields and settings in the Job Definition and Define tasks windows.
Note
The Build context menu is not available for the All Objects project, listed in the left pane of the Builder window.
Building Scheduler Jobs from Object Groups
WhereScape RED enables you to automatically create a Scheduler job from table objects in an Object Group defined in RED. This feature utilizes the track-back information for the objects selected in an Object Group to determine their task dependencies and then creates the Scheduler job.
The steps are outlined below:
- Double click the Object Group name (e.g. Fact Table, Stage Table, etc.) from the left pane of the Builder window to display all the tables in the selected Object Group in the middle pane.
- Select a table or multiple tables in the middle pane that you want to include in the Scheduler Job.
- Right-click a highlighted table and then select the Build > Build Job option from the context menu.
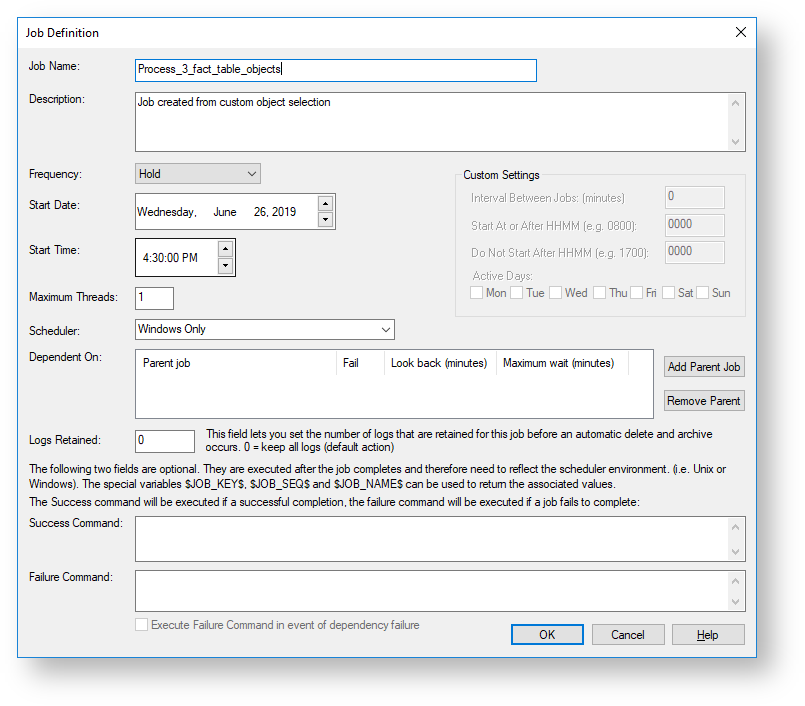
- Type in the Job Name and make any changes to the details and settings in the Job Definition window as required and then click OK to define the tasks in the Scheduler job.
- Review the Job Tasks that have been defined for the job and remove tasks you want to exclude as required.

- Click OK to create the job, the Scheduler window is displayed. Refresh the screen to see the created job, its status and other details.
Refer to Creating a Job for details about the fields and settings in the Job Definition and Define tasks windows.