Page History
...
- On the Results tab, click the Export Results button.
- In the Export dialog, select a directory location where the report will be saved.
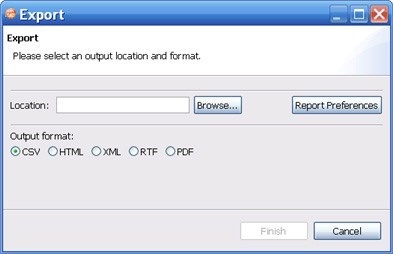
- Click an output format.
- Click Report Preferences.
- In the Report Preferences tabs, select the visual properties of the report including style, paper size, and font. For details about the preferences, see Reports.
- In the Contents tab, specify the criteria to include in the report.
- For configuration comparison jobs:
- Select Include matching configuration parameters to include configuration parameters and values that matched when the job was run.
- For data comparison jobs:
- Select Include matching data fields (database level) to include tables and/or views that matched in a data comparison job. If this option is not checked, only comparison tables and/or views that did not match will be included.
- Select Include matching data fields (table level), after deselecting the database level option, to include data fields that matched in rows, for which one value did not match. If this option is not checked, only comparison key values and values that did not match
- are included.
- Select Include detail reports in CM/Data notifiers to include information for all data fields selected in a data comparison job.
- For schema comparison jobs:
- Select Include matching schema objects to include information about the objects that matched in a schema comparison job.
Select Include DDL in Schema Reports to include information about the DDL.
Info
A schema report runs faster if you do not generate the DDL in the report.
Use the Split reports when exceeding number of objects option to limit the number of objects per section.
Info If your schema comparison reports are very large and use a lot of memory, you can split them into smaller sections for better performance.
- For configuration comparison jobs:
Scheduling a Job
You can use Windows Task Scheduler to run jobs on a regular schedule.
To schedule a job
In a job editor, click the Schedule Job button.
TIP: You can also open the Job Scheduler from the Tools > Schedule Job menu or right- click on any job and select Schedule Job.
In the informational dialog, click OK.
In the Schedule tab, specify when and how often you want the job to run.
Click OK.
In the dialog, verify your user name and type your Windows password.
Click OK.
The Job Scheduler gives you additional options on the Settings tab.
To modify an existing job schedule
In the toolbar, click the Open Scheduled Tasks button.
In the Scheduled Tasks list, double-click the job you want to change.