Page History
...
- A local administrator account on the machine where you are installing the product.
- Microsoft .NET 4.0 Framework or later installed.
| Warning |
|---|
The IDERA Dashboard Web Application service comes with SSL already set up. By default, SSL works with a self-signed certificate. This certificate can be used for encryption only and does not prove the identity of the server. That default certificate is not signed by any well-known Certification Authority (CA), and is intended only for use in testing purposes. When a user attempts to open the SSL version of the IDERA Dashboard Web interface, a warning appears in the browser window. For more information about running the IDERA Dashboard over SSL, see Run IDERA Dashboard over SSL (HTTPS). |
Start your installation
You can install the IDERA Dashboard on any computer that meets or exceeds the product requirements.
To start installing the IDERA Dashboard:
- Run Run
IderaDashboardin in the root of the installation kit. - On the Welcome to the IDERA Dashboard Setup Wizard, click Next to continue with installation.
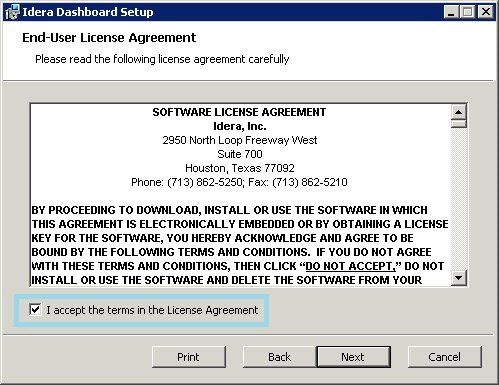
- Review the license agreement. To accept this license agreement, click click I accept the terms in the License Agreement, and then click click Next.
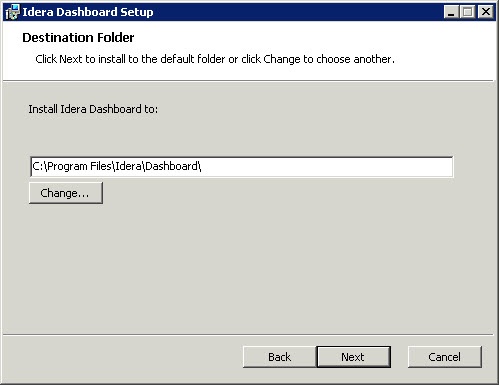
Select an installation location
You can use the default install location or specify a different path (Change). For your first install, we recommend using the default location. Click Click Next to to continue with the installation.
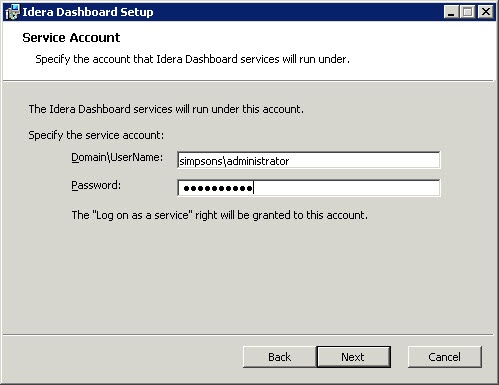
Select a Windows user account to use for the service account
The IDERA Dashboard uses this account to connect, discover, and gather configuration information from SQL Servers in your Business environment. The The installer grants the "Log on as a Service" right to the account that you specify.
...
- On the Service Account window, type appropriate credentials in the provided fields under which the services run.
- Click Next.
Select service ports to use for the IDERA Dashboard
The IDERA Dashboard uses ports ports 9290, 9291, 9292, and 9292 for 9294 for the web application and dashboard services respectively. However, you can specify different service ports.
...
- On the Service Ports window, specify the ports you want the web application and dashboard services to use.
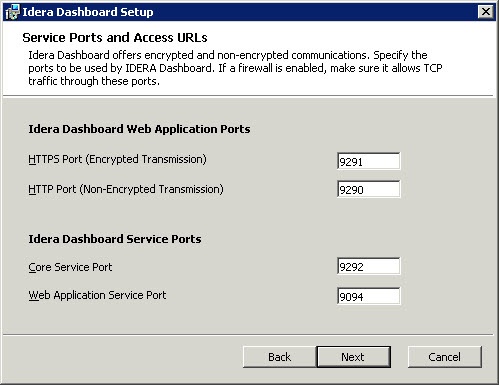
- Verify that the Firewall allows TCP (Transmission Control Protocol) traffic through your specified ports.
- Click Next.
Select a SQL Server instance to use for the IDERA Dashboard Repository database
The IDERA Dashboard Repository database is where the collected data, alert information, and alert configuration settings are stored.
...
- On the Repository Database screen, specify the host SQL Server instance you want to use for the IDERA Dashboard Repository database.
- Type the name for the IDERA Dashboard Repository database.
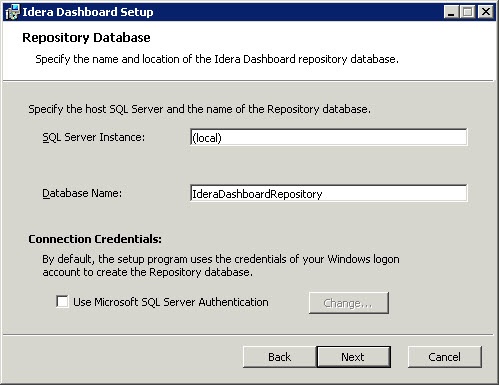
- If your SQL Server environment uses SQL Server Authentication, select the check box and click click Change to to enter SQL Server credentials. By default, the IDERA Dashboard uses your Windows credentials when connecting to the Repository database.
- If you use Microsoft SQL Server Authentication, a new window displays where you can type the respective SQL Server login and password.
- Click Click Next.
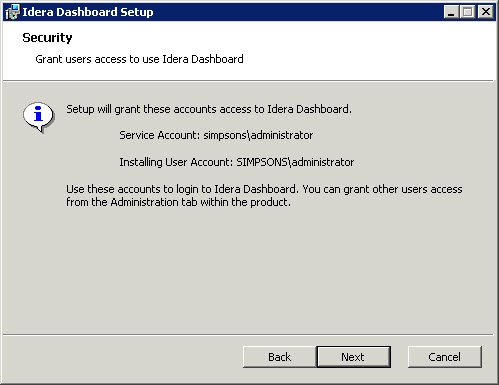
Grant access to the IDERA Dashboard
The user that installs the IDERA Dashboard has access to this application by default as a a Dashboard Administrator. You can choose whether you want other users to have access to the IDERA Dashboard in the the Administration view view. To continue with the installation, click click Next.
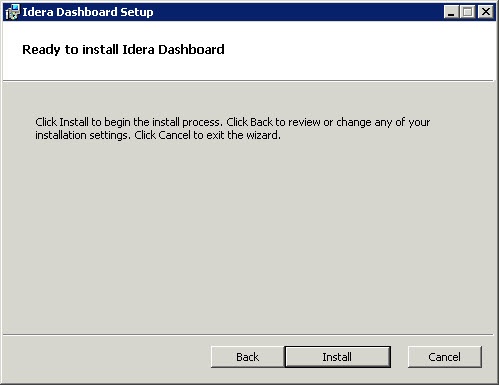
Complete the
...
installation
- Click Click Install to to indicate that you are ready to complete your installation with the configurations you specified. If you want to review or change any of your settings, click click Back.
- Click Click Finish to to exit the IDERA Dashboard Setup Wizard.
- Proceed with the SQL Inventory Manager Setup Wizard.
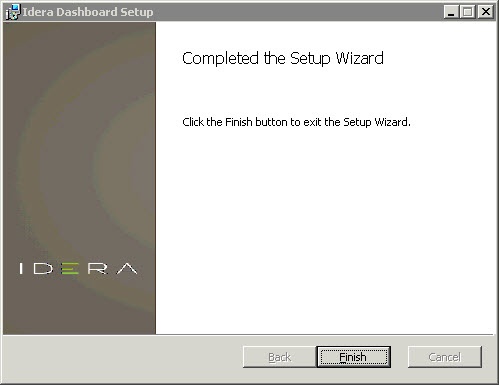
The IDERA Dashboard installation is complete.
| Scroll pdf ignore | ||
|---|---|---|
| ||
| Excerpt | ||
SQL Inventory Manager lets you discover and visualize your SQL Server environment. Learn more > > |