Page History
...
- Select Use an existing user.
- Click Find User to locate an existing user name.
- On the Find User window, click Find to filter for an existing (available) user name.
- Select an available user name, and then click OK. If this is installed in an Oracle Container Database, the user must be prefixed C##.
The selected user name now appears on the Oracle Schema credential screen. - On the Oracle Schema credential screen, type the password associated with the existing user.
- If you want to see the tablespaces definition, click Advanced.
- Click Next.
About the tablespace creation
...
page
The tablespace creation script screen enables the user to activate default tablespace creation, or to create customized tablespaces.
...
If you want to modify Oracle instance tablespace creation, copy the text that appears on the screen to SQL*PLUS and run as you wish. Then click Next to continue installation while using the tablespaces you have created.
Oracle tier installation preview page
The preview screen signifies that the AdminPoint Tier installer gathered enough information to begin installation.
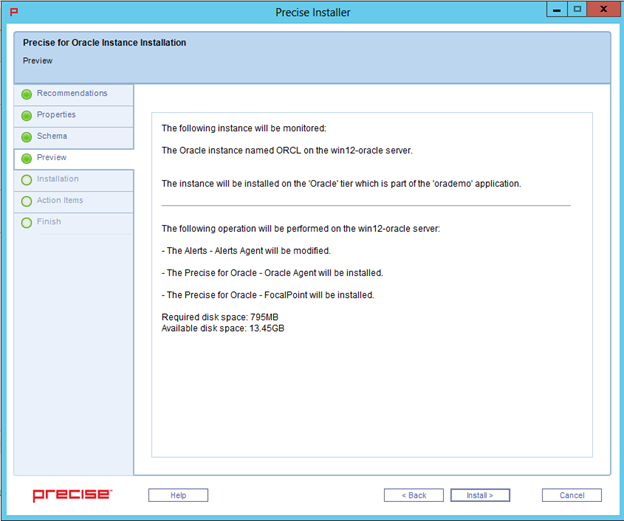
The preview screen displays the following details before installation begins:
- server name or IP address
- name of the monitored server
- actions queued in their respective order
- location of the installation folder
- required disk space
- currently-available disk space
You can make any necessary changes at this point. Click Back to go to the appropriate screen to make a change, and then click Next to continue installation. Click Cancel to stop the installation process.
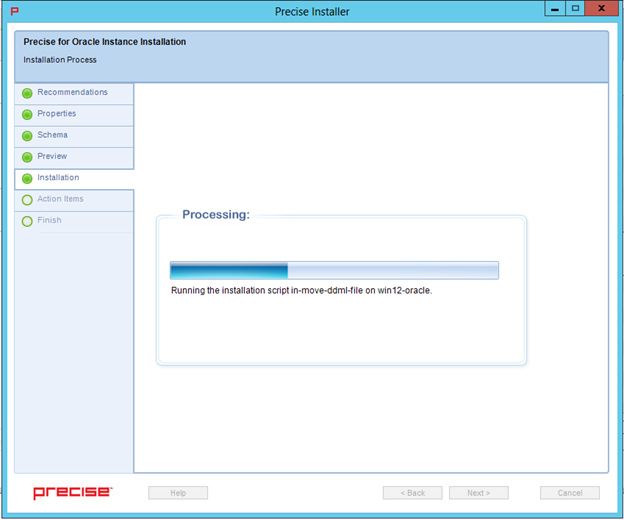
Oracle tier installation progress page
This screen appears when the AdminPoint Tier installer is performing the installation and displays the progress of actual installation on selected servers. The installation process may take several minutes.
Oracle tier installation complete page
This screen appears when the AdminPoint tier installer completes installation of all tier instances.
If there are no action items, click Finish to complete the instance installation. If there are action items, click Next.
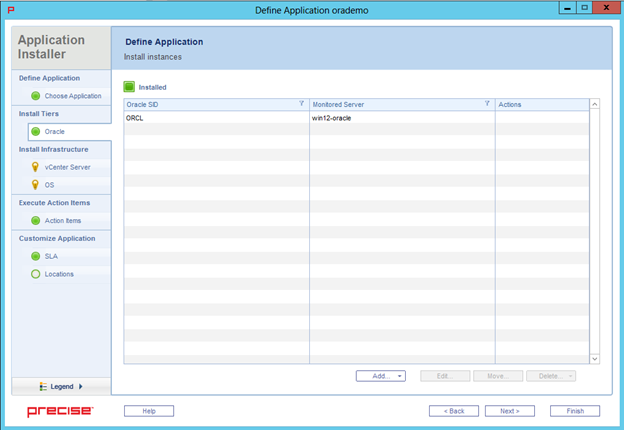
To add additional instances, repeat the steps above, otherwise click Finish.
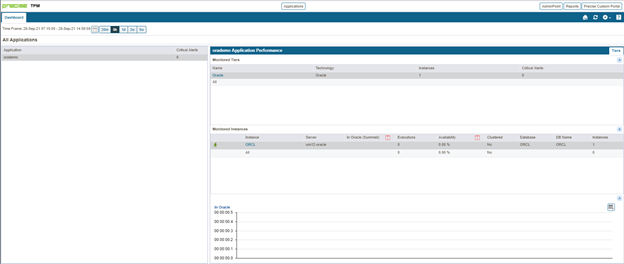
Refresh the applications and the new application is visible.
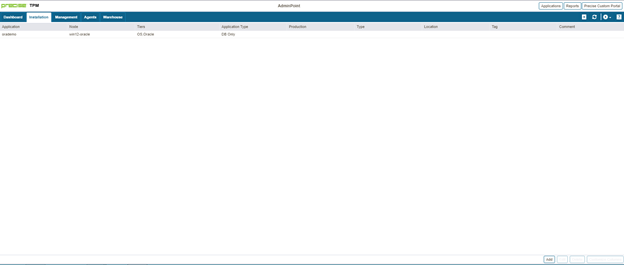
Select the Applications tab and the new application appears with the Oracle instance(s) added.