Page History
...
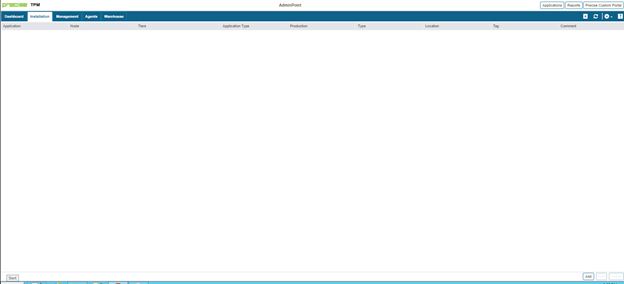
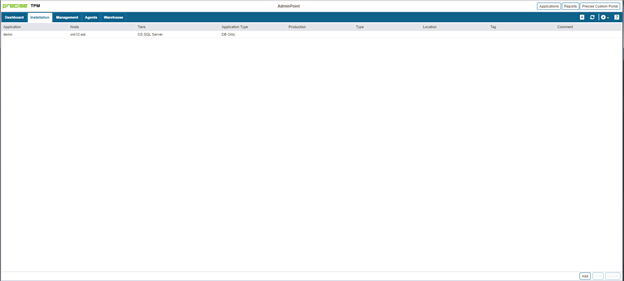
- From the AdminPoint tab, select Installation.
- Click Add in the bottom right-hand corner, as shown in the following image.
The APMInstanceInstaller.exe opens. - Click Open APMInstaller.exe, and the Precise Application Installer opens.
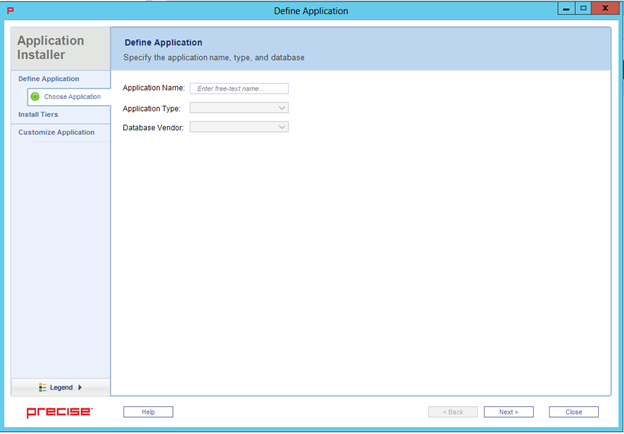
- Select the appropriate Application Name, Application Type, and Database Vendor, and then click Next.
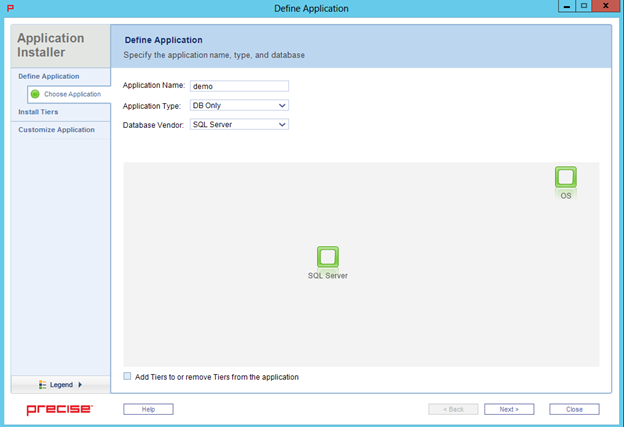
- In the Install Tiers area for the applications, select SQL Server, and then click Add.
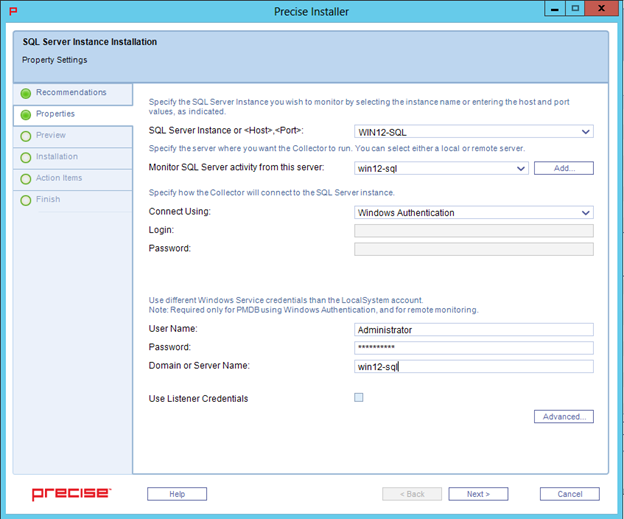
- In the Properties tab, add the following SQL instance details:
- SQL Server instance name or <Host>,<Port>
- the server from which you want the instance monitored (local or remote monitoring)
- Windows or SQL authentication
- service credentials
- Click Next. The Preview tab appears.
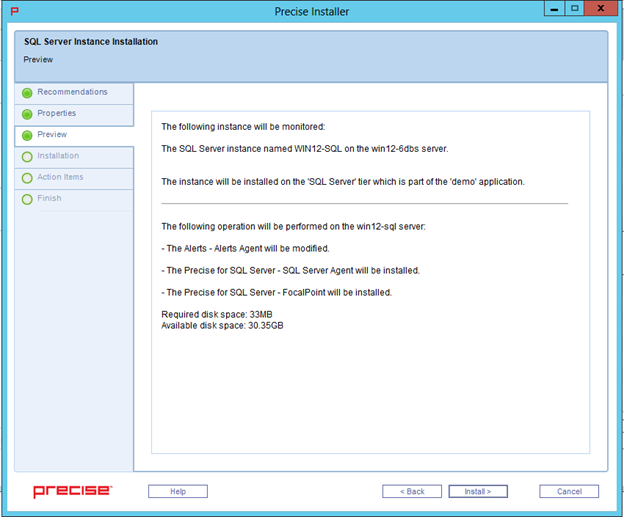
- Review the details, and then click Install. The installation starts and installs all components for the SQL instance.
- Once the installation is complete, the Finish tab appears.
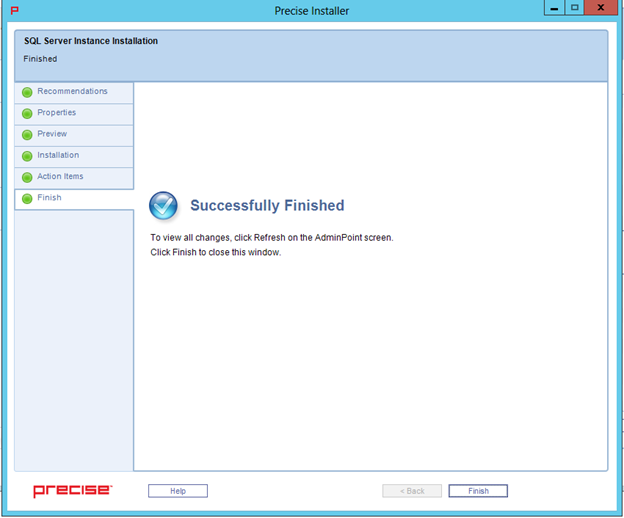
- Click Finish.
- Review the Application tab to make sure that the new instance appears.
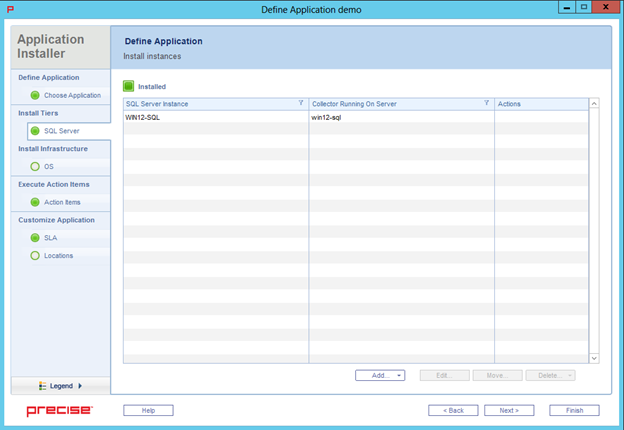
- Repeat these steps to add more instances, and then click Finish.
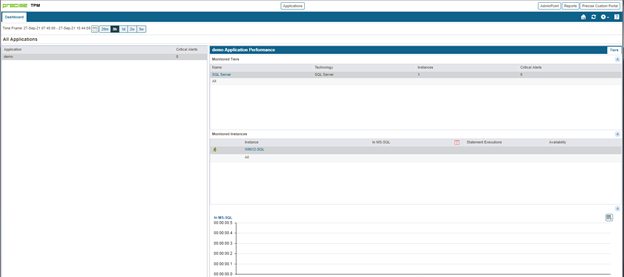
- Refresh the applications and note that the new application appears.
- Select the Applications tab, and the new application appears with the added SQL Server instance(s).