Page History
...
- Launch the KeyStore Explorer application, as an Administrator, on Server 1.
- Open the keystore file used for the IDERA Dashboard. When prompted for a password, enter "password", and click OK.
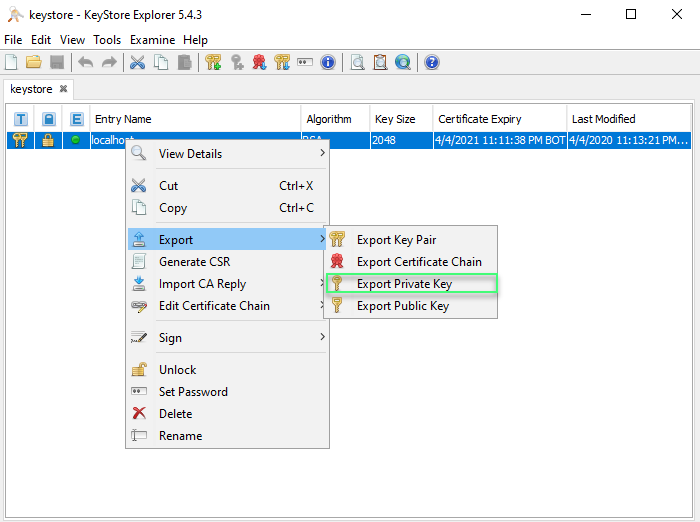
- Right-click on the keypair, select Export, and choose Export Private Key.
- When the Unlock Entry for the Keypair prompts, enter "password", and click OK.
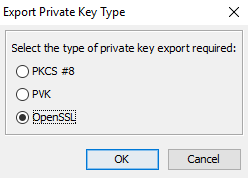
- On the Export Private Key Type window, select OpenSSL, and click OK.
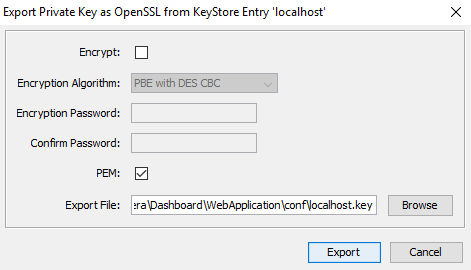
- On the Export Private Key as OpenSSL from Keystore Entry window, deselect the Encrypt option, update the Export File field if needed, and click OK.
- Install OpenSSL, you can find the available options for this software
. Once the installation is complete, launch the Command Prompt with elevated permissions.Newtab2 alias OpenSSL url https://slproweb.com/products/Win32OpenSSL.html Change the directory to the bin folder where the OpenSSL was installed. For example, enter the following command to change the directory:
Code Block language actionscript3 theme Confluence cd "C:\Program Files\OpenSSL-Win64\bin"
Use the following command as an example to generate the PFX key using the private key and certificate that you previously created.
"openssl pkcs12 -export -out <file path to the new personal information exchange file>.pfx -inkey <file path path to the private key>.key -in <file path to the certificate>.cer"Code Block language actionscript3 theme Confluence openssl pkcs12 -export -out "C:\Program Files\Idera\Dashboard\WebApplication\conf\keystore.pfx" -inkey "C:\Program Files\Idera\Dashboard\WebApplication\conf\localhostone.key" -in "C:\Program Files\Idera\Dashboard\WebApplication\conf\localhostone.cer"
Once you execute the command, you need to Enter the Export password and the verification password:

The PFX key has been created as a result of the command.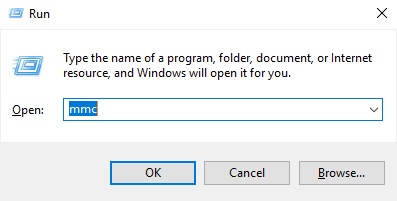
Open the Microsoft Management Console (MMC) by selecting Run from the Start menu, enter "mmc", and click OK.
a. When the MMC window opens, click File from the menu toolbar, and select Add/Remove Snap-in...
b. The Add or Remove Snap-ins window opens, Add Certificates, and click OK.
c. Configure the steps of the Certificate snap-in wizard, and click Finish.
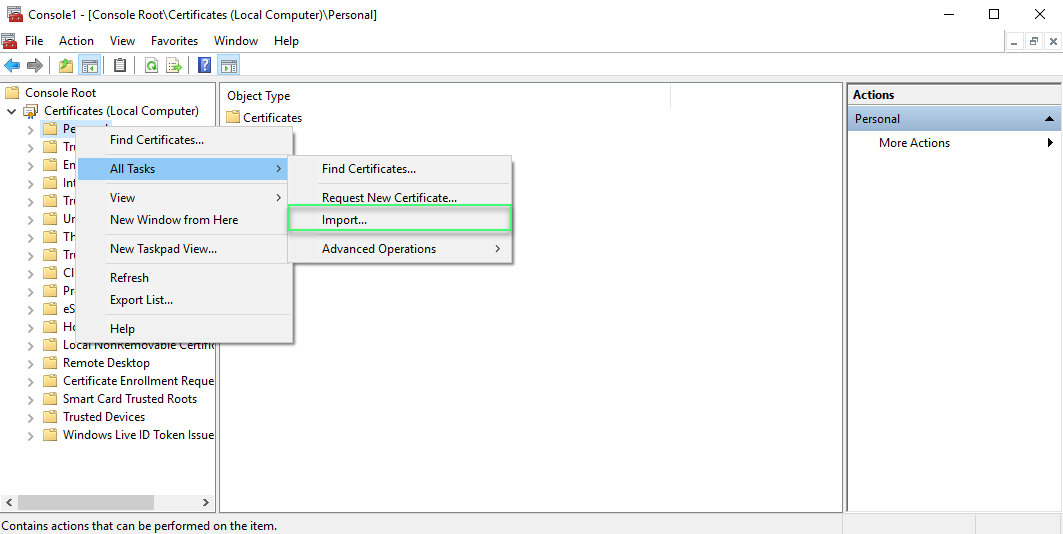
e. Close the Add or Remove Snap-in window by clicking OK.- Expand Certificates, right-click the Personal folder, select All Tasks, and click Import...
- Import the .cer certificate under the Trusted Root Certificate Authorities folder on Server 2.
- Import the .pfx certificate under the Personal folder on Server 2.
- Retrieve the thumbprint of the imported PFX key.
- Double-click the imported PFX key.
- On the Certificate window, go to the Details tab.
Scroll-down and click Thumbprint. You need to copy the characters from the box.
Note If the thumbprint has extra spaces between the hexadecimal numbers, remove them. For example, the thumbprint ""a9 09 50 2d d8 2a e4 14 33 e6 f8 38 86 b0 0d 42 77 a3 2a 7b" should be edited to ""a909502dd82ae41433e6f83886b00d4277a32a7b".
- Follow these last steps to bind the new PFX key by using the commands below:
Open CMD as an Administrator, execute the following command to delete existing bindings to the IDERA SQL Diagnostic Manager Rest Service on Server 2:
Code Block language actionscript3 theme Confluence netsh http delete ssl 0.0.0.0:5171
Bind the PFX key by using the following command in an elevated command prompt session on Server 2, GUID SQLDM: 0051d7ed-de72-46d3-ae44-97d566b1ca5a
Code Block language actionscript3 theme Confluence netsh http add sslcert ipport=0.0.0.0:5171 certhash="<thumbprint of the PFX Key (remove spaces between)>" appid="{0051d7ed-de72-46d3-ae44-97d566b1ca5a}" clientcertnegotiation=enable
...