Page History
[ ![]() |../../index.htm#lansa/reptut01_0265.htm]
|../../index.htm#lansa/reptut01_0265.htm]
You are here:
...
In this step, you will create an Employee table using the skills you have just learned in the previous steps. You will use the multi-add fields feature to add multiple fields to the newly created table.
1. Create the Employee table.
a. Use New / Table. Enter the following characteristics for the table:
Table name | iiiEmployees (where iii=your initials) |
Description | Employee Table |
Enabled for RDMLX | Yes |
|

![]()
b. Select the option to Open in editor.
c. Click the Create button.
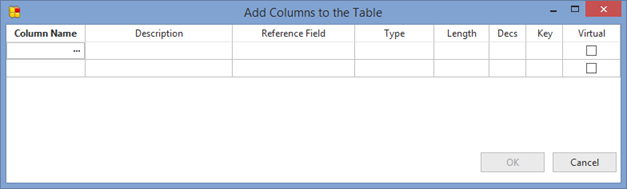
2. On the Home ribbon, select Add / Add Multiple Columns. ![]()

The The Add Columns to the Table dialog is displayed. ![]()
Note
| Note |
|---|
| Note: When typing a field name, the autocomplete feature will identify an existing repository field name as you type in the characters. |
3. Add the columns iiiEmployNumber, iiiDeptCode, iiiSurname, iiiGivenName, iiiSalary,iiiStartDate and iiiEmployNotes to the table. You
You should only need to type 4 or 5 characters and autocomplete will match with the correct field.
Specify Specify that iiiEmployNumber is the key field in the table by entering the value 1 in the Key column. ![]()

4. Once you have defined the columns to add to the table, click OK. Your definition should appear like this: ![]()

5. Compile the table.
6. Close the table definition.
[ ![]() |../../index.htm#lansa/reptut01_0265.htm]
|../../index.htm#lansa/reptut01_0265.htm]