Page History
...
- In the newly added Access Policy, click Add Rule.
- Enter a rule name.
- Select the authorized Grant Types. You should select Resource Owner Password and Client Credentials along with any others that match your organization’s policies.
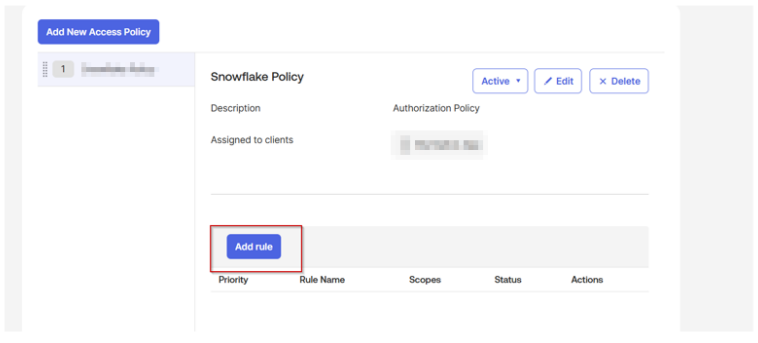
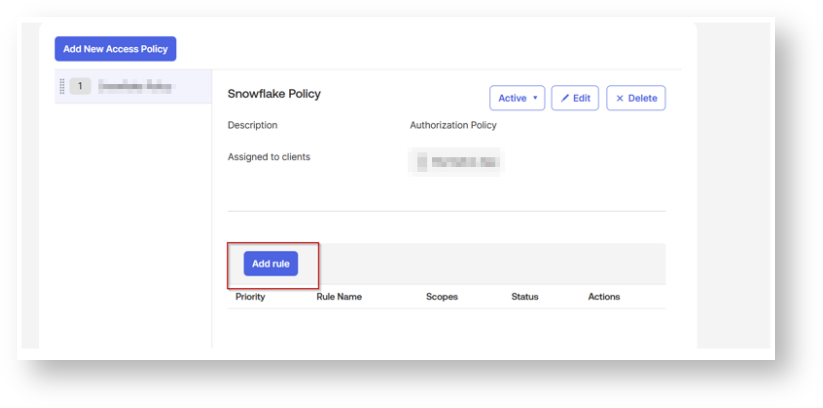
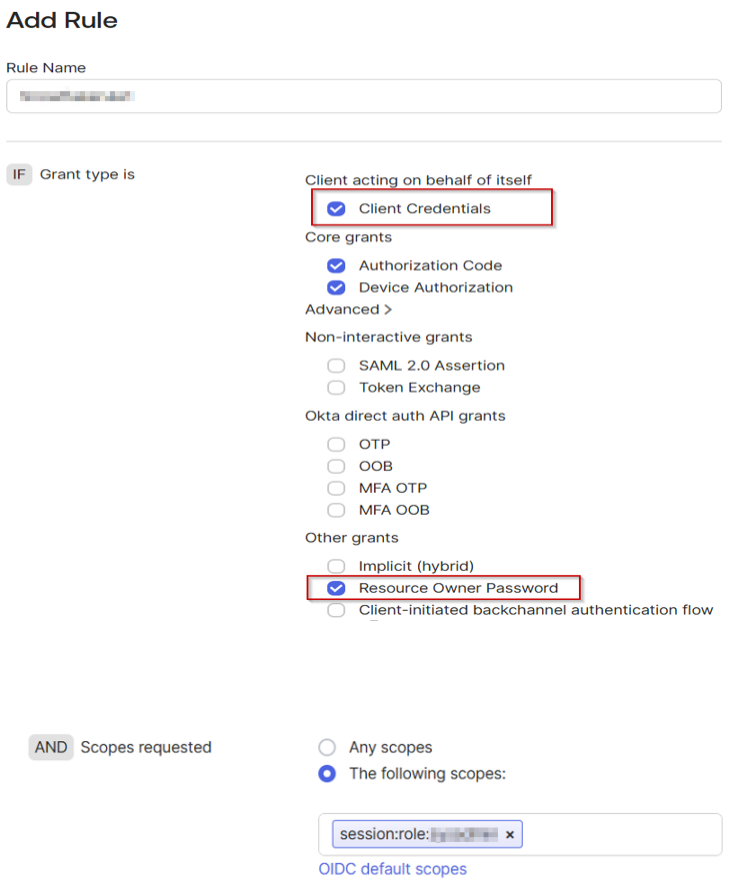
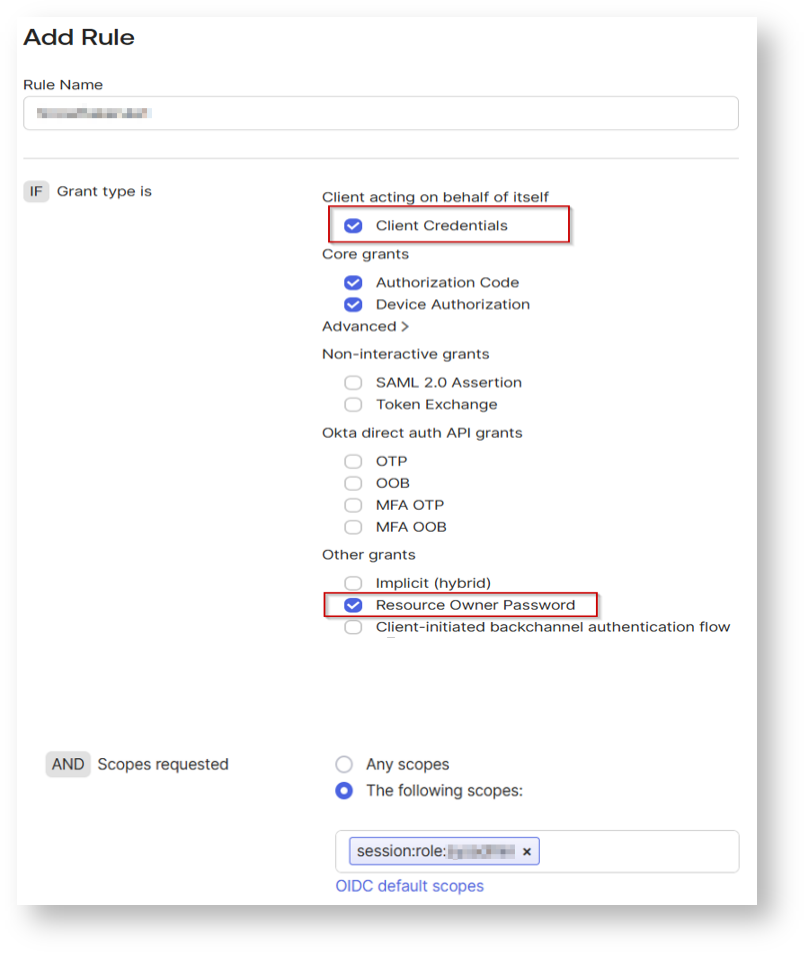
For scopes, you can select any of the scopes or select the desired scopes created earlier that clients assigned to this policy will be able to request (including offline_access for refresh tokens if needed). Configure any additional settings as needed.
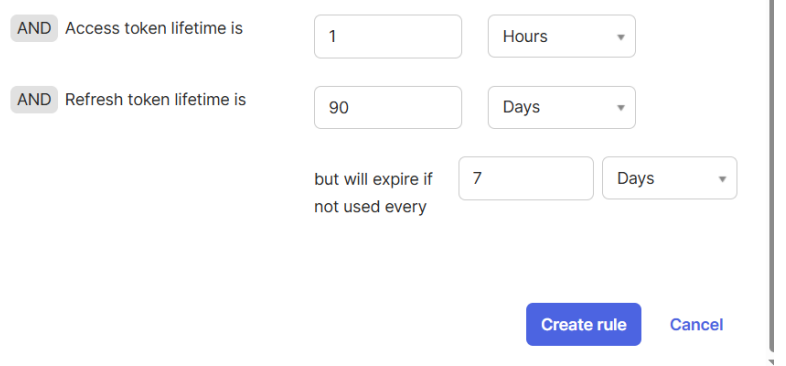
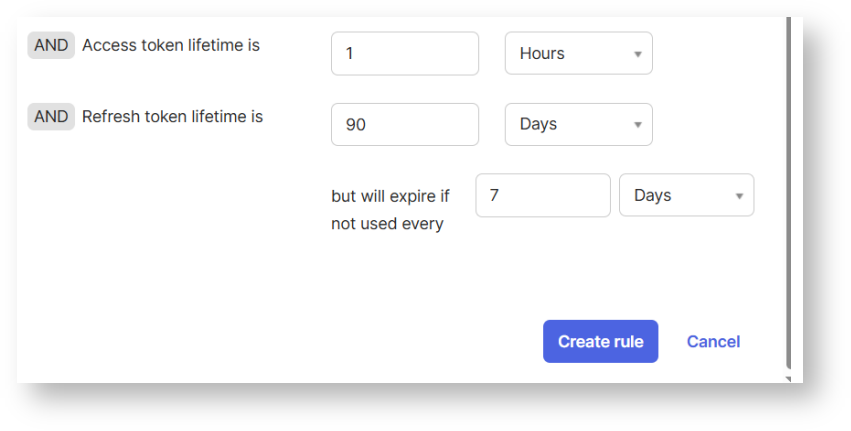
Click Create Rule.
To Verify:
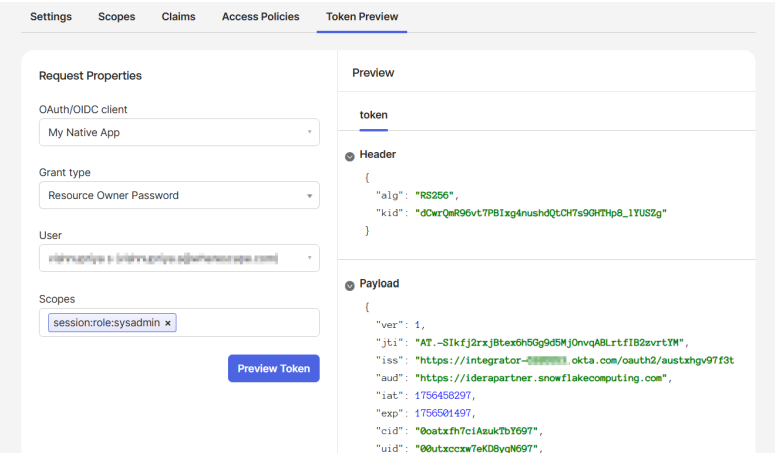
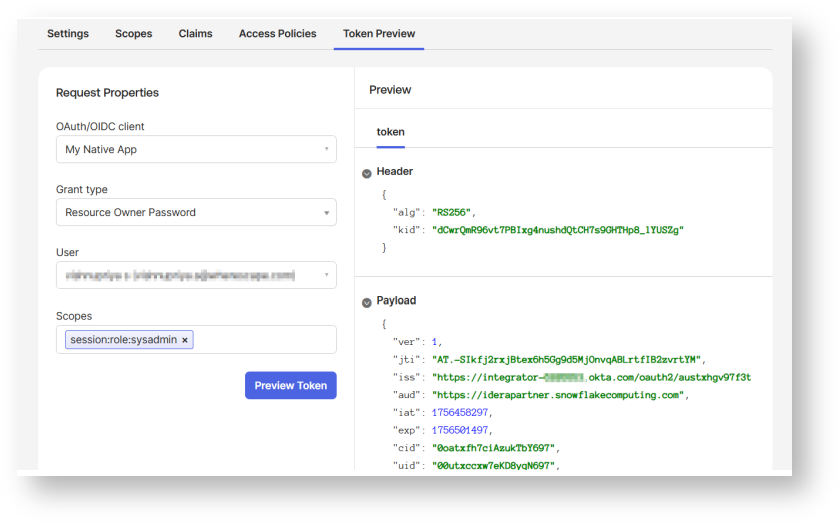
Collect Okta information
...
external_oauth_snowflake_user_mapping_attribute = 'login_name'
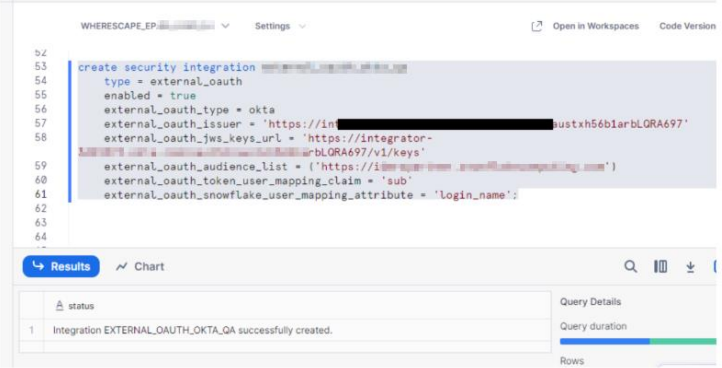
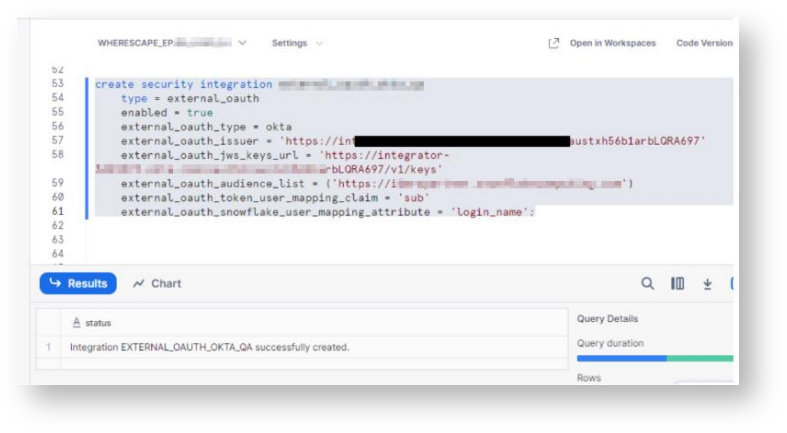
Generate Access Token:
...
curl -X POST -H "Content-Type: application/x-www-form-urlencoded;charset=UTF-8" \ --user <OAUTH_CLIENT_ID>:<OAUTH_CLIENT_SECRET> \ --data-urlencode "username=<OKTA_USER_USERNAME>" \ --data-urlencode "password=<OKTA_USER_PASSWORD>" \ --data-urlencode "grant_type=password" \ --data-urlencode "scope=session:role:analyst" \ <OKTA_OAUTH_TOKEN_ENDPOINT>
Configure the ODBC DSN:
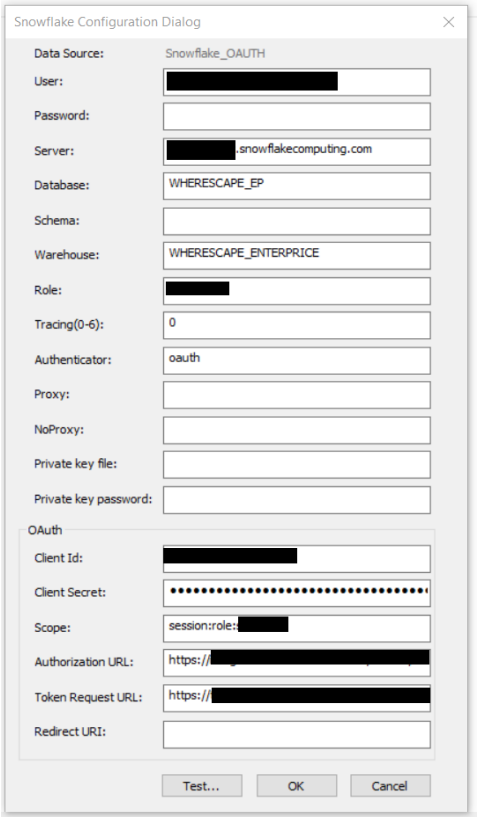
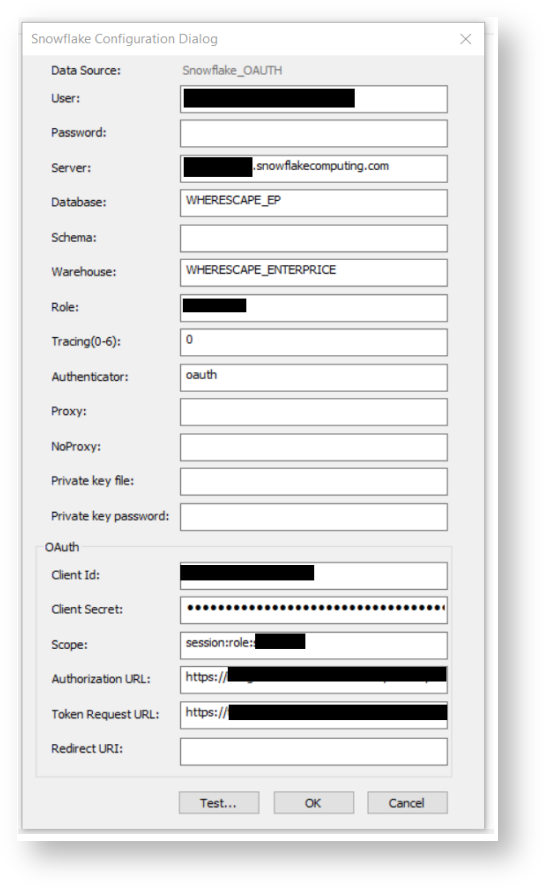
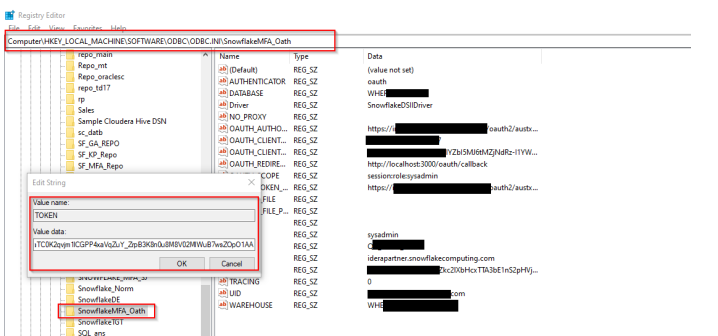
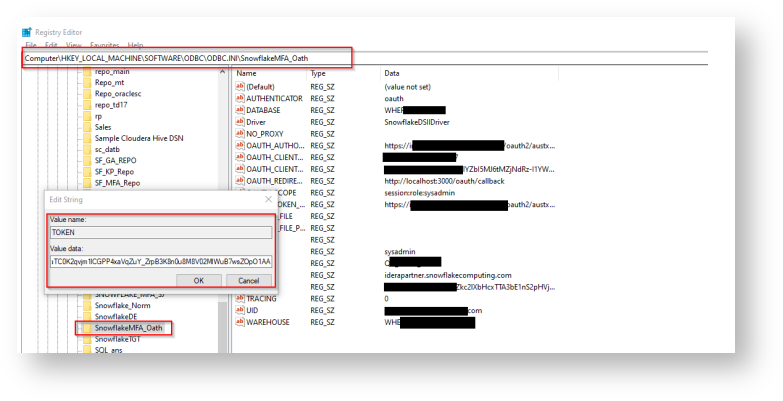
Add access token Registry Editor by following the below steps:
- Press Win + R, type regedit, and press Enter.
- Navigate to:
Computer\HKEY_LOCAL_MACHINE\SOFTWARE\ODBC\ODBC.INI\ - Locate and select your DSN (Data Source Name).
- Right-click in the right pane and select New > String Value.
- Enter the appropriate field name and value, ensuring they match the required
configuration.
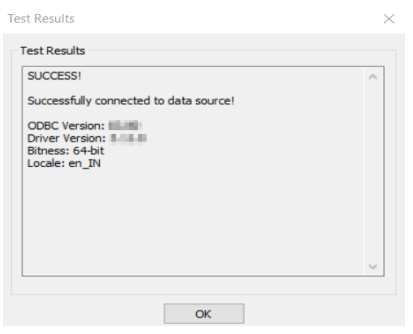
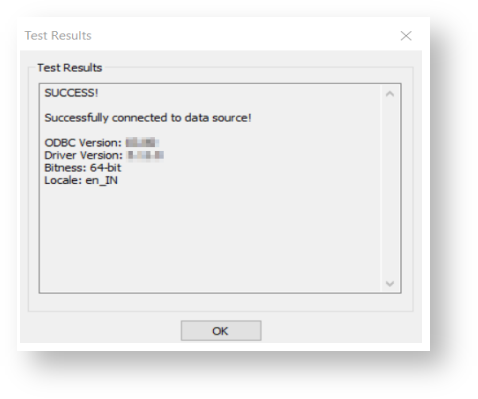
Test the ODBC DSN: