Page History
Find the History Browser Range access in the Web Console, in the History Browser of the Desktop Client console, and when you select 'Enter a Custom Time Range' from the Historical Snapshot drop-down.
Follow these steps to configure the History Browser Range:
- In the desktop console, click History Browser.
- Under the calendar select the option Select History Range.
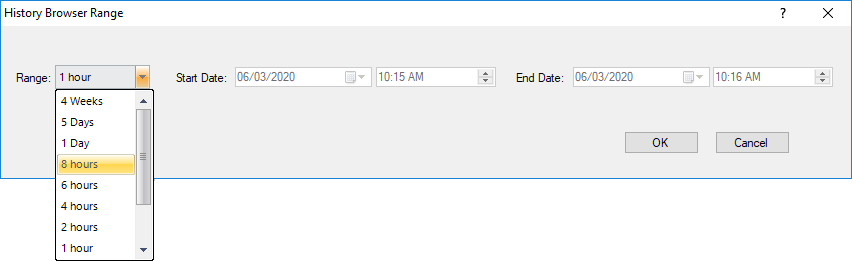
- The History Browser Range window opens.
- Select the range from the drop down list scale, these options are the following: 4 Weeks, 5 Days, 1 Day, 8 hours, 6 Hours, 4 hours, 2 Hours, 1 hour, 30 minutes, 15 minutes, and Custom.
- When selecting Custom, the user needs to select a Start Date/Time and End Date/Time.
- Click OK.