Page History
...
| Table of Contents | ||||||
|---|---|---|---|---|---|---|
|
Installing IDERA SQL Inventory Manager
Before you install IDERA SQL Inventory Manager, be sure to meet the requirements mentioned before. Open the installer and follow these steps:
...
When IDERA SQL Inventory Manager launches on your browser, you should use your Windows user account with your respective password to log in to the product. Please take into account that IDERA SQL Inventory Manager does not store passwords.
Configuring SQL Server
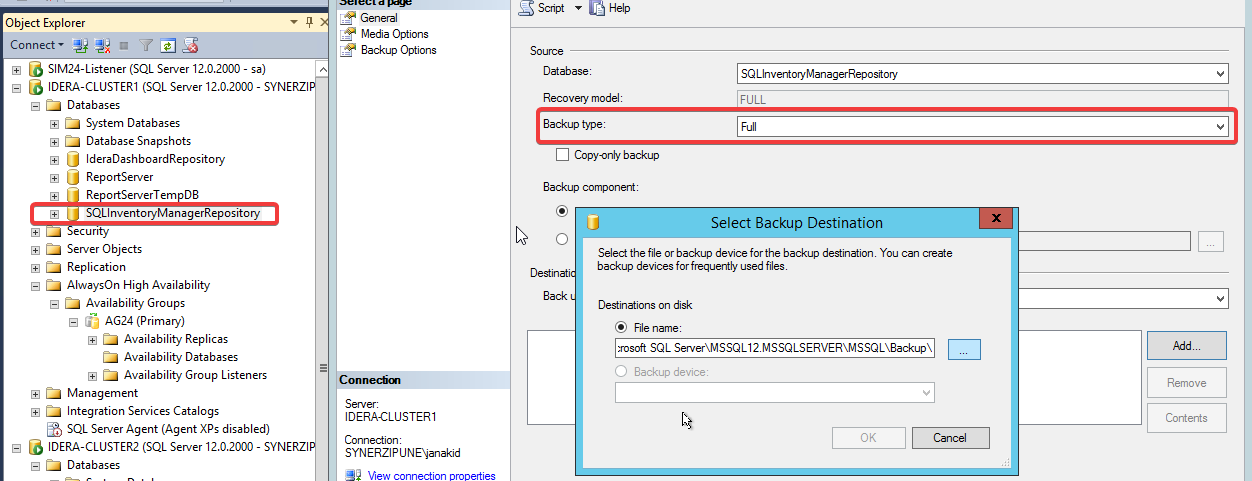
Once the SQL Inventory Manager installation completes, l aunch SQL Server Management Studio and connect to the cluster environment’s SQL Server Instance where you installed the SQL Inventory Manager Repository.
For the SQLInventoryManager database set its recovery model to "full".

- Create a Full backup for the SQLInventoryManager database.
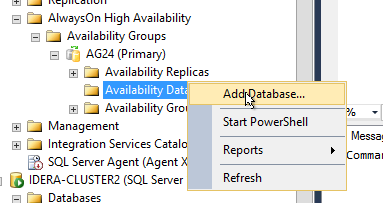
- Under 'Always ON High Availability' go to the availability group you want to use and select Add Database
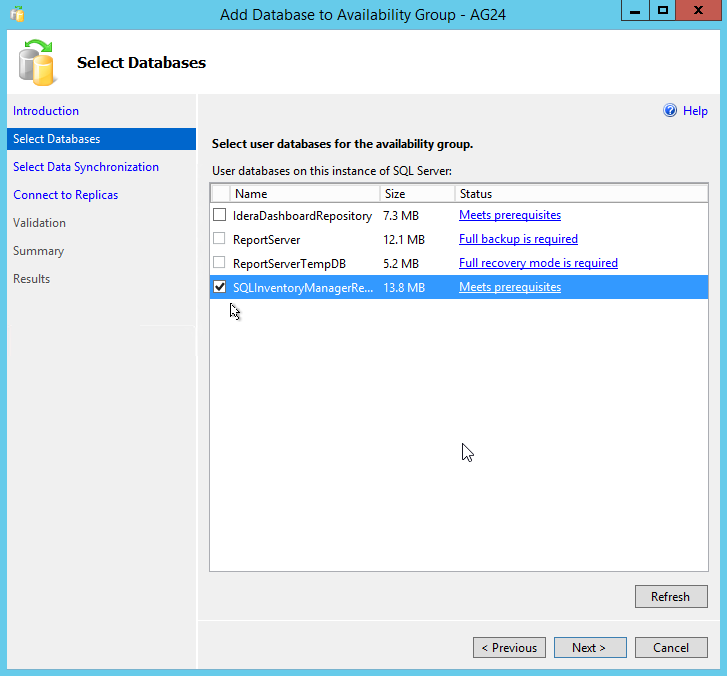
- On the Add Database to Availability Group dialog click Next and follow these steps:
- Select the SQLInventoryManager repository database and click Next.
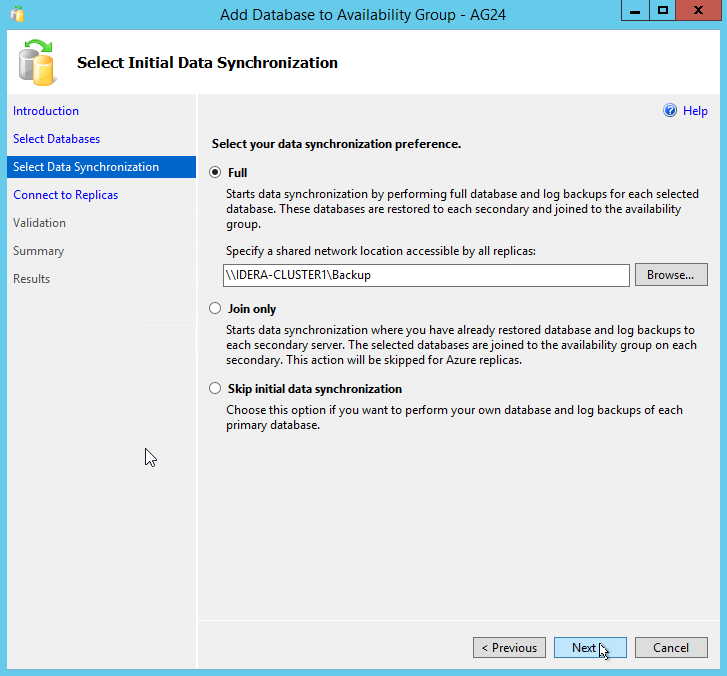
- Select Full data synchronization and click Next.
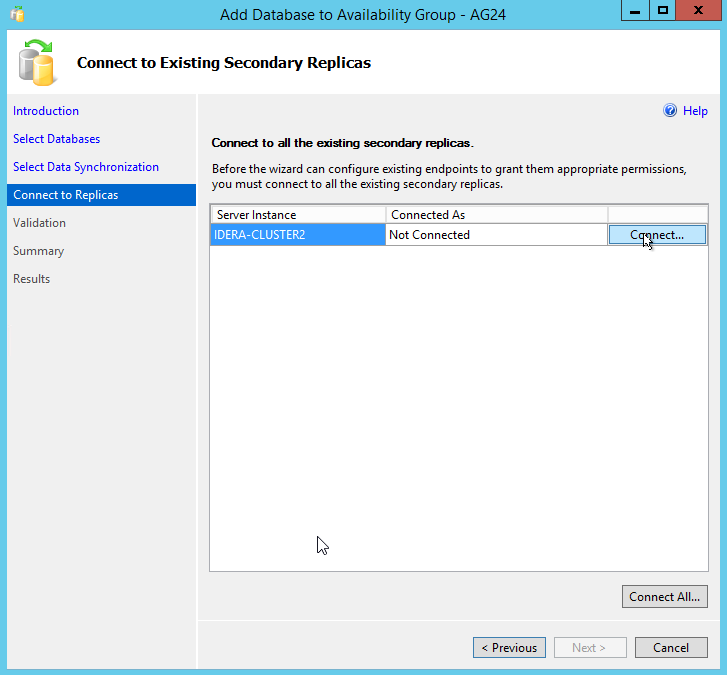
- Connect to all secondary nodes and click Next.
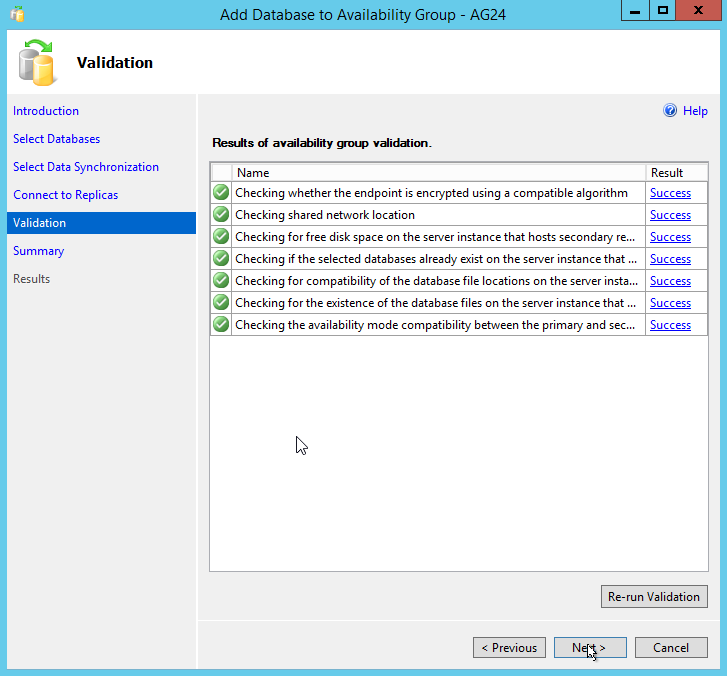
- Once validation finishes successfully click Next.
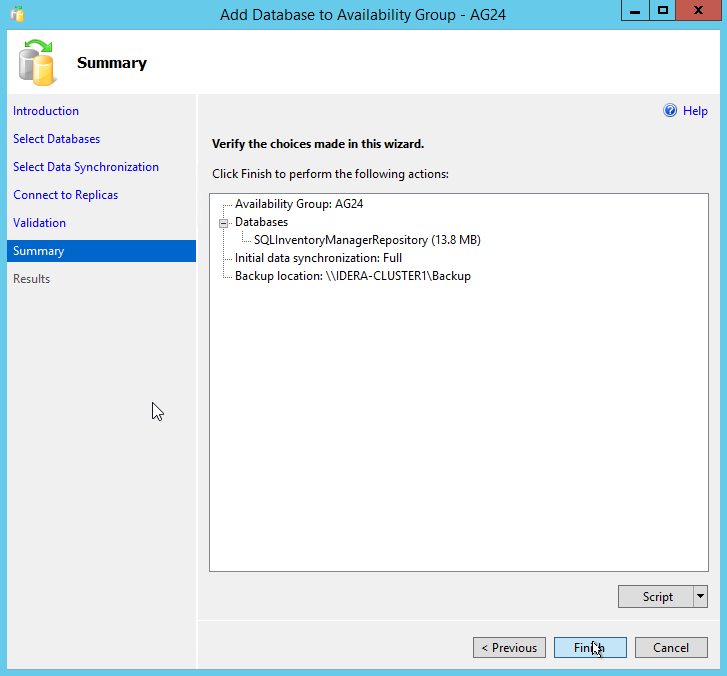
- Check your settings on the Summary section and click Finish to continue.
- Once the wizard completes click Close.
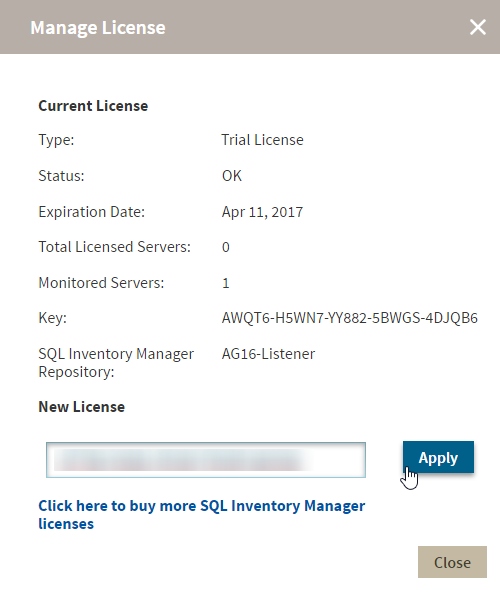
- Go to the Administration tab of SQL Inventory Manager and apply your license.
- Select the SQLInventoryManager repository database and click Next.