Page History
...
After selecting the Create new Repository option, the Configure Metadata Database screen displays.

You can click Click Create Database & DSN to create the required database and connection or you can enter the required information if you already created them.
| UI Expand | ||
|---|---|---|
| ||
|


...
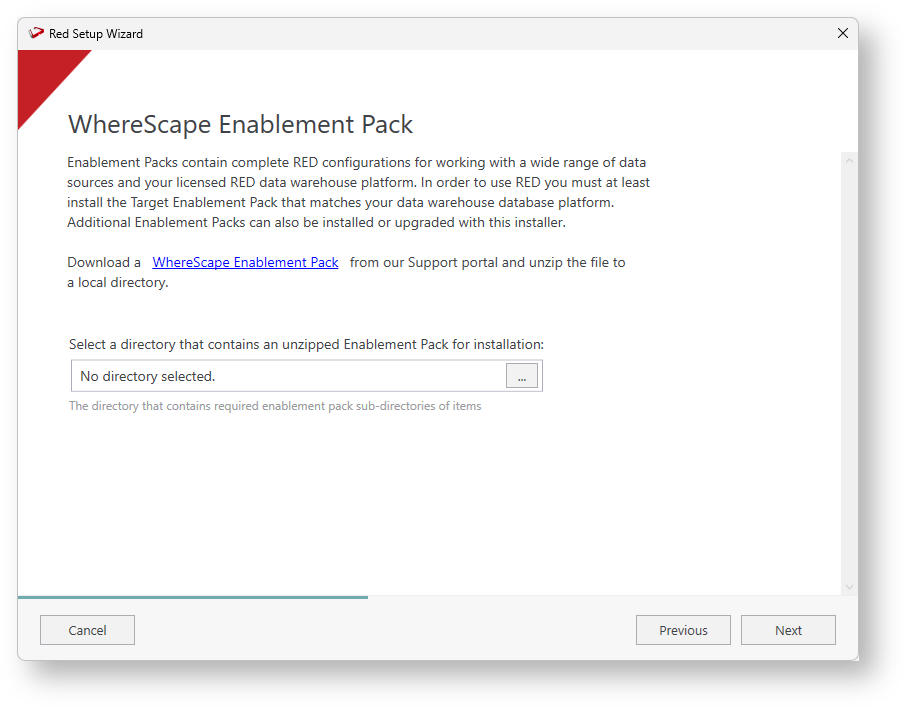
- The WhereScape Enablement Pack window displays. As the dialog explains, you can download the Enablement Pack from the Support portal and unzip the file to a local directory, click
to select the directory that contains the unzipped Enablement Pack, once your configuration is complete, click Next to continue.
- The Configure Enablement Packs window displays a list of components that you can include or exclude in RED.

All components are selected by default. Click the drop-down arrow to view a sub-menu of the items available under each component.Note title Note The enablement pack components vary, depending on the type of database enabled. Option Description Database Function Set Enables you to select the RED database function set that will be installed with the enablement pack.
Database function sets contain a list of functions and operators that are used for building transformations.Data Type Mappings Set Enables you to select the RED data type mapping set that will be installed with the enablement pack.
Data type mapping sets contain a list of mappings that are used when loading tables into the data warehouse.Extended Properties Enables you to select the RED extended property definition set that will be installed with the enablement pack.
Extended properties are used to facilitate connection to a specific database technology (e.g. Snowflake, Amazon Redshift, Microsoft Azure, etc.) and are also used in the script-based processing of all table objects in the database target.PowerShell Modules Enables you to select the RED PowerShell modules that will be installed with the enablement pack.
Data type mapping sets contain a list of mappings that are used when loading tables into the data warehouse.Python Modules Templates Enables you to select the RED templates that will be installed with the enablement pack.
Templates are used in processing the data warehouse table objects.Scripts Enables you to select the RED scripts that will be installed with the enablement pack.
Scripts are used in processing the data warehouse table objects.Procedures Enables you to select the RED procedures that will be installed with the enablement pack.
Procedures are used in processing the data warehouse table objects.UI Configurations Files Automatically Executed Enables you to select the RED files that will be installed with the enablement pack. - In the Add Targets screen, configure the connection where your data warehouse will reside.
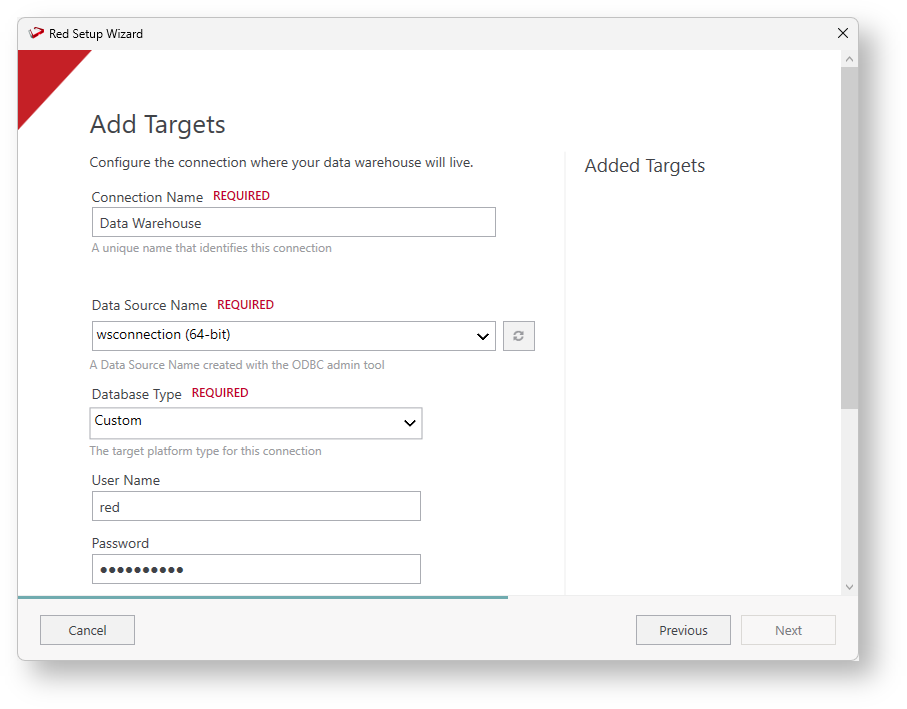
- Add a Connection Name, which needs to be a unique name to identify your connection.
- Select the Data Source Name created with the ODBC admin tool.
- Add User Name and Password associated with your connection
- Add the location of the existing schemas for object storage, follow these steps to complete this section:
- When you click Add Location, the Target Storage Location populates automatically. Enables you to add and validate a schema in the specified target database. If the schema defined does not exist in the target database, it is created during the installation process.
- For the Connection String, click Validate to populate or type in the token values for your connection
- After Validation, click Next.
- A new Add Targets screen displays, which allows you to add another target.
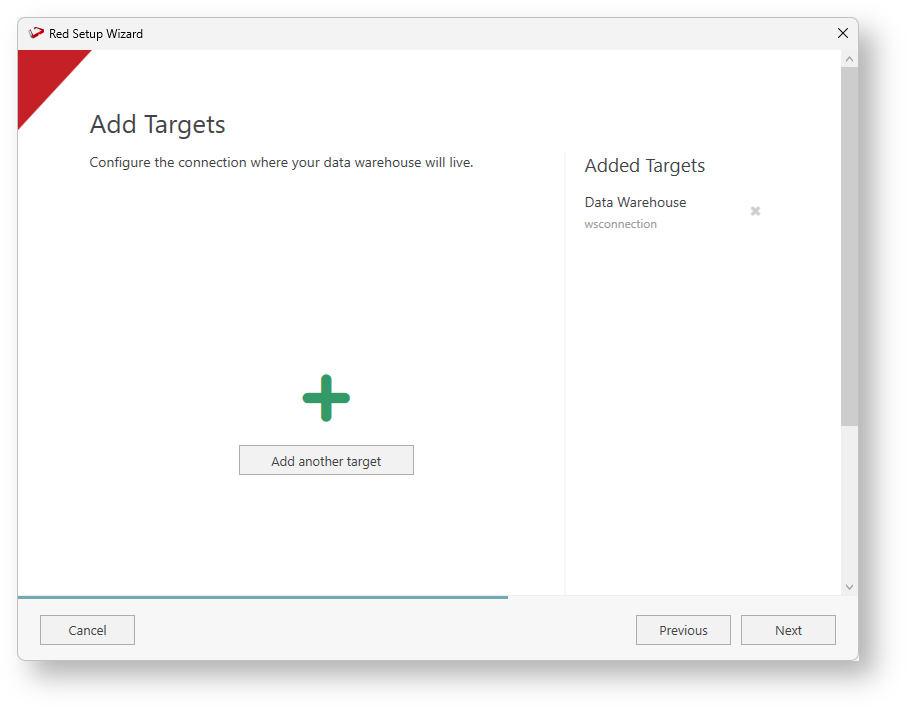
After successfully adding your database target(s) and schema, click Next to continue. - The Add ODBC Sources window displays, you can skip this step and add a source later on RED.

Type To add a source type in the required data source connection details:- Add a name to your connection. Typically similar or derived from the ODBC Source Name (DSN) for quick identification.
- The ODBC data source name (DSN) for the data source connection. The OBDC Data Source Name must be defined in the Windows ODBC Data Source Administrator to appear in this drop-down field.
- Enter the login User Name and Password to connect to the data source.
- For the Connection String, click Validate to populate or type in the token values for your connection.
- After Validation, click Next.
- After the validation is completed, click Add to add several datasources, they are displayed in the right pane of the window. Click Next to continue.
- In the Summary window, you can review all the details about the Metadata Location, Repository Settings, and Enabled Database settings.
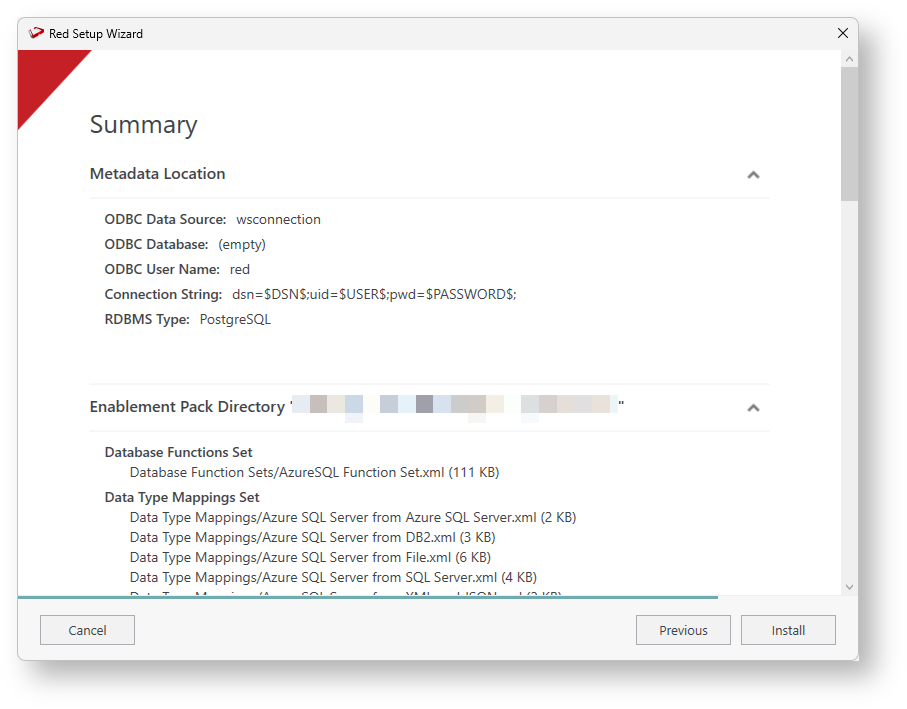
Click Install to proceed with the installation.
Once the installation is complete, a message is displayed to confirm that the installation was successful.Note title Note - Clicking Previous enables you to step back through the Setup Wizard screens and edit the setting you have currently defined.
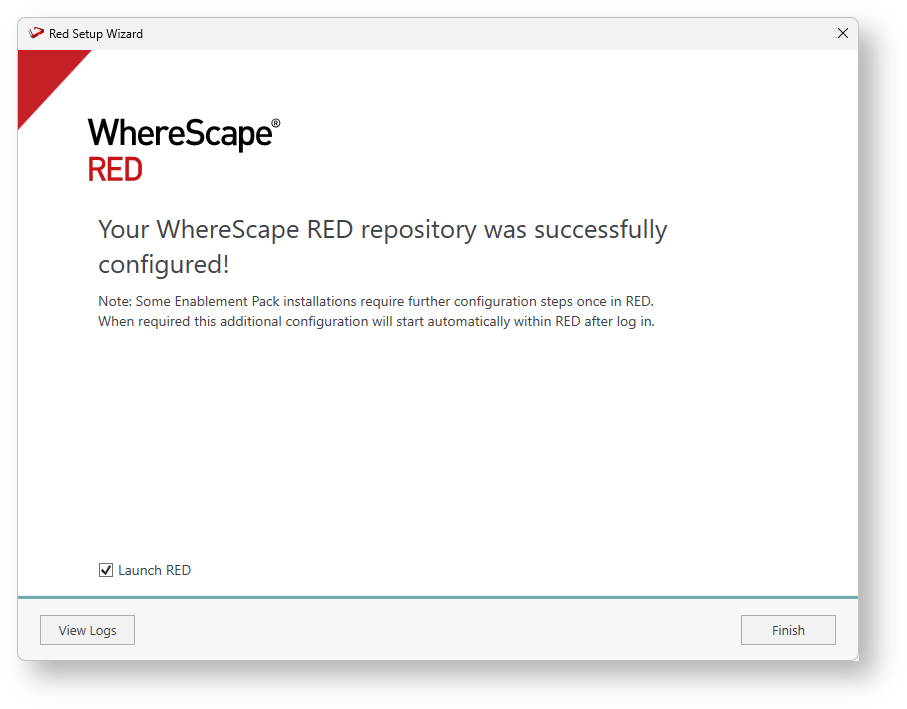
- Click Finish to launch RED and start working with your data warehouse.
Note title Note If the installation process is not successful, a message is displayed showing the error details. You can try to fix the problem using the error information and then click Retry to continue the installation.
...