Page History
...
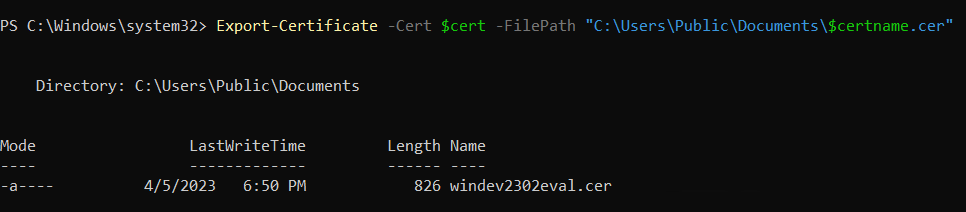
Export your certificate in
.cerformat by running the following command.Code Block language powershell Export-Certificate -Cert $cert -FilePath "{DesiredPath}\$certname.cer" ## Replace {DesiredPath} with the desired location e.g. C:\Users\Public\DocumentsOnce the certificate is created, you should be able to check the certificate specifications.
Create a password for your certificate private key and save it in a variable. Replace
{myPassword}with the password that you wish to use to protect your certificate's private key.Code Block language powershell $mypwd = ConvertTo-SecureString -String "{myPassword}" -Force -AsPlainText ## Replace {myPassword}Run the next command to export your private key, use the password you store in the
$mypwdvariable.Code Block language powershell Export-PfxCertificate -Cert $cert -FilePath "{DesiredPath}\$certname.pfx" -Password $mypwd ## Replace {DesiredPath} with your desired location e.g. C:\Users\Public\DocumentsWhen the private key is exported in a
.pfxfile, you should be able to check the certificate specifications.
Import your private key into the Trusted Root Certification Authorities
...
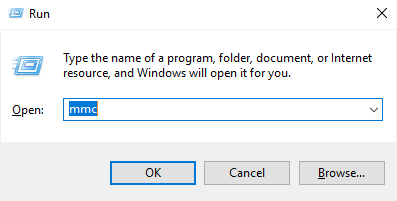
- Open the Microsoft Management Console (MMC) by selecting Run from the Start menu as Administrator. Type mmc and click OK.
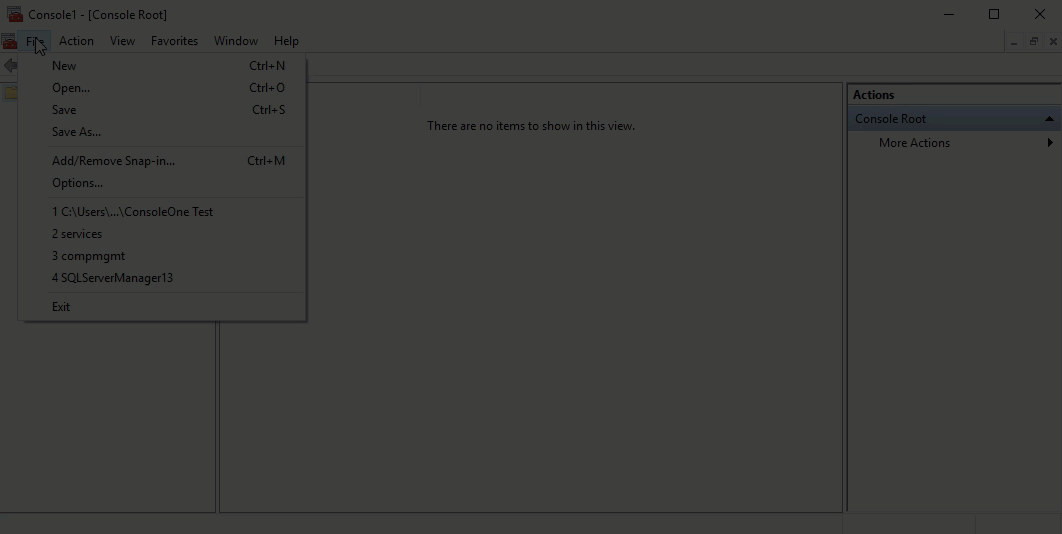
- When the MCC window opens, click File from the menu toolbar, and select Add/Remove Snap-in...
- Once the Add or Remove Snap-ins window opens, select Certificates from the Available snap-ins options and click Add >.
- In the Certificates snap-in window, select Computer Account, and click Next.
- In the Select Computer window, verify that the Local computer is set as the computer you want the snap-in to manage. Click Finish.
- Import your certificate (
.cerfile) into the Trusted Root Certification Authorities folder. To do so, expand the Certificates node, from the Console Root tree and right-click the Trusted Root Certification Authorities folder, select All Tasks, and click Import...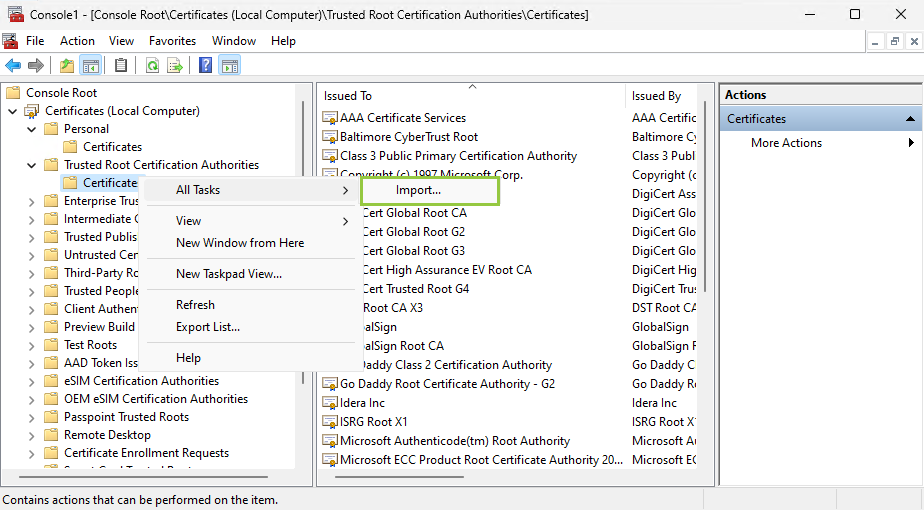
When the Certificate Import Wizard opens, follow the instructions to import the
.cerfile previously created.Info When adding your certificate or private key using the Certificate Import Wizard, use the password you previously defined in the Export your certificate private key section.
...
- Download the free KeyStore Explorer utility from
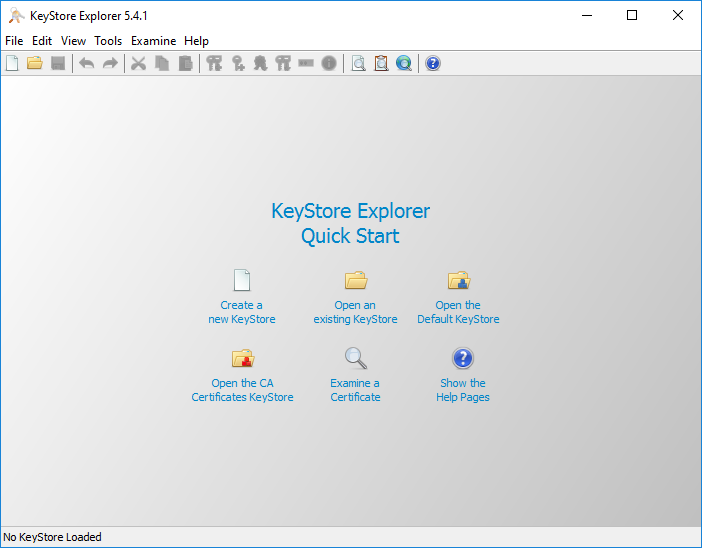
and install it.Newtab2 alias http://keystore-explorer.org/ url http://keystore-explorer.org/ - Open KeyStore Explorer as administrator. KeyStore Explorer displays the following Quick Start options. On launch, it may ask you to download an updated Java Cryptography Extension (JCE) Unlimited Strength file.
- Click Open an existing KeyStore.
- Browse to the IDERA Dashboard conf directory, the default path is
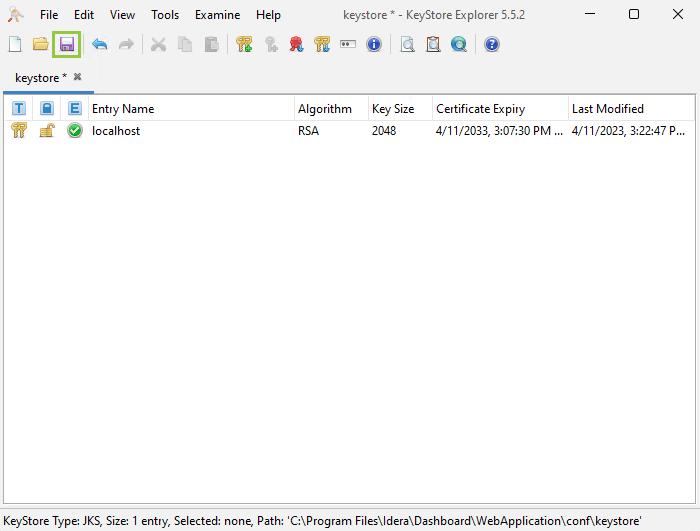
C:\Program Files\Idera\Dashboard\WebApplication\conf, and open the keystore file.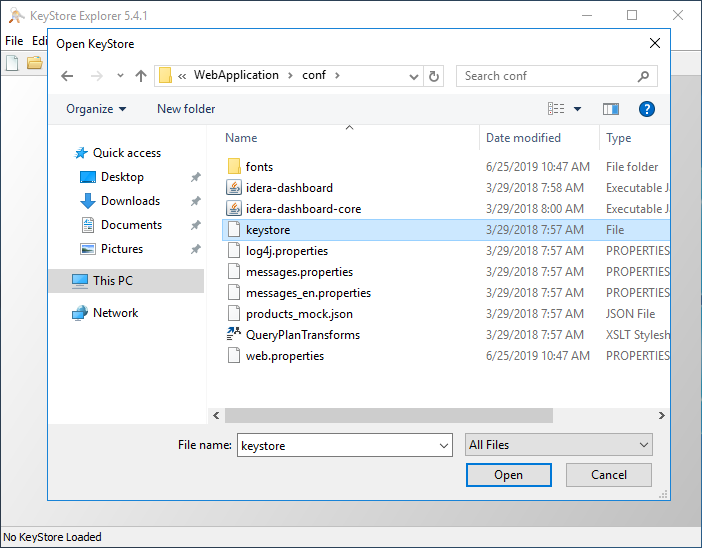
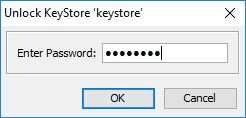
- On the Unlock KeyStore dialog, enter "password" and then click OK.
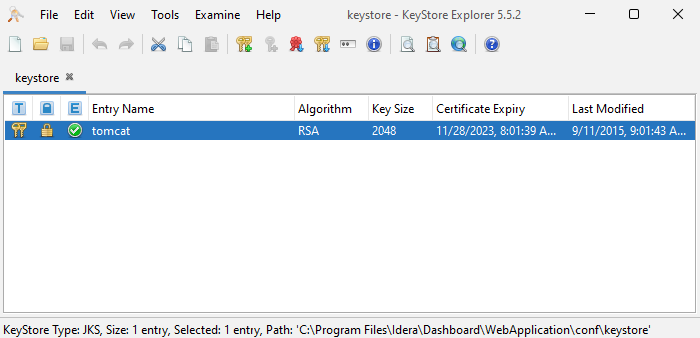
- KeyStore Explorer displays a list of any existing certificates. Delete the existing key and click the Import Key Pair.
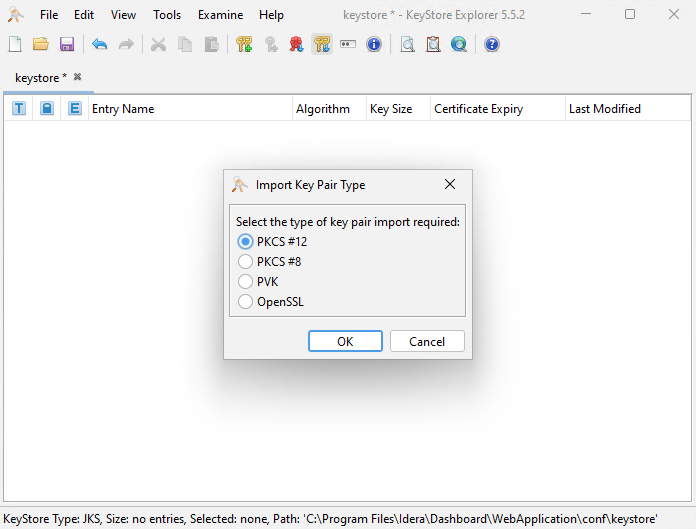
- Select PKCS #12 as the type of key you want to import, and click OK
- Look for the key you created steps above, in this case,
windev2302eval.pfx.click Choose.
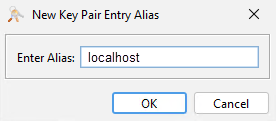
- Select an alias for your key, and click OK.

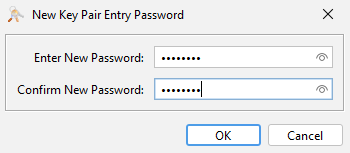
- In Enter New Password type "password", confirm, Choose a password and click OK.
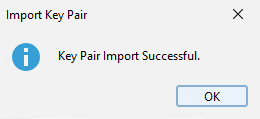
- When the configuration is completed the following message pops up, click OK.

- Return to the main KeyStore Explorer window, save your configuration, and close the application.
- Close all the opened browsers.
- Restart the Idera Dashboard Core Service and Idera Dashboard Web Application Service.
- Access to the Idera Dashboard with the following link
https://<{certificateName}>:9291 .
...