Page History
...
- Click the Add User / Group option and the Add User/Group dialog displays.
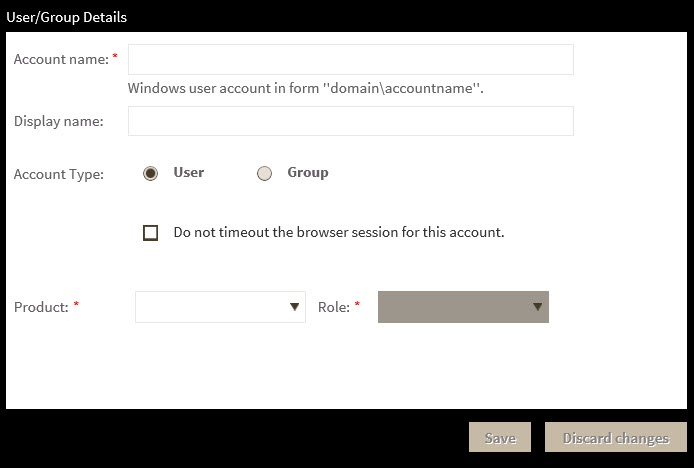
- Type the name of the user you want to grant access to. You should enter a Windows user name in the following format: <domain\user>.
- Select User or Group in the Account Details field.
- Check the Do not timeout the browser session for this account check box to stay logged in.
- Check the Send welcome email check box to provide new user with information about the product and URL for the Idera Dashboard console.
- Type the email address where you want the user to receive alert emails.
- In the Product field you can select to add user to the Idera Dashboard or SQL Inventory Manager.
- If you select the first option (Idera Dashboard), in the Role field you can assign to the user the Dashboard Administrator or Dashboard guest Guest roles.
- If you select the second option (SQL Inventory Manager), in the Role field you can assign to the user the Product Administrator, Product userUser, or Product guest Guest roles.
- Click SAVE.
Editing a user in the Idera Dashboard
This option allows you to edit the account name, change the email address where user receive alerts, disable his/her account, and add new permissions. To edit a user or group follow these steps:
- Select one user from In the list of users, click the Edit icon for the user account you want to edit, and the Edit User/Group dialog displays:
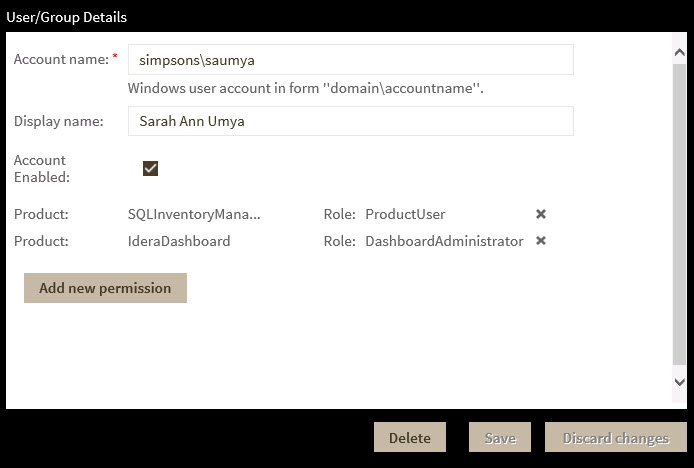
- Change the necessary setting.
- Click SAVE.
...