Page History
...
The Decommissioned tab and the Decommissioned Databases list show information about decommissioned items such as the name, timestamp of decommission, SQL Server version and edition (Instance only), recommendations (Databases only), and more. To access the Decommissioned tab, go to the Instances tab, and click Decommissioned.
| Info |
|---|
Users who decommission or recommission instances and databases must be administrators within IDERA SQL Inventory Manager. |
| Tip | ||
|---|---|---|
| ||
To add notes on why an instance is decommissioned, you can use the comments field on the Instance options, or you can create a custom inventory field. You must add the notes before changing the status to decommission. |
...
- Add. Click this option to go to the respective wizard and add new SQL Server instances.
- Export. You can choose any of the following formats: PDF, XLS, or XML for exporting the information displayed on the Decommissioned view.


| Tip |
|---|
You can type on the bottom section of this view the number of instances you want IDERA SQL Inventory Manager to display per page. Click Refresh to apply the changes. |
...
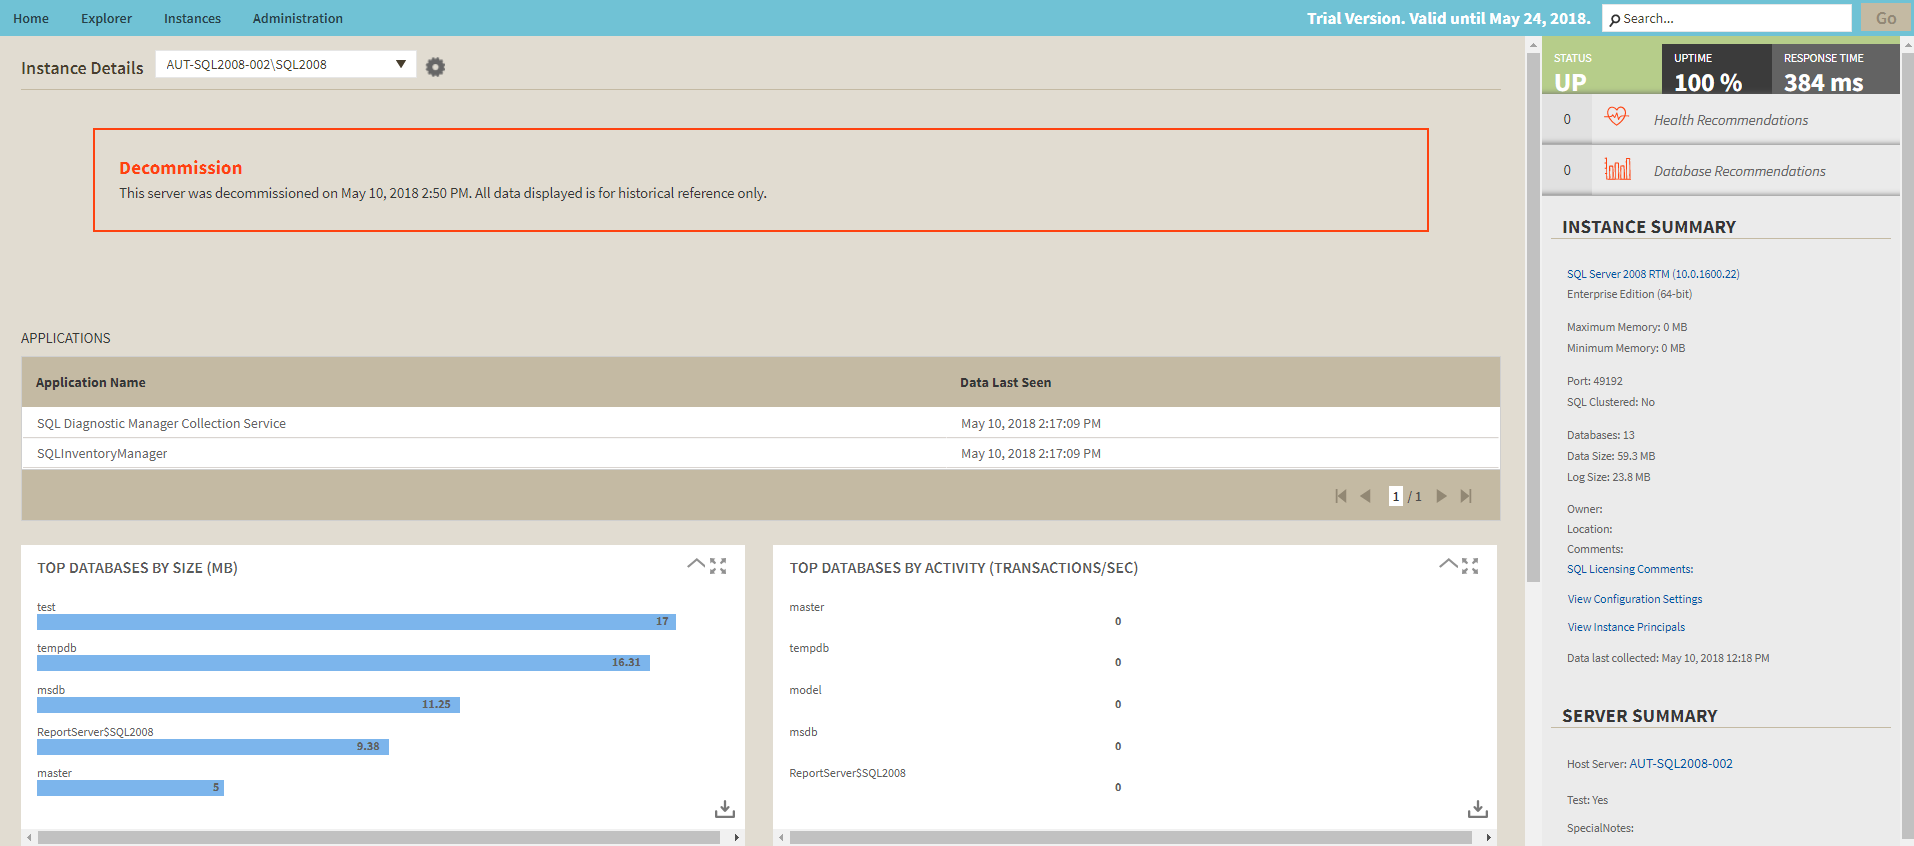
You can access an instance details view by clicking directly on the instance name. For more information about what information is available on the instance details view, refer to Viewing instance details. Decommissioned instances display a large message including the timestamp when the instance was decommissioned and to remind the user that all displayed data is for historical purposes only.

Remove
If you no longer want to manage an instance, you can remove it by selecting the respective instance, going to More Actions on the action items bar, and selecting Remove. You can also find this option by clicking the gear icon next to the instance. IDERA SQL Inventory Manager displays all removed instances on the Ignored instances view. For more information about removing instances click here.
...
Creating a useful filter to "weed out" unnecessary information takes time but is important when managing large environments. As a result, you may want to save that filter for future use. IDERA SQL Inventory Manager now allows you to save filters for use in the Explorer and Instances views. Simply create the filter, and then click Save as Explorer favorite or click Save as Instances favorite, depending on which view you are in when creating the filter. To use that filter, click Load Explorer favorite or click Load Instances favorite.
You can enable or disable the option Apply filter as it changes depending if you want to see the changes as you apply the filter, or if you prefer to select your filters first and see the results when you finish.
| Tip | ||
|---|---|---|
| ||
| IDERA SQL Inventory Manager displays the filters you select on the top section of your managed instances view under Filtered by.You can remove filters from this section too. |
| Excerptscroll-ignore |
|---|
IDERA SQL Inventory Managerlets you discoverDiscover and visualize your SQL Server environment.Learn more > > |
...
...