Page History
...
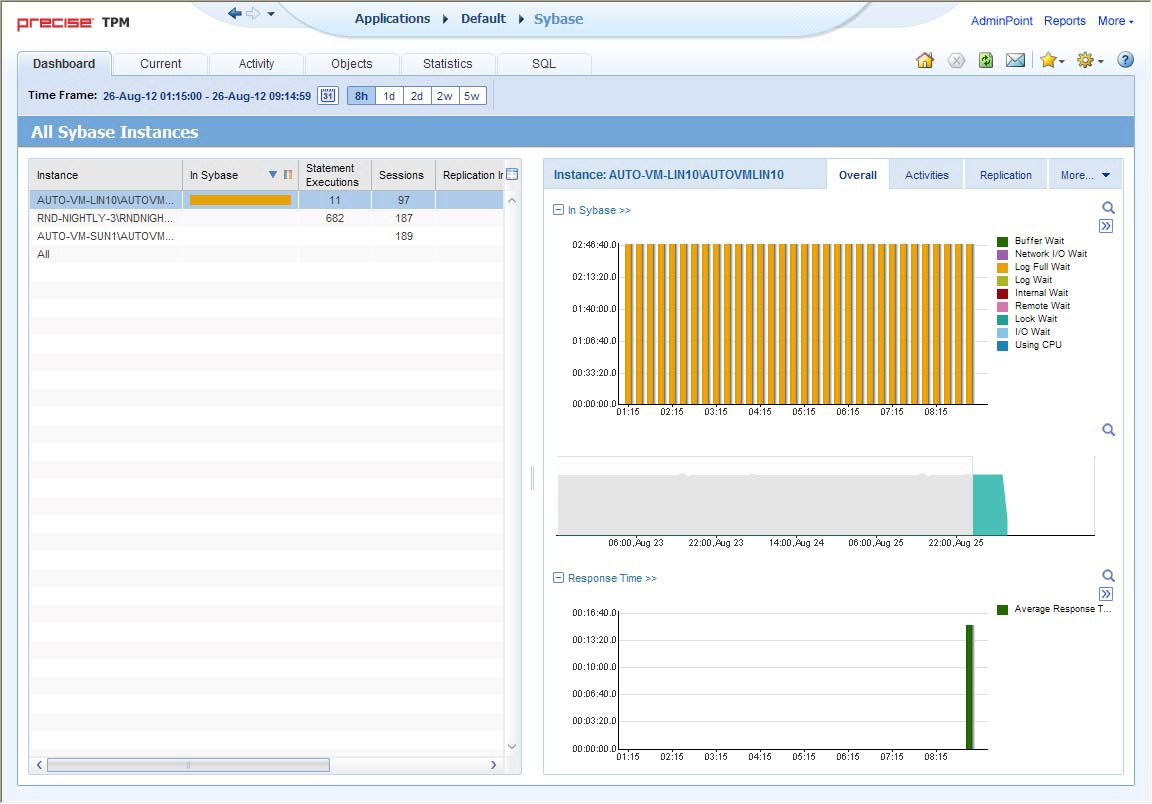
Figure 1 How a typical tab is structured
About the Precise bar
The Precise bar enables you to keep track of where you have been and provides various controls. The table below describes the function of each of the toolbar buttons.
...
In some tabs, you can filter the contents of the view by clicking the Filter button. See Filtering data on page 21.
About the Association area
...
 Displays the information in percentage format.
The Association area enables you to drill down to another entity by clicking a row. The information displayed in both the Main area and the Association area will change to reflect your selection. See Filtering data on page 21 and and Associating entities with data that meet specific criteria on page 21.
| Anchor | ||||
|---|---|---|---|---|
|
...
Selecting a predefined time frame from the toolbar displays transaction performance data for the selected time period up to the current time. See Selecting a predefined time frame from the Precise for Sybase toolbar on page 20.
Selecting the time frame using the calendar icon, you can choose to define a time range independent of the current time, or to define a time range up to the current time. See Selecting a time frame using the calendar icon on page 20. The predefined time frame options are:
...
The time frame selected affects all information displayed in Precise for Sybase. Only data that falls within the selected time frame is shown in these areas.
| Anchor | ||||
|---|---|---|---|---|
|
To select a predefined time frame, from the Precise for Sybase toolbar, select one of the predefined time frames.
| Anchor | ||||
|---|---|---|---|---|
|
To select a time frame
- Click the calendar icon. In the dialog box that is displayed perform one of the following:
- To define a time frame independent from the current time, select the ‘Time Range’ option and select the Start and End dates and times.
- To define a time frame up to the current time, select the ‘Last’ option and enter the desired time frame.
- To use one of the three previously used time frames, select the ‘Recently used’ option and from the drop- down menu select the desired time frame.
- To use a previously saved time frame, select Use a previously saved time frame and from the drop-down menu select the desired time frame.
- To save your settings for future access, select Save these definitions for future use as: and enter a name in the corresponding field.
- Click OK.
...