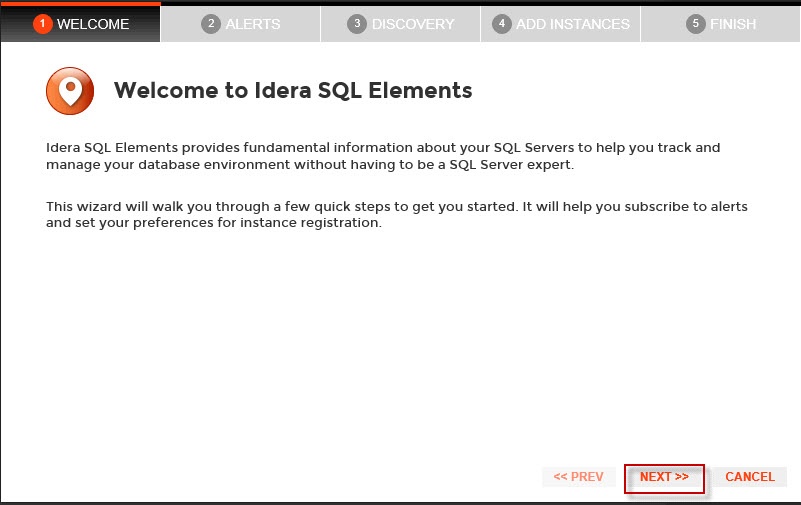
When you first install the product and log in to product for the first time, SQL Elements displays a welcome screen that guides you through some initial steps that help you to:
- Enter an email for receiving notification alerts.
- Choose if you want to have automatic registration enabled.
- Select the first place from where you will select the instances you want to register.
On the Welcome section click Next to start with the Alerts section.
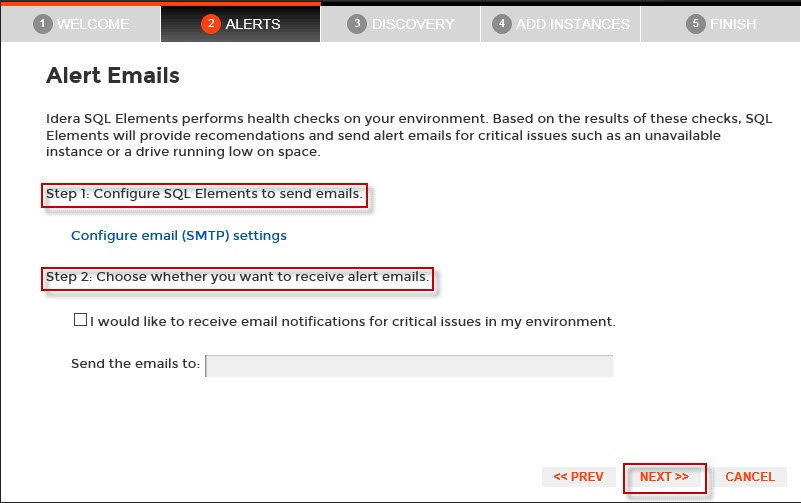
The Alerts section allows you to configure your email settings and enter an email address for subscribing to alerts. When you subscribe to alerts, SQL Elements sends you alert emails for critical issues on your environment. These alerts are a result of a set of health checks performed by SQL Elements on your SQL Server instances.
If you want to configure alert emails, this section requires that you follow two steps:
Step 1 lets you configure your email (SMTP) settings. You must go through this step first if you want to receive alerts. For more information about configuring your email settings, refer to Configure email (SMTP) settings.
Step 2 lets you decide if you want to receive alert notifications and specify the email address where you would like to receive these alerts.
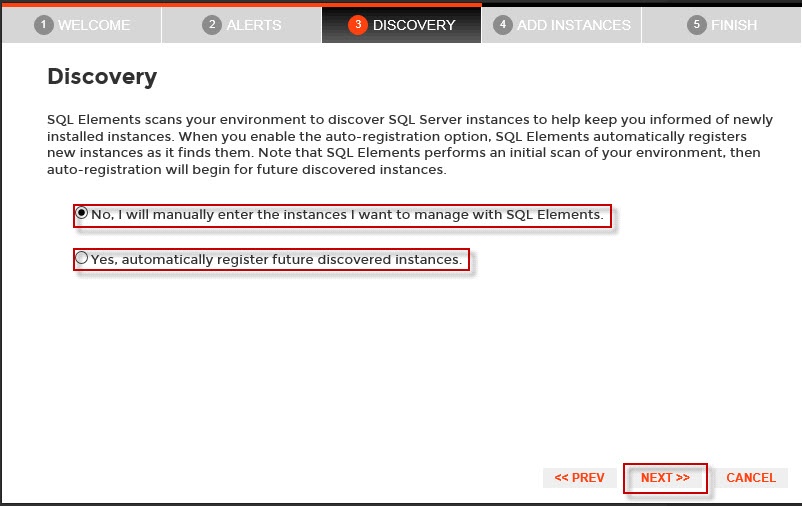
On the Discovery section, you can choose if you want to enable or disable automatic registration for your instances.
SQL Elements continuously scans your environment to discover SQL Server instances and keeps you informed of newly installed instances.
When you enable the auto-registration option, SQL elements automatically registers instances as it finds them. Note that SQL Elements performs first an initial scan of your environment, then auto-registration will begin for future discovered instances.
You can later change these settings on the Administration tab, for more information go to Enable automatic registration.
The next section, Add Instances, allows you to determine how you would like to initially choose the instances you want to monitor. You need to register SQL Server instances in order to monitor them with SQL Elements.
This section allows choosing from:
- Using the Add Instance wizard - which takes you to a wizard where you can manually pick those instances you want to monitor, specify which connection credentials SQL Elements will use to connect to them, add owner, location, comments, and tags. For more information, refer to Adding SQL Server instances.
- List of discovered instances - this option takes you directly to the Discovered section on the Instances view. From this section you can pick which instances you wish to monitor and which ones you wish to ignore. For more information, refer to Discovered instances and Ignored instances respectively.
- Registering all discovered instances - this option lets you initially register all discovered instances.

Finally, the last section provides you with a summary of other key features available on SQL Elements such as:
- Tags - You can use tags to organize or group your instances for better management. Tags also help you filter views and explore your instances.
- Health Check Recommendations - SQL Elements performs a set of health checks on you environment to alert you from critical issues. These health checks also ensure that basic configuration and disaster recovery recommendations are followed. You can access knowledge base articles in each health check recommendation to get more information.
- Invite other users - You can grant other users access to SQL Elements or enter their email addresses to receive alert notifications.
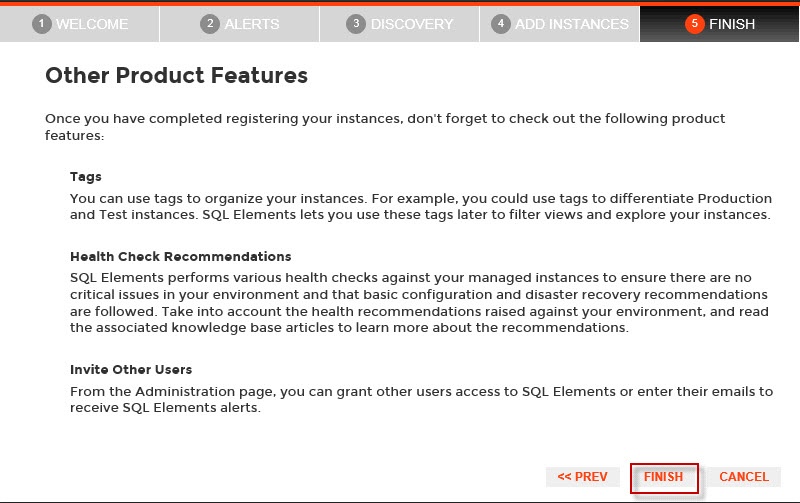
You can change any of these initial settings by clicking PREV. When you complete this process, click FINISH.
Click CANCEL at any point to skip these initial settings.