WhereScape Enablement Pack for SQL Server - RED 10.3+
This is a guide to installing the WhereScape Enablement Pack for SQL Server for WhereScape RED10
Prerequisites Target Database
- Access to an SQL Server (Target Environment), with the following connectivity information :
- Server Name
- Database Name
- User Name
- Password
- At least one schema available to use as a RED Data Warehouse Target
- SQL Server software installed
- SQL Server ODBC driver (64-bit)
- Add ODBC DSN for SQL Server Target Database
- Add ODBC DSN for SQL Server Target Database
- SQL Server ODBC driver (64-bit)
- SSIS Runtime Prerequisite:
i. SQL Server Integration Services (SSIS) runtime must be installed.
ii. SSIS Text File Log Provider must be available and enabled.
iii. This load relies on package-defined SSIS logging and will not generate log files if the required SSIS components are missing.
Note: If SSIS was installed without logging components, this feature must be enabled through SQL Server setup modification
Before you begin the following prerequisites must be met:
- Python 3.11 or higher
- Select "Add Python 3.11 to PATH" from the installation Window
Pip Manager Install with the command: python -m pip install --upgrade pip
Installation Through Setup Wizard
Run Setup Wizard as administrator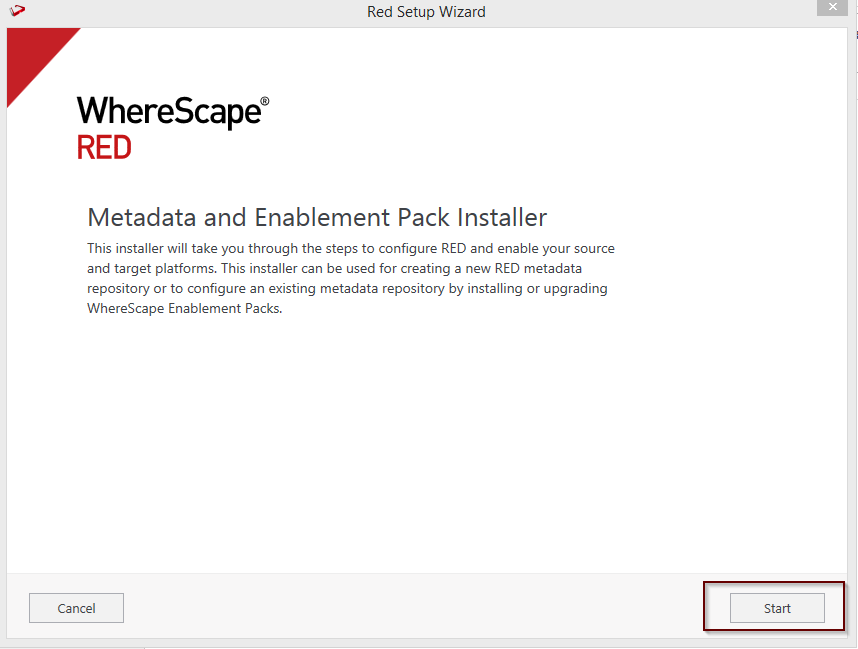
Create a new repository or upgrade an already existing repository.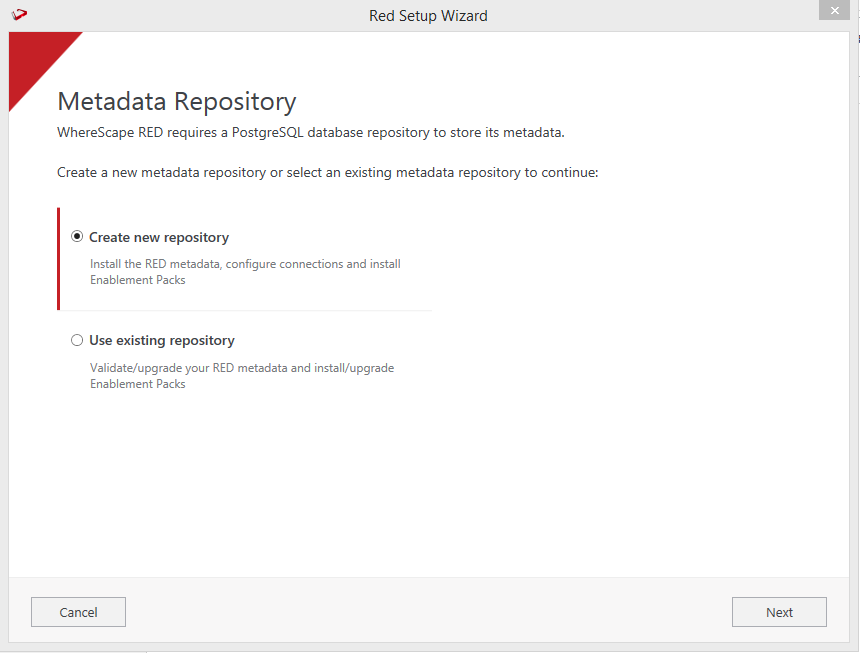
Select the created ODBC DSN, input login details and then select "Validate". Click Next 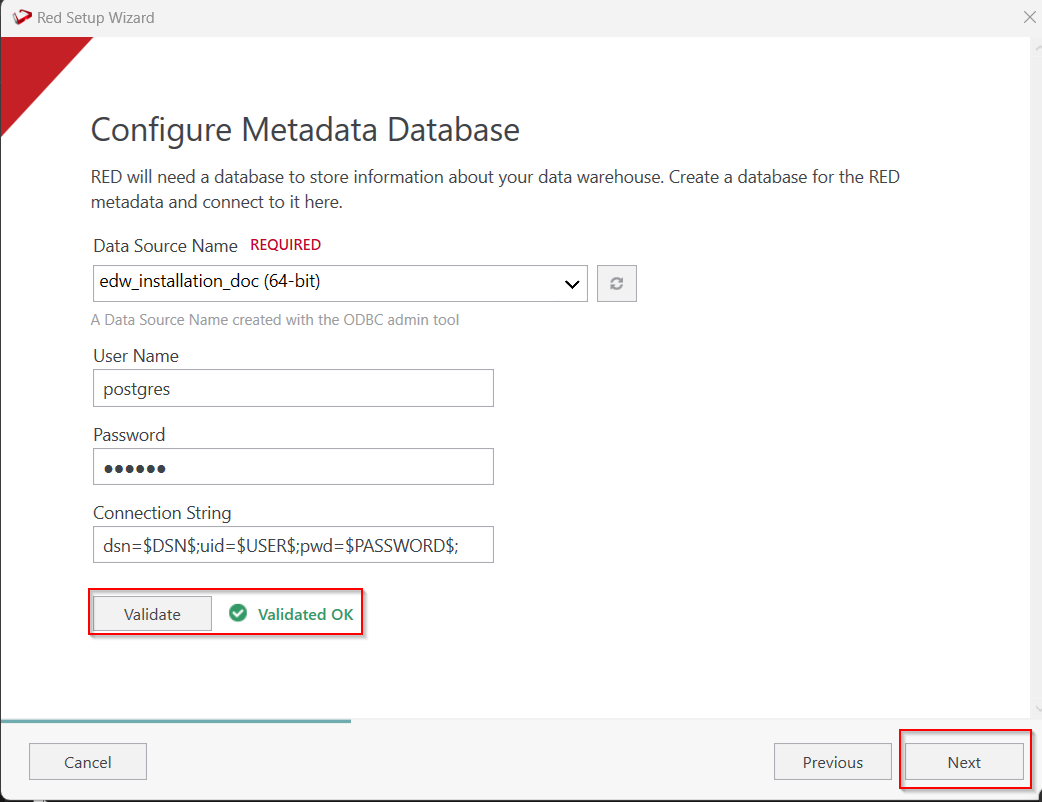
Select the directory that contains the unzipped Enablement Pack for installation. Click Next 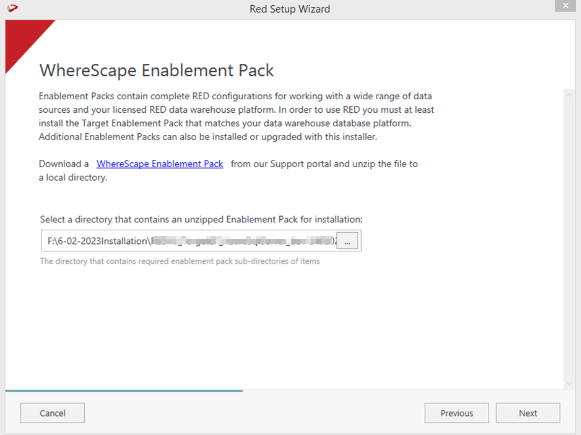
Using the checkboxed list, include or exclude the components to be installed. Click Next 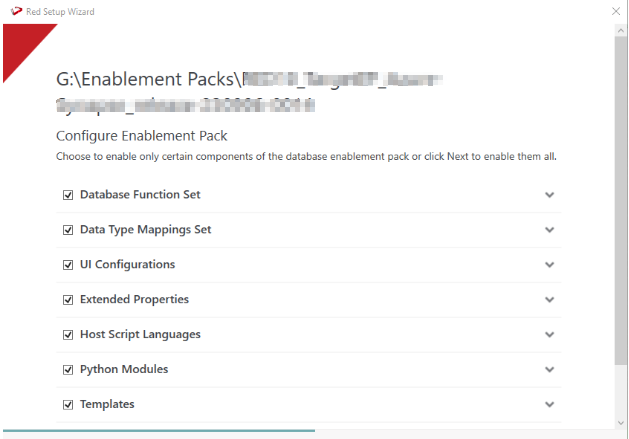
Configure a target connection (example, Data Warehouse) and its target locations. Validate and press ADD.
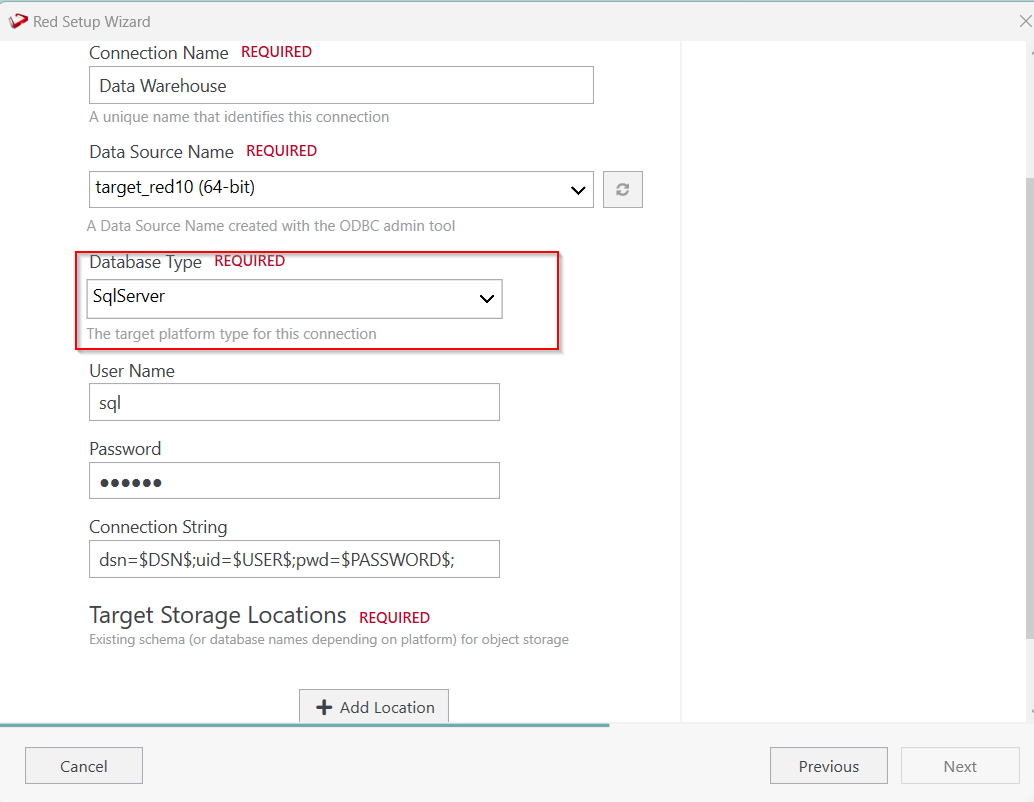
When done, press Add and then Press Next to advance.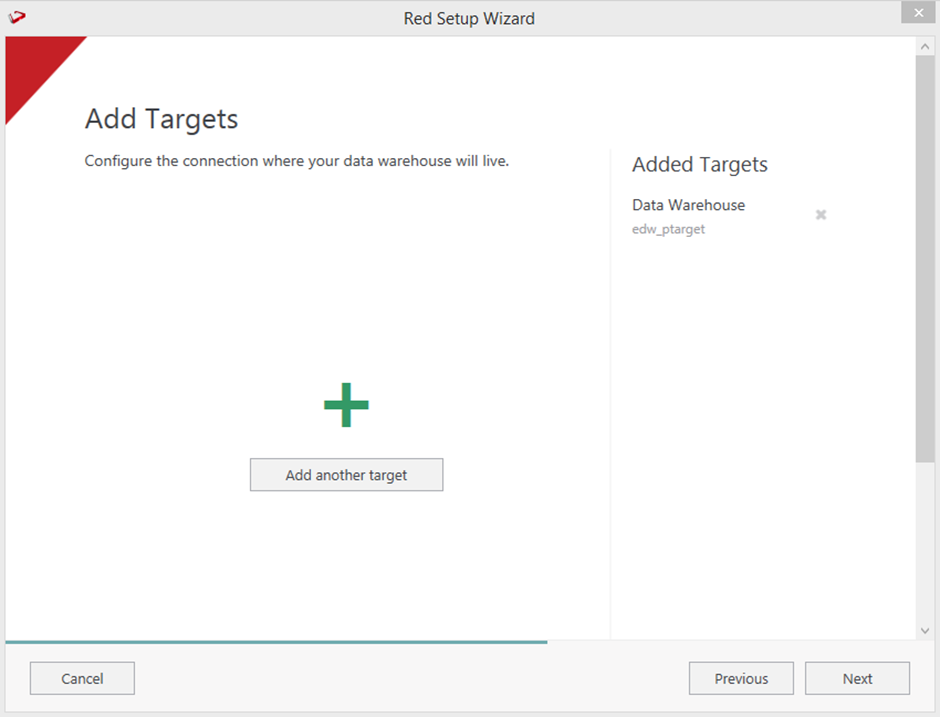
Configure a data source connection (optional) and its target locations. Validate and press Add. Press Next to advance.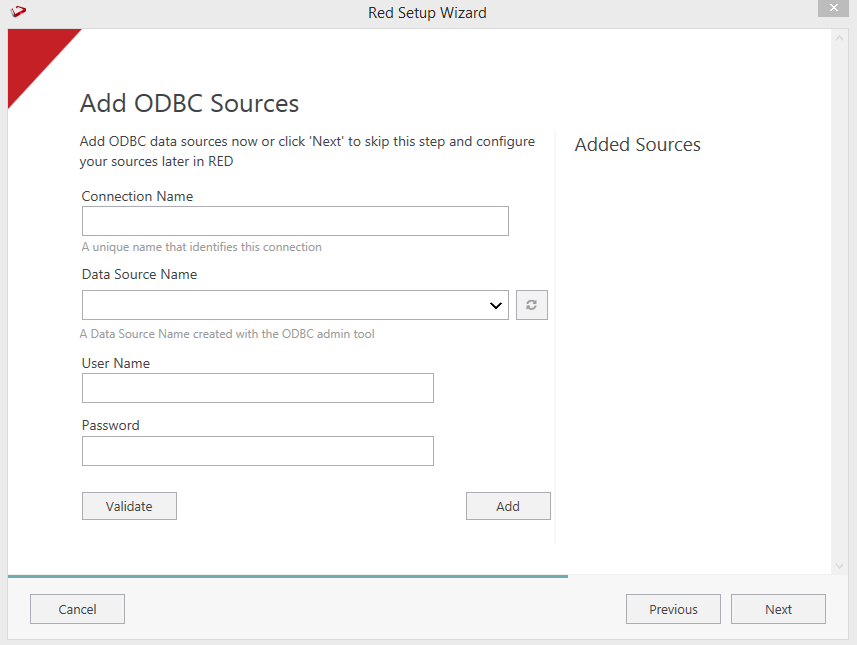
Review the installation summary and click Install
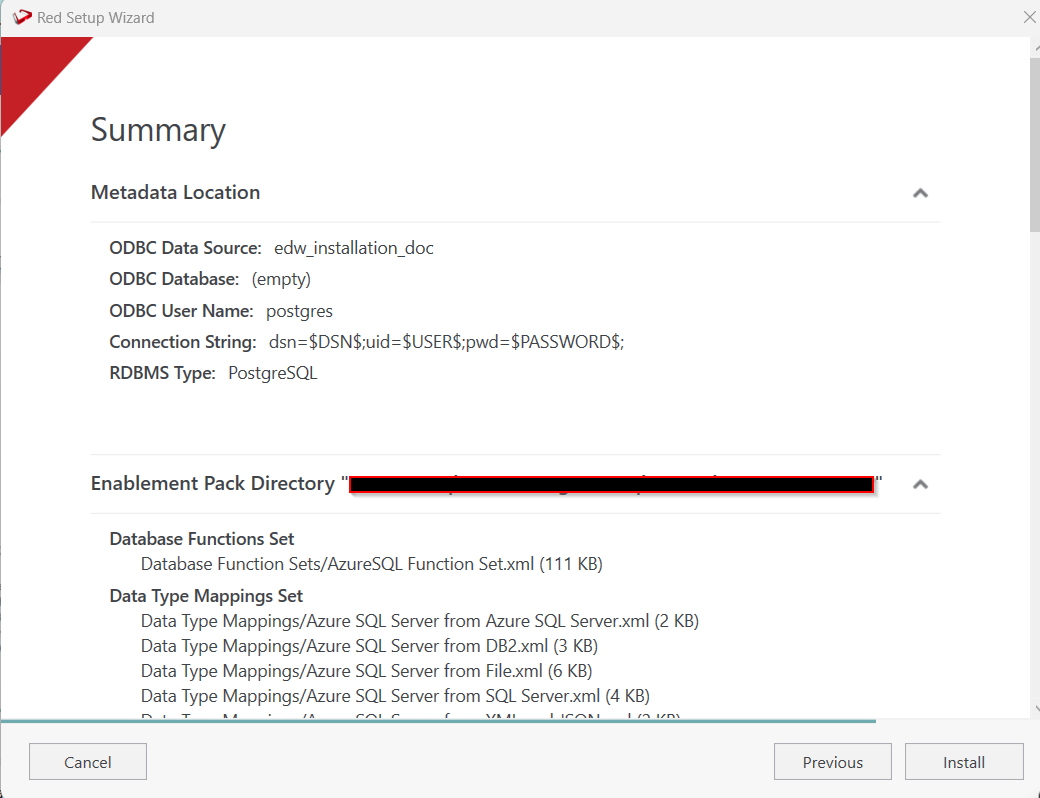
Click the View Logs to open the installation log. Click Finish once the installation is completed successfully.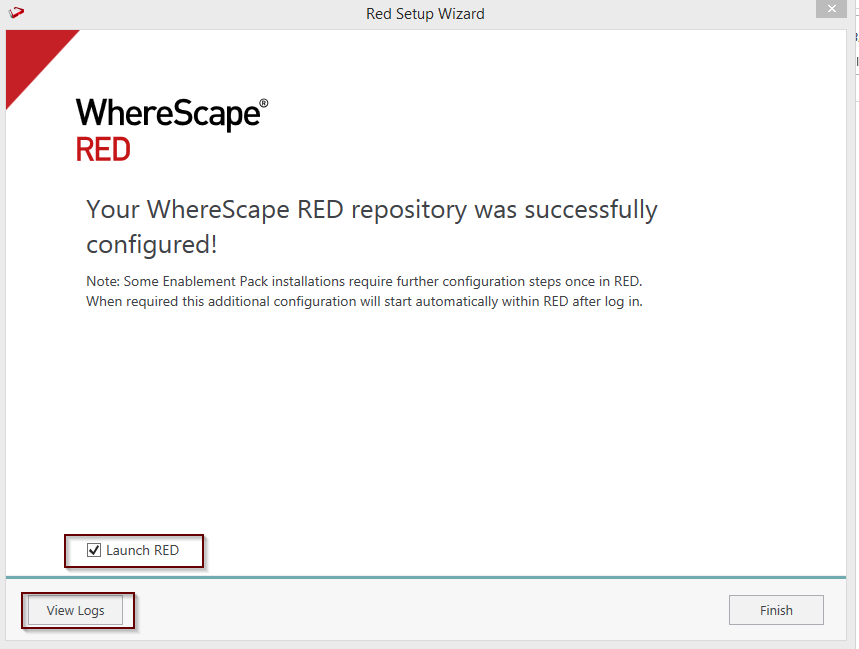
Login to WhereScape RED.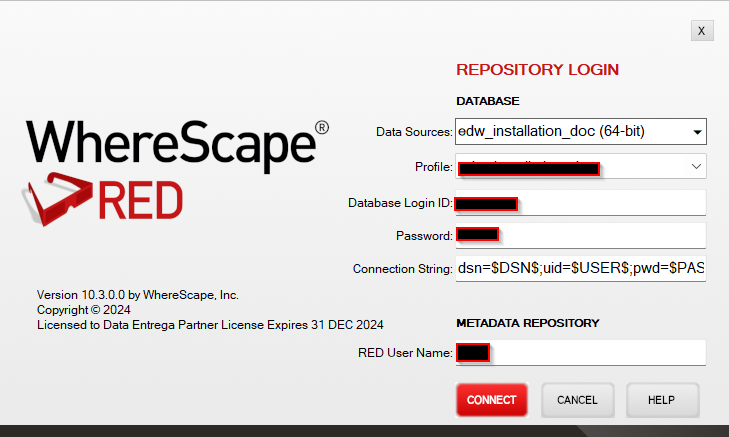
There is a post-install script that will run at the first login to RED10 to complete the post-setup wizard installation process. You will be directed to the below PowerShell window which will give brief explanation about post installation process. |
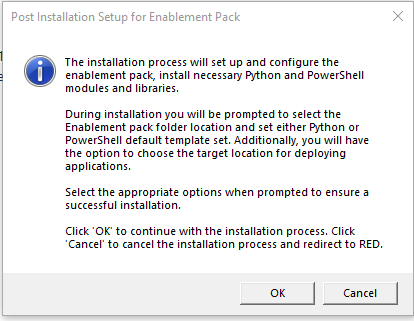
Click OK to start the post-installation. If pressed Cancel installation will stop and the user will be directed to RED.
The user will be directed to the window below, where they have to select the target connection to be configured. Additionally, by deselecting the provided options, the user can choose not to install a particular option. "Reset Extended Properties" is deselected by default.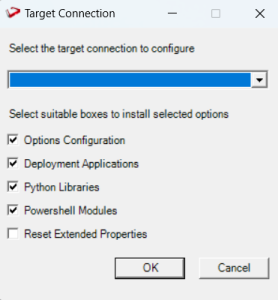
You will be directed to below PowerShell window below. Provide the directory that contains the unzipped Enablement Pack.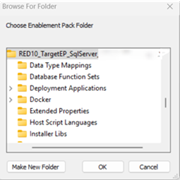
Press OK
The user will be directed to the window below, where they have to select the Create new profile or use existing one option.
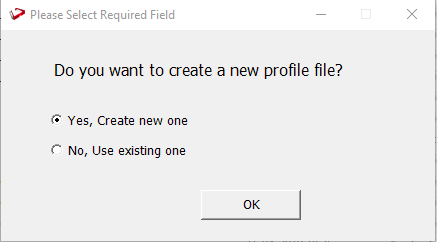
| For a fresh installation RED creates a profile file with the same name as DSN, which you can use or choose to create a new profile file. |
Make a selection and press OK.
Choosing the "Yes, Create new one" option, you get directed to the window below.
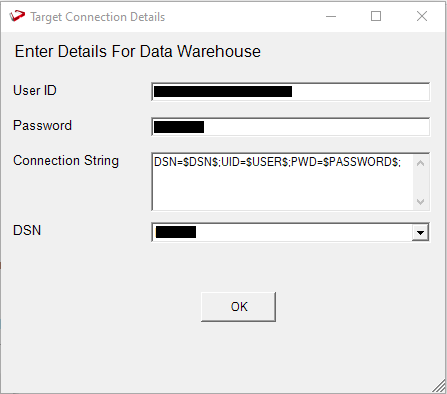
| You can use a default connection string or input a new one. |
Press OK
You will be directed to the window below, where you can enter a profile name.
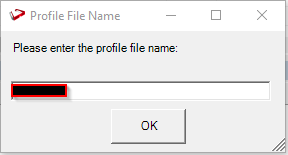
Press Ok.
The below pop up will come to confirm the user that profile is created at that location.
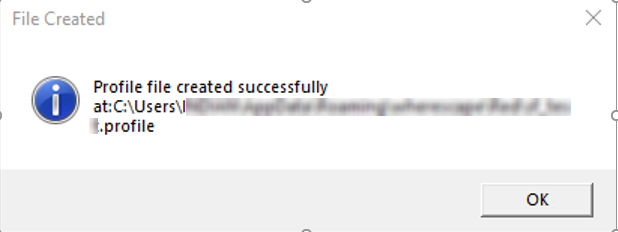
Press OK.
If you choose the "No, Use existing one" option.
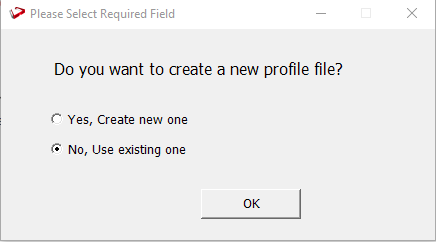
You will be directed to the window below ,where you can select the existing profile file.
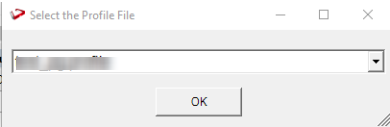
Press OK.
The progress bar will show the post-installation progress.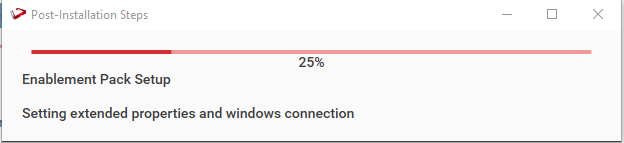
User will have to choose the schema for the target setting that were provided. One pop up will come for setting default target schema for Date Dimension.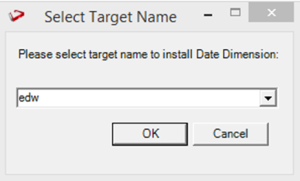
After selecting the target schema progress bar will show the progress for the installation and once it's completed, you will get the below pop-up.
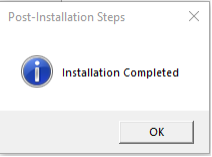
After clicking OK RED10 will open automatically.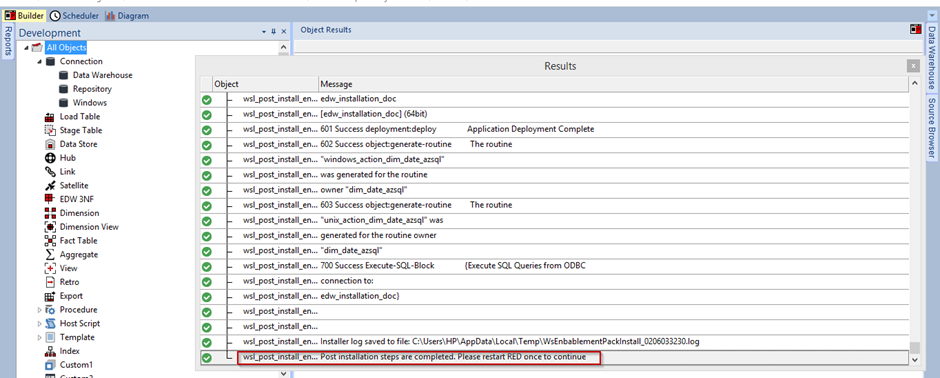
Restart RED once.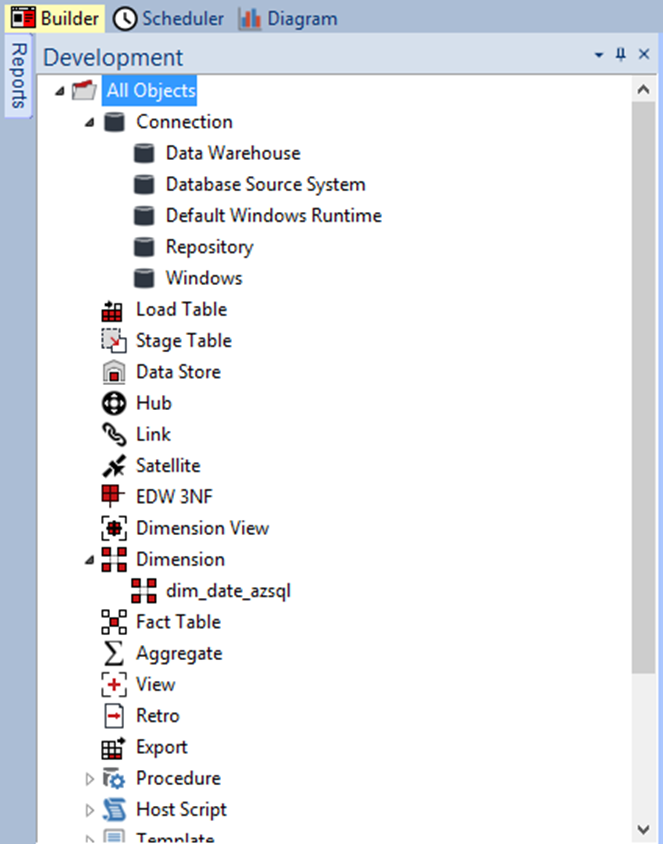
Upgrade Of Existing Repository
For upgrade of an existing repository
- From the host script set script type of
wsl_post_install_enablement_packas Auto Execute - PowerShell Script
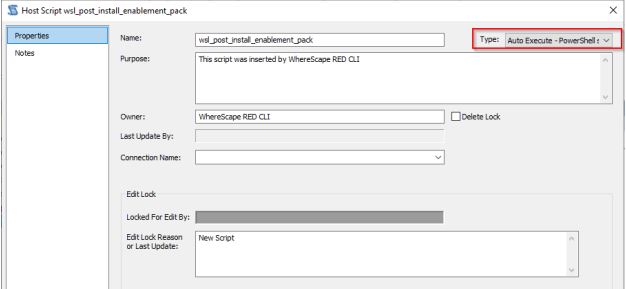
If RED upgrade the repository option is chosen. This enablement pack will overwrite any existing Source Enablement Pack UI Configs:
To ensure existing Source Enablement Pack connections and associated Load Tables continue to browse and load: |
SSIS - Connection String Generation
Prerequisites
Install Visual Studio and Add Integration service Exception.
With SQL Server As Source
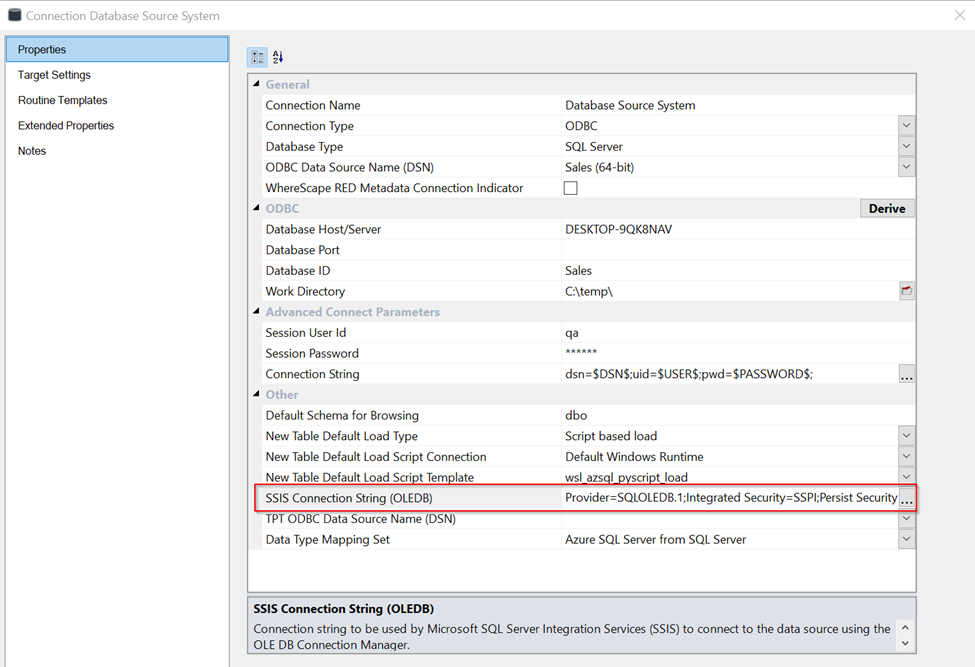
In the Source connection with database type as SQL Server, click on three dots in the SSIS connection string (OLEDB) as shown below:
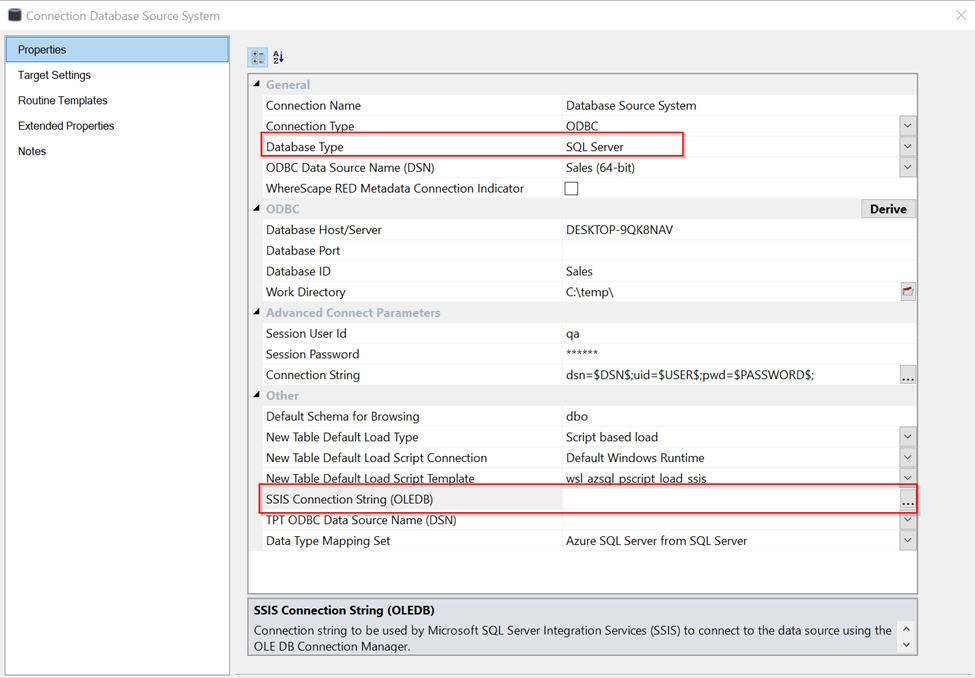
In the Data Link Properties window , select Microsoft OLE DB Provider for SQL Server:
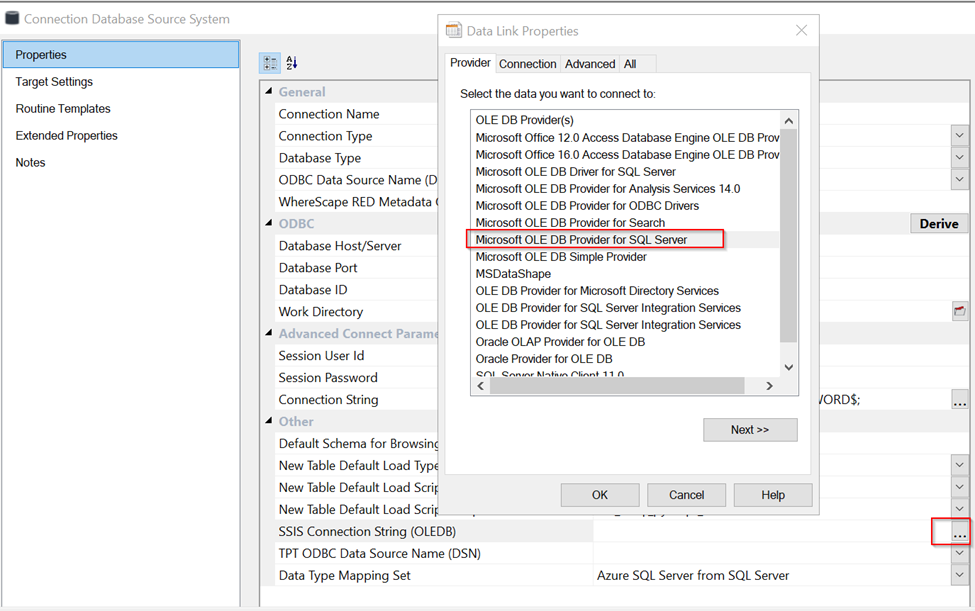
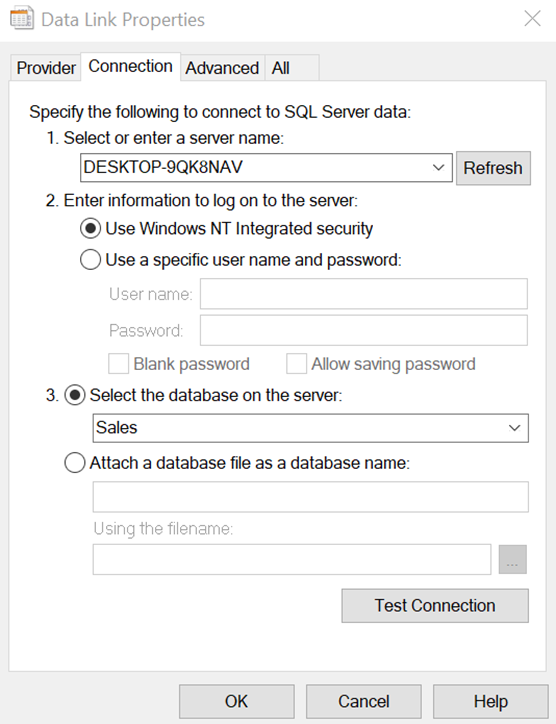
Provide Server and database details:
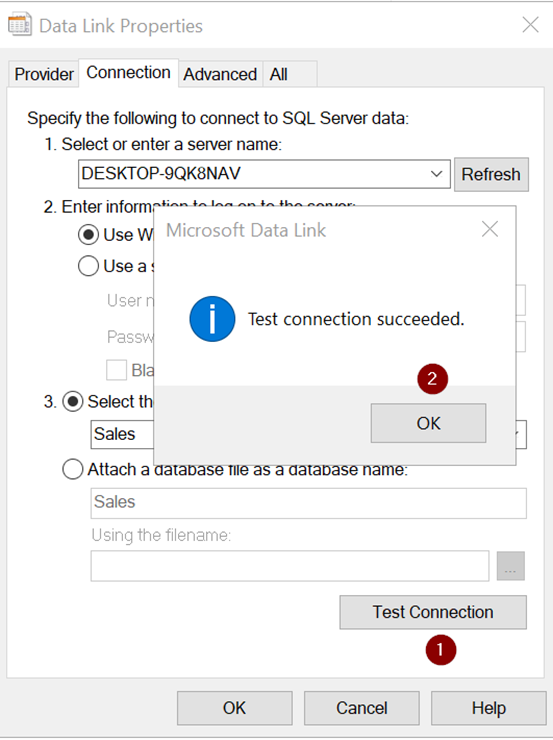
Test the connection:
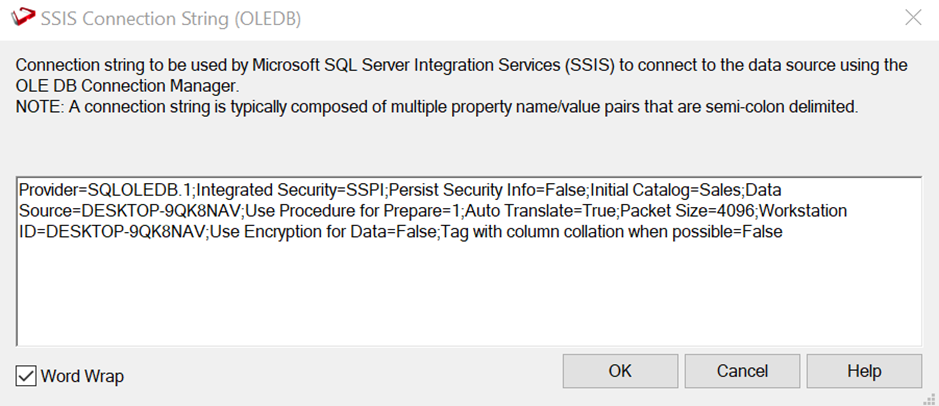
SSIS Connection String generated successfully,
With Oracle as Source
In tnsnames.ora file, define the database connection details as shown below:
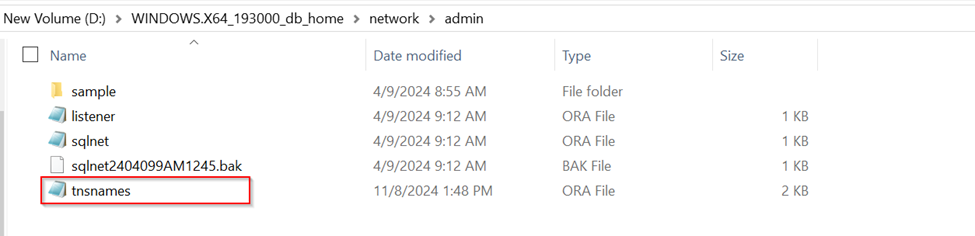
ORACLE =
(DESCRIPTION =
   (ADDRESS = (PROTOCOL = TCP) (HOST = 10.220.200.84)(PORT = 1521))
   (CONNECT_DATA =
     (SERVER = DEDICATED)
     (SERVICE_NAME = orclpdb)
   )
)
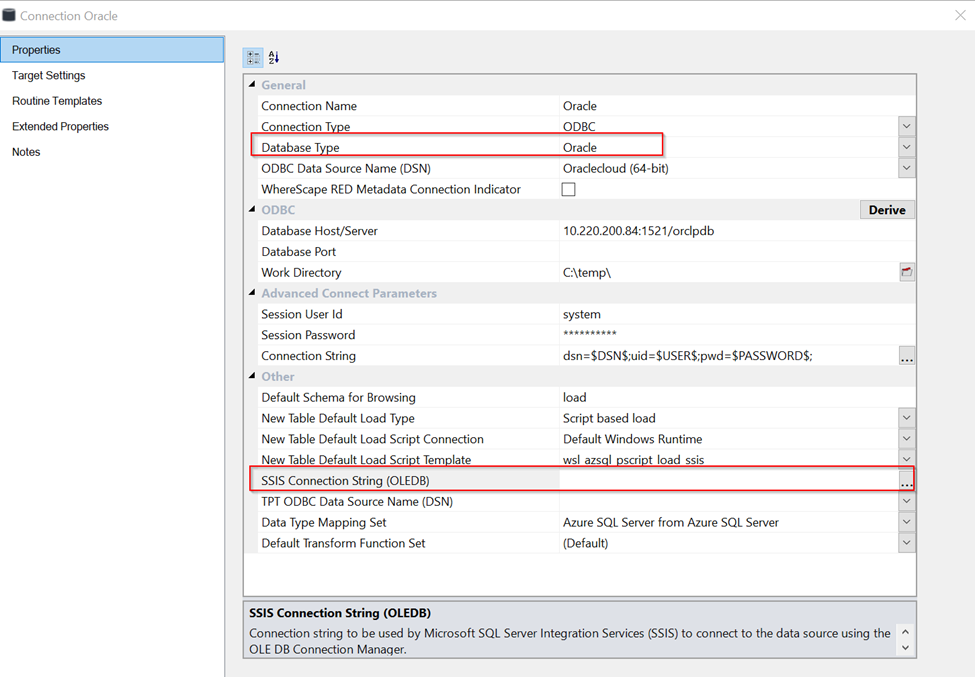
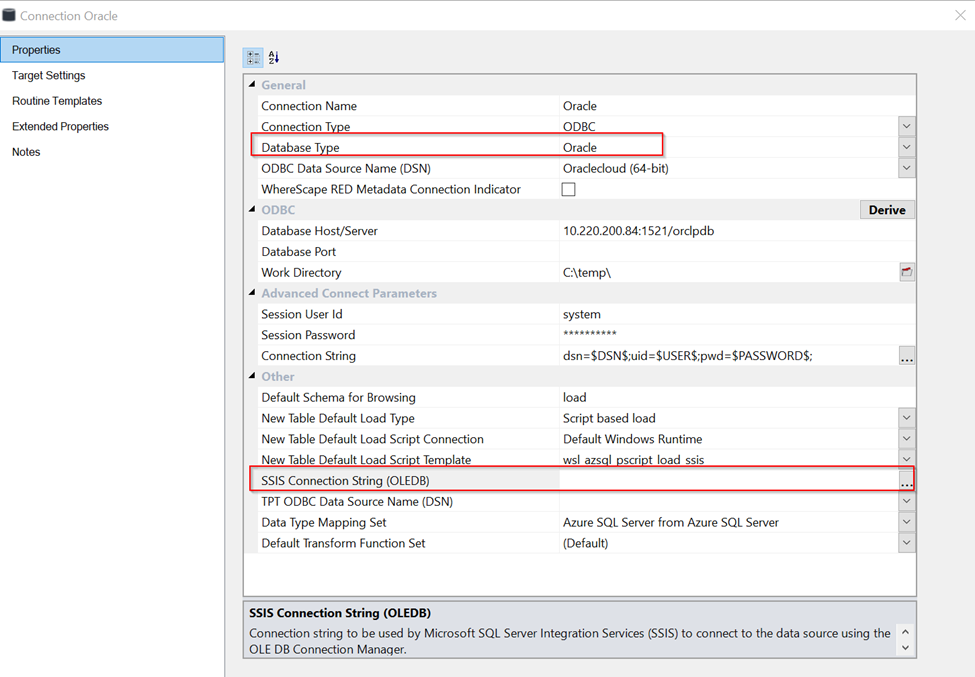
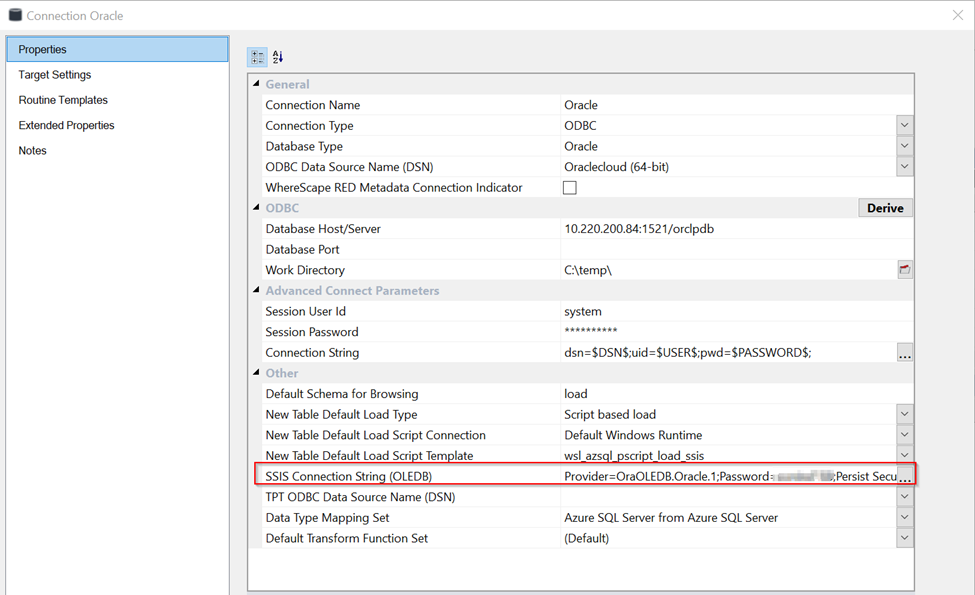
Open Oracle Source connection and click on the three dots in SSIS Connection string option:
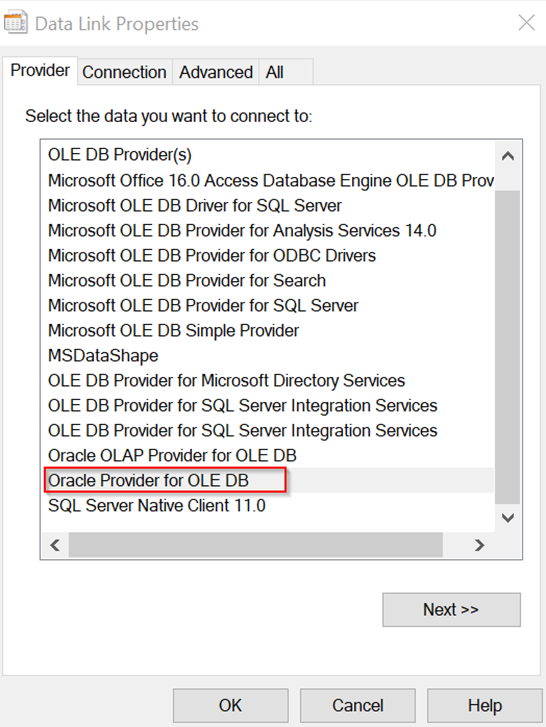
Select Oracle Provider for OLE DB option in Data Link Properties window:
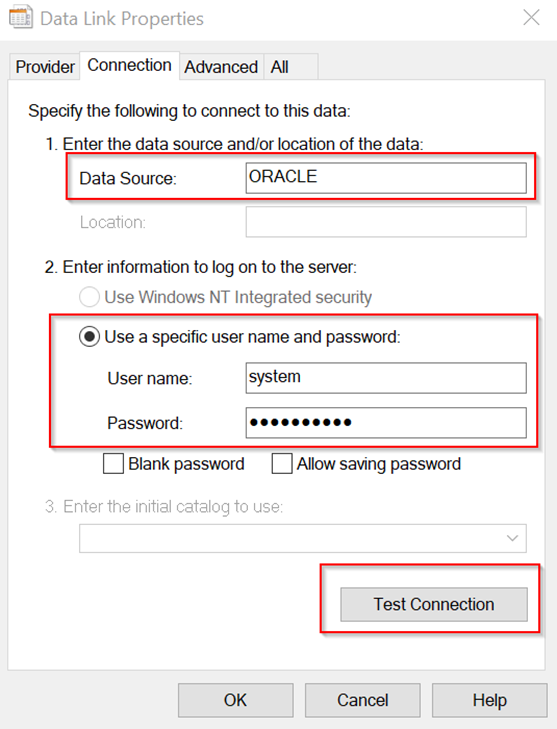
Provide the credentials as shown below:
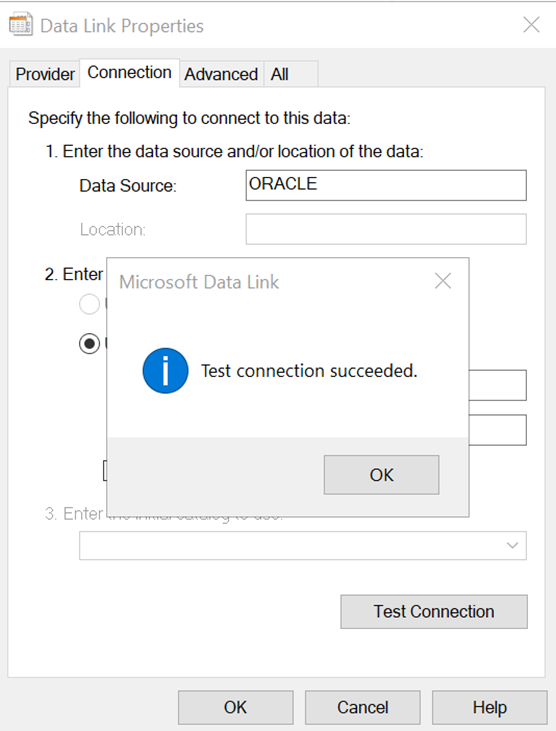
Test the connection:
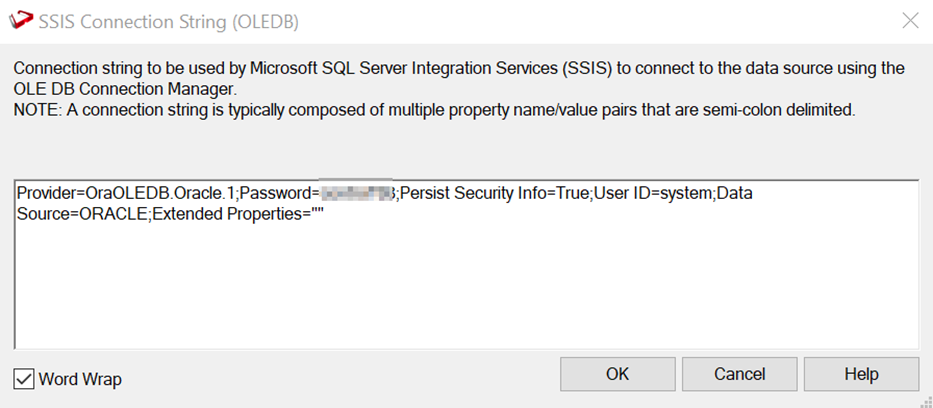
Connection string generated successfully:
With Teradata As Source: -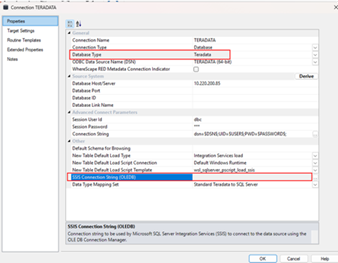
In the Data Link Properties window, select Microsoft OLE DB Provider for ODBC drivers: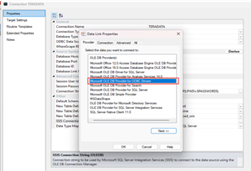
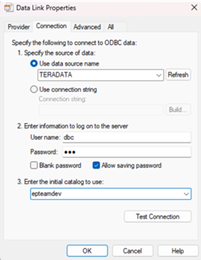
Provide the Credentials as below and test the connection: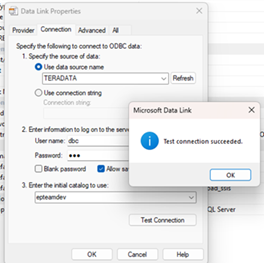
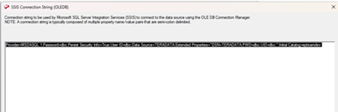
Connection string generated succesfully: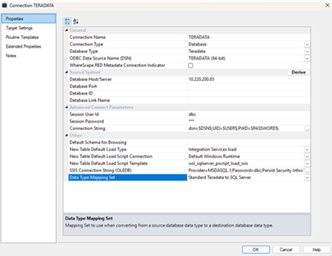
Post Install Steps – Optional
If you used the script Setup Wizard for installation, the following optional post-install steps are available.
Configure Connections
There were two connections added that will optionally require your attention :
Below, two are common for SQL Server and Azure SQL
- Connection: 'Database Source System' - this connection was set up as an example source connection,
- open it's properties and set it up for a source DB in your environment
- or you can remove it if not required
- Execute Update Procedure for dim_date_azsql to Initialize Date Dimension for Target
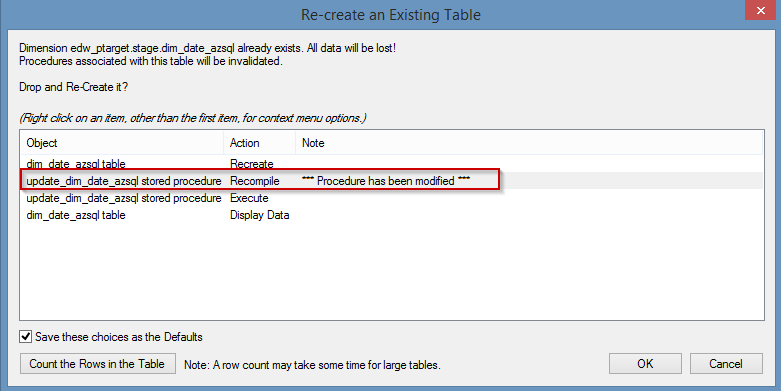
NOTE: Please avoid regenerating the procedure update_dim_date_azsql as it is a custom procedure.
Source Enablement Pack Support
Source Pack Name | Supported By Azure SQL Server/SQL Server | Supported Features | Prerequisites |
Cloud File Parser | 1. CSV | Bulk load | Refer to Windows Parser Guide |
Windows Parser | 1. CSV | Load Template, Source Properties will have the option to select parser type to load the files. | Refer to Windows Parser Guide |
Troubleshooting and Tips
Run As Administrator
Press the Windows Key on your keyboard and start typing cmd.exe, when the cmd.exe icon shows up in the search list right click it to bring up the context menu, select Run As Administrator
Now you have an admin prompt navigate to to the folder where you have unpacked your WhereScape Red Enablement Pack using the 'cd' command:C:\Windows\system32> cd <full path to the unpacked folder>
Run Powershell (.ps1) scripts from the administrator prompt by typing the Powershell run script command, for example:C:\temp\EnablementPack>Powershell -ExecutionPolicy Bypass -File .\Setup_Enablement_Pack.ps1
In the event, you can not bypass the Powershell execution policy due to group policies you can instead try "-ExecutionPolicy RemoteSigned" which should allow unsigned local scripts. |
Windows Powershell Script Execution
On some systems, Windows Powershell script execution is disabled by default. There are several workarounds for this which can be found by searching the term "Powershell Execution Policy".
Here is the most common workaround that WhereScape suggests, which does not permanently change the execution rights:
Start a Windows CMD prompt as Administrator, change the directory to your script directory, and run the WhereScape Powershell scripts with this command:
- cmd:
>Powershell -ExecutionPolicy Bypass -File .\<script_file_name.ps1>
Restarting failed scripts
Some of the setup scripts will track each step and output the step number when there is a failure. To restart from the failed step (or to skip the step) provide the parameter "-startAtStep <step number>" to the script.
Example: Powershell -ExecutionPolicy Bypass -File .\<script_file_name.ps1> -startAtStep 123
| To avoid having to provide all the parameters again you can copy the full command line with parameters from the first "INFO" message from the beginning of the console output. |
Bulk load error on SQL SERVER
Interactive load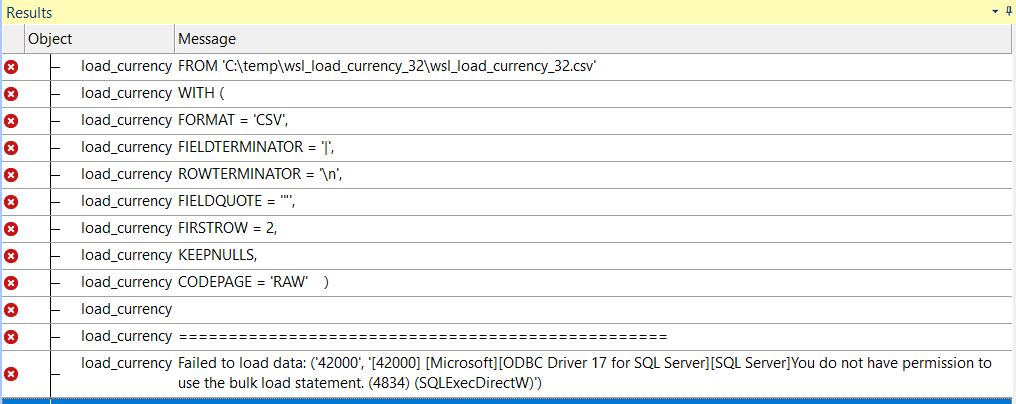
Scheduler load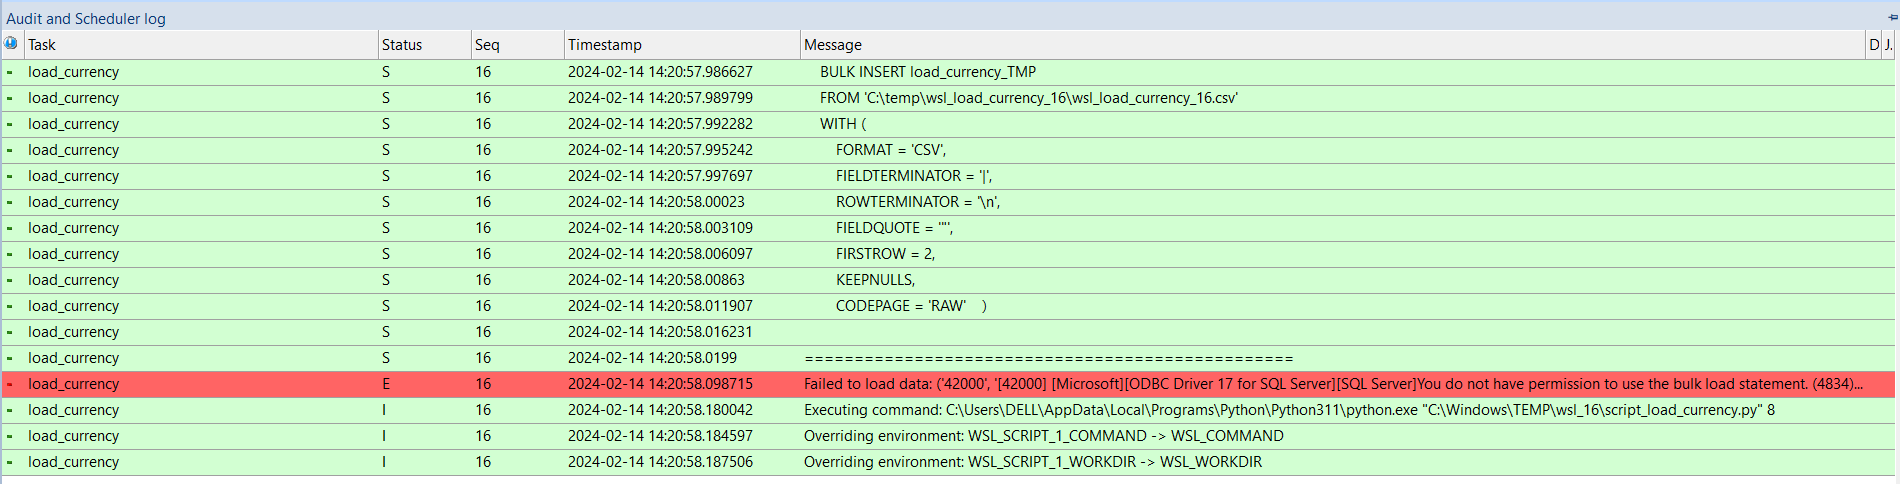
For bulk load error, the 'bulkadmin' permission is required.
SQL SERVER > SECURITY > LOGINS > USER > PROPERTIES >SERVER ROLES 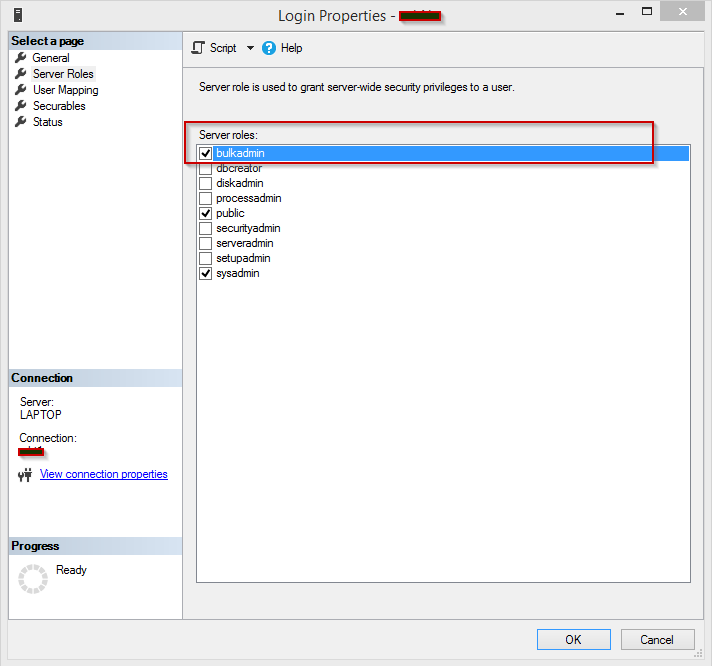
For bulk load error Operating system error code 5(Access is denied)
Failed to load data: ('42000', '\[42000\] \[Microsoft\]\[ODBC Driver 17 for SQL Server\]\[SQL Server\]Cannot bulk load because the file "C:\WhereScape\Temp\...\xxxx.csv" could not be opened. Operating system error code 5(Access is denied.). (4861) (SQLExecDirectW)')
- Grant SQL Server access to the bulk load folder by adjusting folder permissions. Navigate to the folder, right-click, select "Properties," go to the "Security" tab, click "Edit," then "Add." In the new window, select "Advanced," click "Find Now," and locate the appropriate SQL Server user (e.g., SQLServerMSSQLUser$UserName$SQLExpress). Confirm by clicking "OK" through all opened dialogs.
- If the first fix doesn't resolve the issue, verify if permissions are applied to subfolders as well. Navigate to the advanced settings, and check the 'Inheritance' status. If it's 'Disabled,' enable it by using the "Allow Inheritance" button.
Row Terminator For Linux

Error Message:
Failed to load data: ('42000', '\[42000\] \[Microsoft\]\[ODBC Driver 17 for SQL Server\]\[SQL Server\]Cannot obtain the required interface ("IID_IColumnsInfo") from OLE DB provider "BULK" for linked server "(null)". (7301) (SQLExecDirectW)')
When you specify \n as a row terminator for bulk import in UNLOAD_RECORD_CHAR_ extended property or source properties, or implicitly use the default row terminator, BULK INSERT statement expects a carriage return-line feed combination (CRLF) as the row terminator. If your source file uses a line feed character only (LF) as the row terminator - as is typical in files generated on Unix and Linux computers - use hexadecimal notation to specify the LF row terminator. For example use 0x0A in UNLOAD_RECORD_CHAR_ extended property or source properties for Unix and Linux machines.
| The hexadecimal notation is not required for Parquet files for Unix and Linux machines |
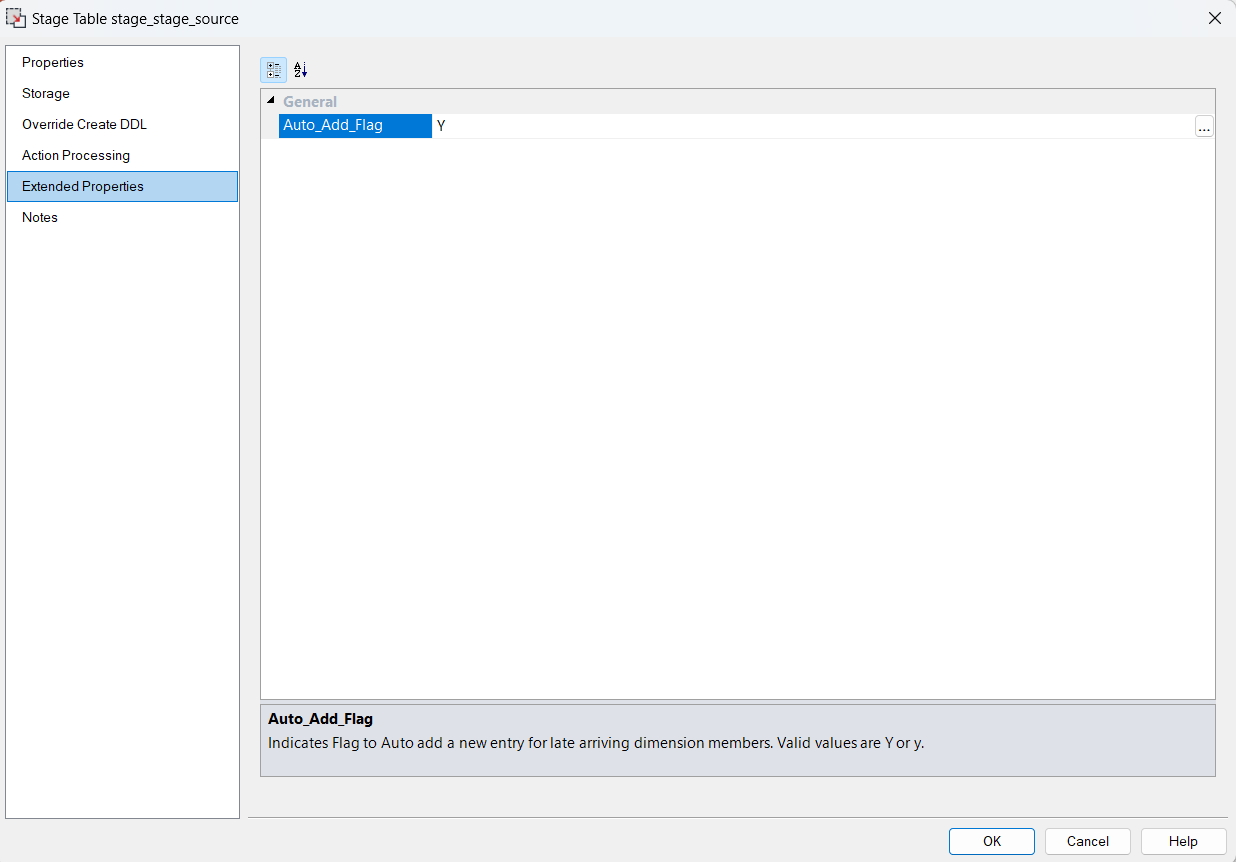
Auto add a new entry for late arriving dimension members
Set This Extended property of stage table Named Auto_Add_flag to Y/y to add a new entry for late arriving dimensions.
If this flag holds any thing other than Y/y , it works as a normal stage table.
Python requirements for offline install
Additionally to the base Python installation being required, the WhereScape Python Template set also requires certain additional Python libraries. The install scripts use the PIP (package manager) to download these libraries, however, for offline installs, you need to install the required libraries yourself. Required Python libraries/add-ons:
- pywin32-ctypes
- python-tds
- pywin32
- glob2
- gzip-reader
- regex
- pyodbc
If a valid RED installation can not be found
If you have RED 10.x or higher installed but the script (Setup_Enablement_Pack.ps1) fails to find it on your system then you are most likely running the PowerShell (x86) version which does not show installed 64-bit apps by default. Please open a 64-bit version of Powershell instead and re-run the script.