Before installing an Oracle agent (collector), check Precise for Oracle requirements.
If the Oracle instance is part of an SAP or PeopleSoft application, check the full installation guide for further details.
Installing on Oracle Multitenant architecture (Containerized databases)
You can install Precise on Oracle Multitenant architecture (containerized databases) on Oracle 12c R2 and later.
Precise monitors the container root and all of the open pluggable databases.
At the time of installing the Precise for Oracle collector for a containerized Oracle instance, all pluggable databases (PDBs) should be open and not in restricted mode. Any PDBs that are in a closed state or in restricted mode at the time of instance installation are ignored for collector schema creation. If, and when such PDBs are opened, the Precise for Oracle collector schema must be manually created on those PDBs using manual schema scripts.
When a new PDB is added to an Oracle instance monitored with Precise, the Precise for Oracle schema must be created on it based on the instructions for Precise for Oracle manual schema collector installation and the Precise for Oracle collectors must be restarted.
Installing an Oracle cluster
Configuring a cluster is supported for Oracle RAC (Real Application Clusters). For more information on how to install an Oracle instance for RAC, see the Installing the Oracle instance section. The Cluster setting dialog is available only in case you have Oracle clusters or instances. For information on editing or removing an existing instance, see Editing or removing tier instances or clusters.
Adding a SQL instance for monitoring
To add a SQL instance for monitoring
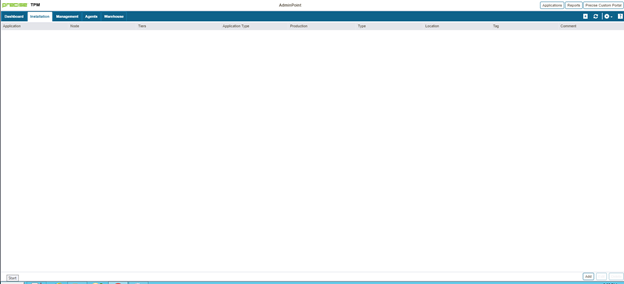
- From the AdminPoint tab, select Installation.
- Click Add in the bottom right-hand corner, as shown in the following image.
The APMInstanceInstaller.exe opens. - Click Open APMInstaller.exe, and the Precise Application Installer opens.
- Select the appropriate Application Name, Application Type, and Database Vendor, and then click Next.
- In the Install Tiers area for the applications, select SQL Server, and then click Add.
- In the Properties tab, add the following SQL instance details:
- SQL Server instance name or <Host>,<Port>
- the server from which you want the instance monitored (local or remote monitoring)
- Windows or SQL authentication
- service credentials
- Click Next. The Preview tab appears.
- Review the details, and then click Install. The installation starts and installs all components for the SQL instance.
- Once the installation is complete, the Finish tab appears.
- Click Finish.
- Review the Application tab to make sure that the new instance appears.
- Repeat these steps to add more instances, and then click Finish.
- Refresh the applications and note that the new application appears.
- Select the Applications tab, and the new application appears with the added SQL Server instance(s).
