It is often useful to merge changes from one conversion set to another, particularly during an upgrade of 3D.
Conversion sets can be compared and merged by clicking the ![]() Compare and merge button in the model conversion manager.
Compare and merge button in the model conversion manager.
- Select the conversion that contains the changes you wish to merge.
- Select the conversion you want to merge your changes into.

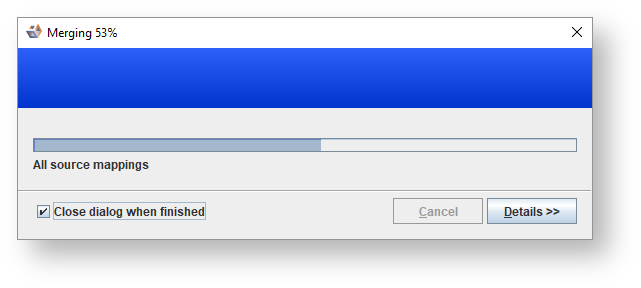
- The Merge Conversion sets dialog is displayed.

Icons/ Fields
Description

Click to Swap the conversion being merged with the conversion to merge into.
Hide equal entities
Select this checkbox to hide objects and properties that have no changes between the conversions when selected.
Verbose
Select this checkbox to display values of the objects and properties that are the same between the conversions.

Click to Expand all items in the table.

Click to Collapse all items in the table.

Click to display a dialog displaying the old and new values of the currently selected object or property and highlight the differences between them.

Click to Refresh the operations in the table.
The operation column is used to define how the conversions will be merged.
- If the object or property exists in the conversion being merged but not in the conversion being merged into the options available are
 Add and
  Ignore.
 - If the object or property exists in the conversion being merged into but not in the conversion being merged the options available are
 Keep,
Keep,  Delete, and Ignore.
 - If the object or property exists in both the conversion being merged and the conversion being merged into the options available are
 Overwrite and Ignore.
- If the object or property exists in the conversion being merged but not in the conversion being merged into the options available are
- To merge the conversion sets using the chosen settings, click OK.