Page History
...
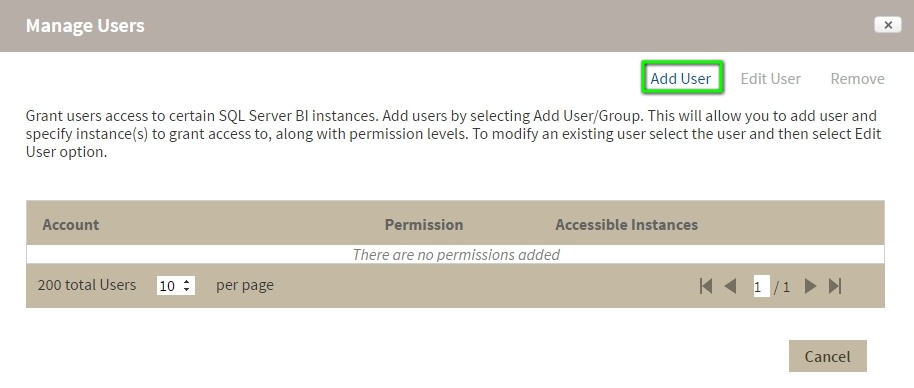
- In the Manage Users screen, click Add User/Group.
- In the Add User wizard, type a user name on the search box or click Users to select users from a list, you can select one or more users at a time. Once you select users, click Next.
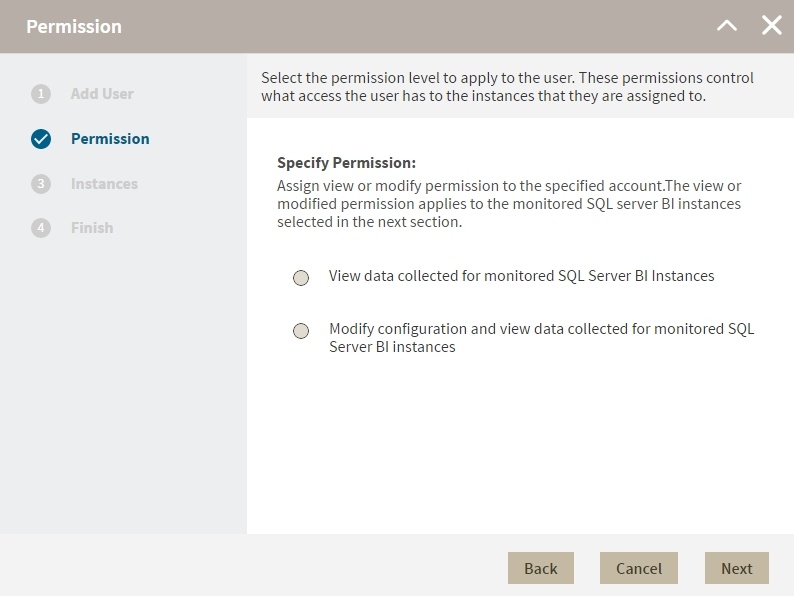
- in the Permissions screen, assign the access level View Only or Modify. Make your selection and click Next.
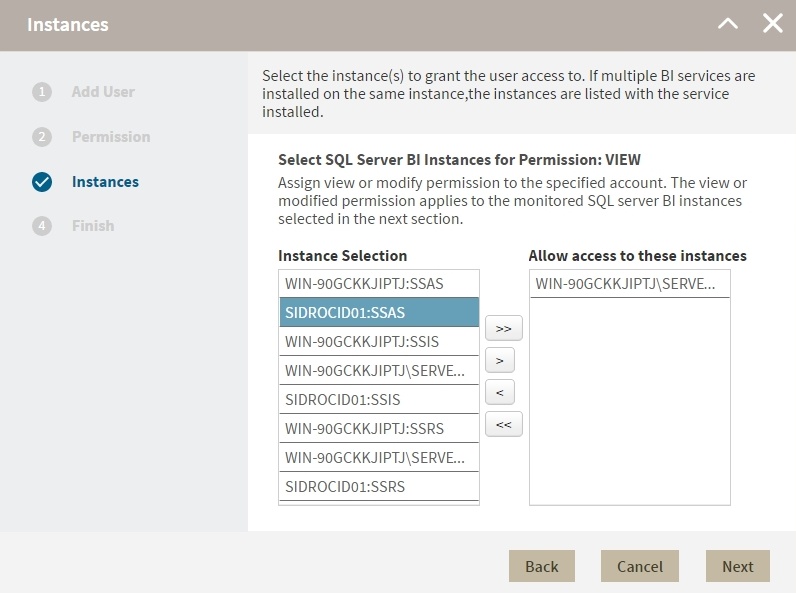
- In the Add Instances screen, you can select one or more instance and service combinations.
- Select one or more specific instances and services and click
 .
. - Click
 to assign all the listed instances and services.
- Select one or more specific instances and services and click
- When you finish assigning instances, click Next.
- In the Finish screen, click Back to make changes in your settings, to continue click Submit.

...
- On the Administration tab go to Application security.
- On the Manage Users window, select a user from the list and click Remove User.
- Click Ok.
| Note |
|---|
When you remove a user you only remove their custom permissions for IDERA SQL BI. Users still remain as Product Users and have read only access to all managed instances. To completely remove users from SQL BI, change their permissions on IDERA Dashboard. |
...