Page History
...
- Open the IDERA SQL Inventory Manager setup, click Proceed.
- Read the License Agreement. If you agree select I accept the Terms and Conditions and click Next to continue.
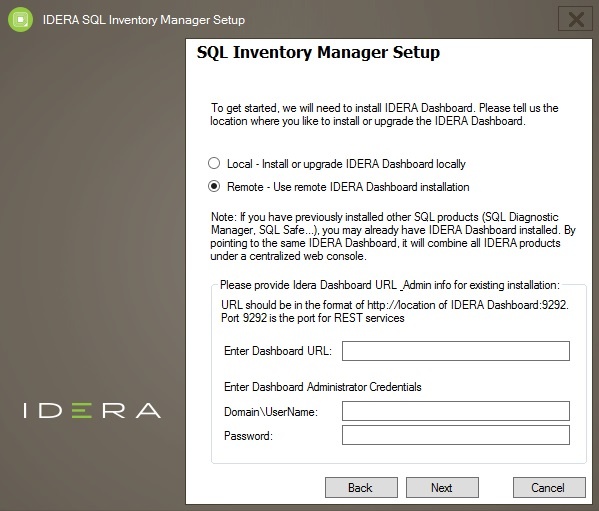
- Select Remote and provide a Dashboard URL using the format http://<location of IDERA Dashboard>:9292. PORT 9292 is the port for REST services.
- Enter administrator credentials for accessing the remote IDERA Dashboard installation.
- Click Next.
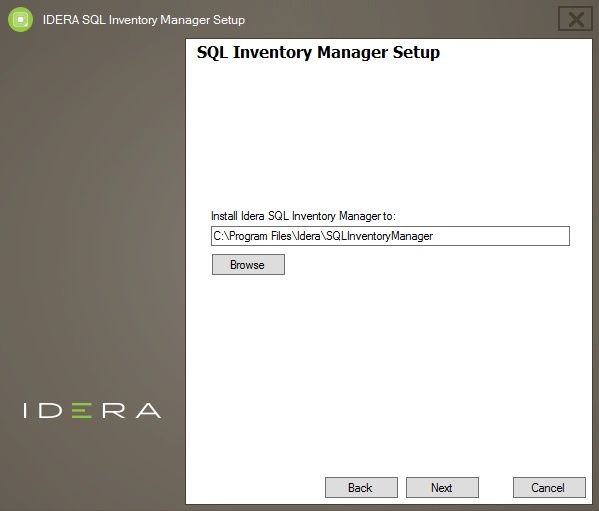
- To install SQL Inventory Manager to the default path, click Next. If you want to use a different path, click Browse.
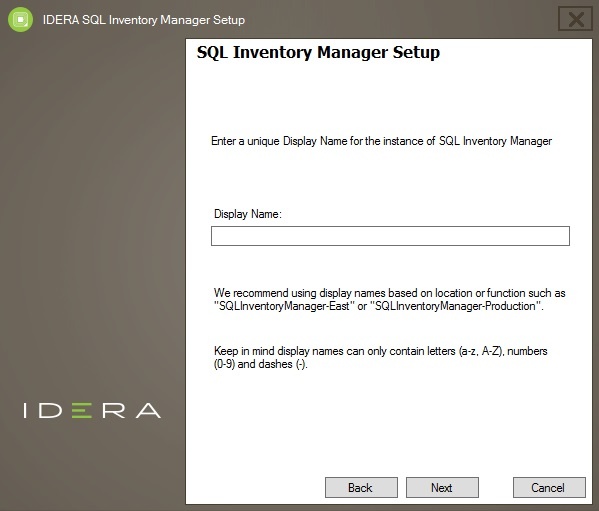
- On the Display Name box, type a unique name for this instance of IDERA SQL Inventory Manager. This page allows you to identify each instance of IDERA SQL Inventory Manager or other IDERA products when you have more than one installation of the same product. IDERA recommends that you use a name based on a location or function, such as SIM-Prod or SIM-West. Note that this field accepts only alphanumeric characters (A-Z, a-z, 0-9) and dashes (-).Set a display name and click Next to continue.
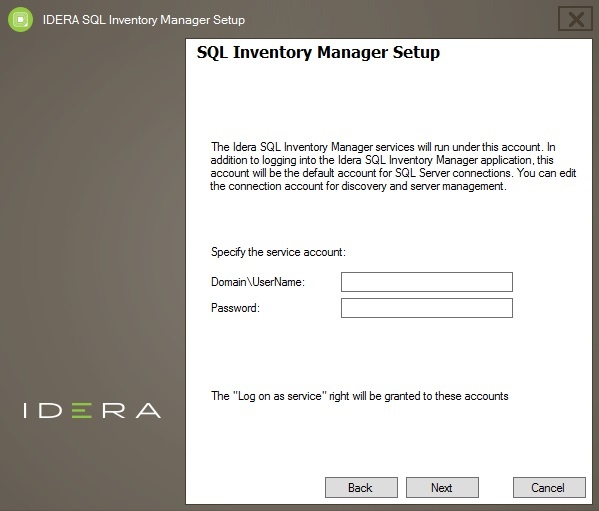
- On the Service Account for Idera Dashboard section, specify the User Name and Password under which the services will run. Use the format
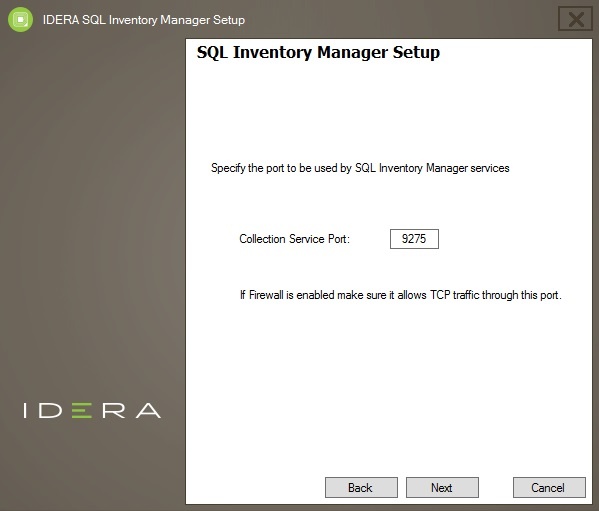
<Domain Name>\<User Name>when typing the User Name. IDERA SQL Inventory Manager uses this account to connect, discover, and gather configuration information from SQL Servers. The installer grants the "Log on as a Service" right to the account that you specify. Enter your credentials and click Next. - Specify which port you want to use for the Inventory Manager Collection Service. You must verify that the Firewall allows TCP (Transmission Control Protocol) traffic through your specified ports.
By default, IDERA SQL Inventory Manager uses port 9275 for the Collection service. Click Next. - testo to replace
