The AlwaysOn Availability Groups feature uses the availability of a set of databases within your enterprise to improve your failover options and general availability. This feature makes the database highly available using the Windows Failover Cluster Service for Windows Server 2008 and above. As a result, this feature requires Windows Failover Cluster as well as SQL Server on all cluster nodes.
When an availability group is configured using multiple SQL Servers, one of the servers is designated as the PRIMARY node and others are considered SECONDARY nodes. If the primary node SQL Server stops or shuts down, the failover automatically switches to the synchronized secondary node with no data loss. You also can manually perform a failover on the SQL Server.
SQL Compliance Manager provides auditing of the AlwaysOn-configured database and audits the events on the AlwaysOn database along with the failovers.
The AlwaysOn Availability Groups feature is available for SQL Server 2012 and above only.
How AlwaysOn integrates with SQL CM
There are two scenarios of how SQL Compliance Manager can work with AlwaysOn availability group databases:
- Listener. Use this scenario when you want to audit a listener (virtual SQL server instance) that works only with a node in the PRIMARY role.
- Nodes. Use this scenario when you want to audit every node that can be in PRIMARY or SECONDARY roles. Note that the secondary role is read-only.
You can use only one scenario at a time and it is not possible to use them at the same time on cluster.
Configuring the Listener scenario
The Listener scenario is recommended for users who want to audit only AlwaysOn databases on the Primary node using LISTENER. If you want to audit read-only Secondary nodes , use the Nodes scenario.
1. Install cluster agent services on all Listener nodes using the SQL Compliance Manager Cluster Configuration Console
Use the following steps on each node involved in the AlwaysOn group before adding the listener to SQL CM for auditing.
Repeat these steps on each node in your AlwaysOn Availability Group. When you are finished configuring all the nodes, register the cluster service agent as a shared resource.
- Run the IderaSQLcmInstallationKit*.exe setup file.
- Extract the SQL Compliance Manager installation kit to the specified directory, and then launch it. SQL CM displays the product Quick Start window.
- In the Quick Start window, click Cluster Configuration Console. SQL CM displays the Cluster Configuration Setup Wizard.
- Follow the steps in the Setup Wizard to install and configure the SQLcompliance Agent Service on this cluster node.
- Once installation is complete, open the Cluster Configuration Console by clicking Start > Idera > Cluster Configuration Console.
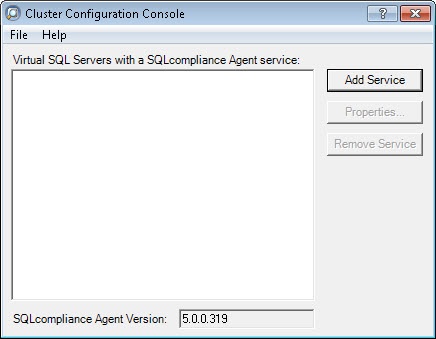
- Click Add Service to specify the listener. SQL CM displays the Add SQLcompliance Agent Service - General window.
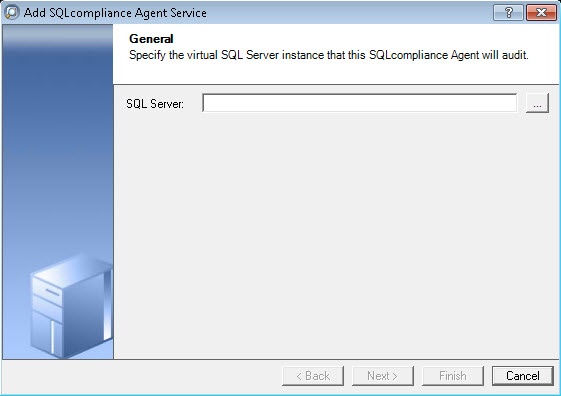
- Type the SQL Server instance name, and then click Next. If you receive a message stating that the selected SQL Server instance is not clustered , click Yes. This is correct behavior when configuring a Listener scenario and confirms that the selected SQL Server instance is hosted on a Windows Failover Cluster. SQL CM displays the Add SQLcompliance Agent Service - Collection Server window.
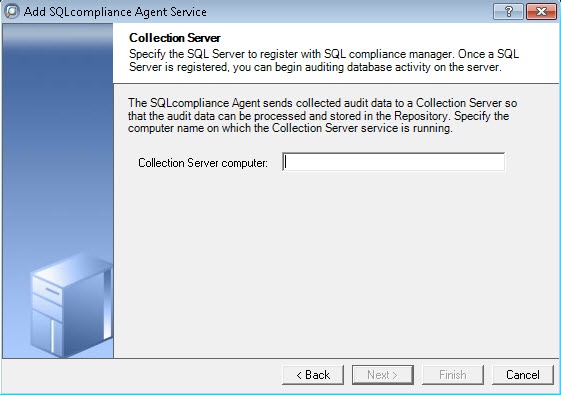
- Specify the name of the server where SQL CM is installed, and then click Next. SQL CM displays the Add SQLcompliance Agent Service - SQLcompliance Agent Service Account window.
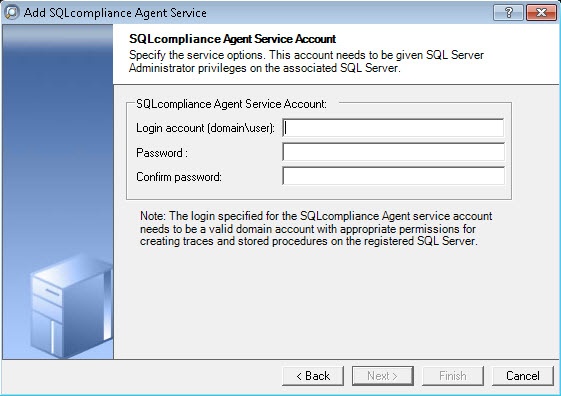
- Specify the login credentials for the Agent service account, and then click Next. This account must have administrator privileges. Idera recommends that you use the same account as used for the Collection Server. After clicking Next, SQL CM displays the SQLcompliance Agent Service - SQLcompliance Agent Trace Directory window.
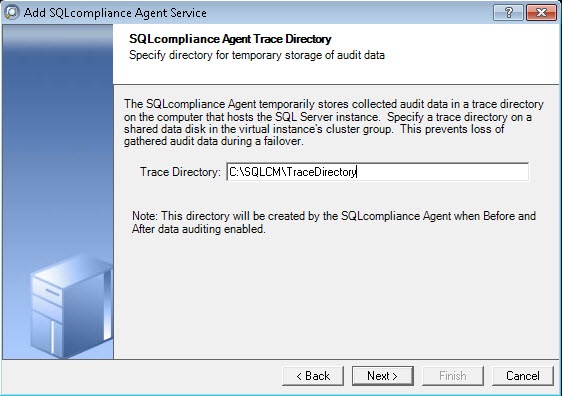
- Specify the trace directory for the cluster agent service, and then click Next. Note that the administrator account specified for the cluster agent service has read/write permissions for this trace directory folder. SQL CM displays the Add SQLcompliance Agent Service - CLR Trigger Location window.
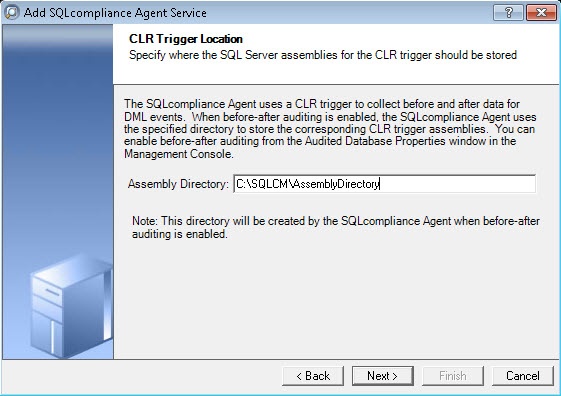
- Specify the location where you want the SQLcompliance Agent to store the corresponding CLR trigger assemblies, and then click Next. Note that the administrator account specified for the cluster agent service has read/write permissions for this assembly folder. SQL CM displays the Add SQLcompliance Agent Service - Summary window.
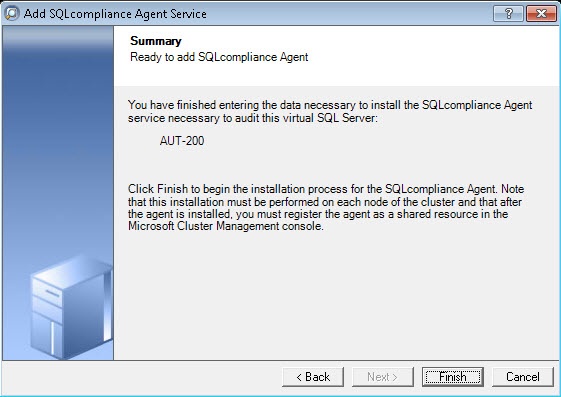
Verify that the Summary window displays the correct SQL Server instance that you want to audit, and then click Finish. If you receive a message stating that the selected SQL Server instance is not clustered , click Yes. This is correct behavior when configuring a Listener scenario and confirms that the selected SQL Server instance is hosted on a Windows Failover Cluster. SQL CM displays a confirmation message.
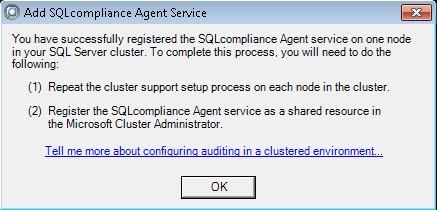
Repeat these steps on each node in your AlwaysOn Availability Group. When you are finished configuring all the nodes, register the cluster service agent as a shared resource.
2. Install cluster agent services on all Listener nodes using the Failover Cluster Manager
Use the following steps on each node involved in the AlwaysOn group before adding the listener to SQL CM for auditing.
- After installing the cluster agent service on all Listener nodes, open Server Manager.
- In the Server Manager tree, click Server Manager > Features > Failover Cluster Manager. The system displays Failover Cluster Manager.
- Select the cluster service group created for the cluster agent service. In the following example,
AGroup001is the cluster service group.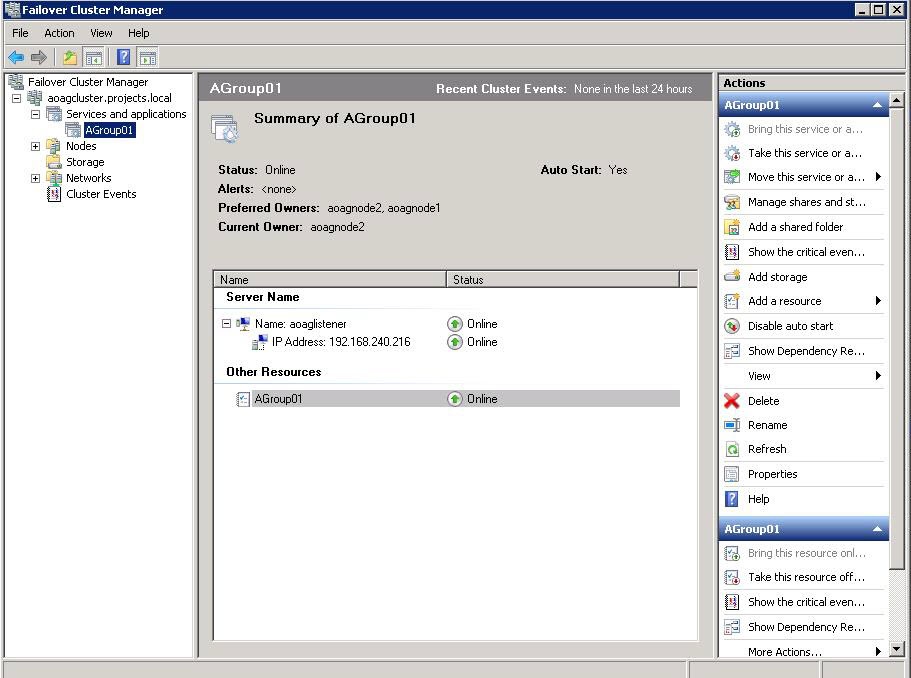
- In the Server Name area, select the resource name of the cluster service group, and then click Properties in the Actions panel. In the following example,
aoaglisteneris the resource name. Failover Cluster Manager displays the Properties window. Click the Dependencies tab.
- Verify that the Resource field displays the listener IP address.
- In the Other Resources area of the Failover Cluster Manager window, select the resource within the cluster service group, and then select Properties. In the following example,
AGroup01is the other resource name. Failover Cluster Manager displays the Properties window. Click the Dependencies tab.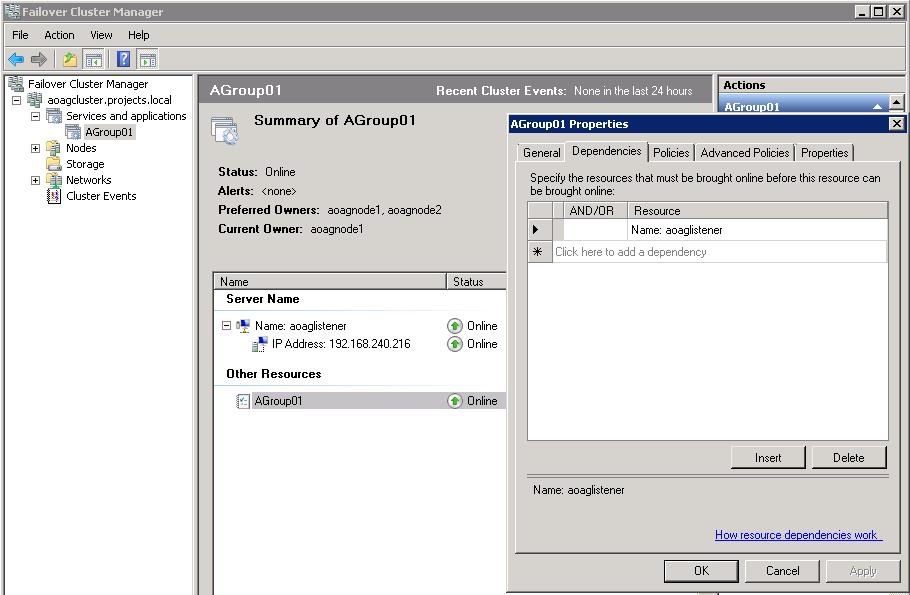
- Verify that the Resource field displays the listener name. Click Cancel to close this window.
- After adding the resource information, right-click the cluster service group in the tree, and then select Add a resource > 4 - Generic Service. Failover Cluster Manager displays the New Resource Wizard to allow you to create the new resource.
- In the Select Service page of the New Resource Wizard, select the cluster service agent from the available list. The cluster service names are displayed in the format SQLcomplianceAgent$[listener name] where [listener name] is a virtual SQL Server name. In the following example,
SQLcomplianceAgent$AOAGLISTENERis the service name.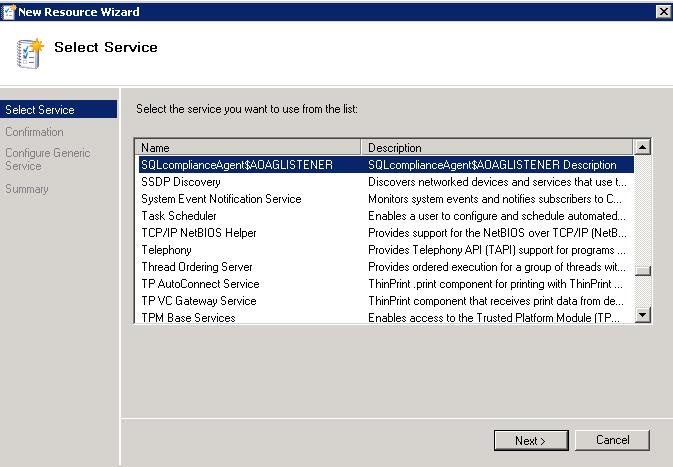
- Click Next, the New Resource Wizard displays the Confirmation window.
- Verify that the displayed information is correct, and then click Next.
- In the Configure Generic Service window, Failover Cluster Manager creates the new resource. Click Next.
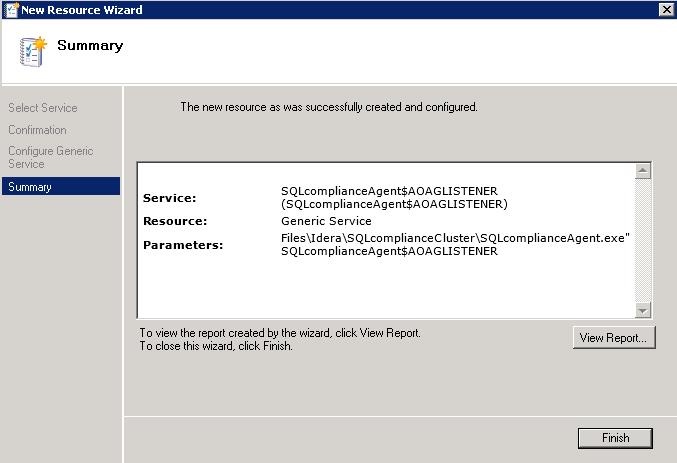
- In the Summary window, verify the information regarding the new resource, and then click Finish.
- In the Other Resources area of the Failover Cluster Manager window, select the SQLcomplianceAgent$[listener name] cluster service group, and then click Bring this resource online from the context menu. In the following example,
SQLcomplianceAgent$AOAGLISTENERis the cluster service and is currently offline as noted in the Status column.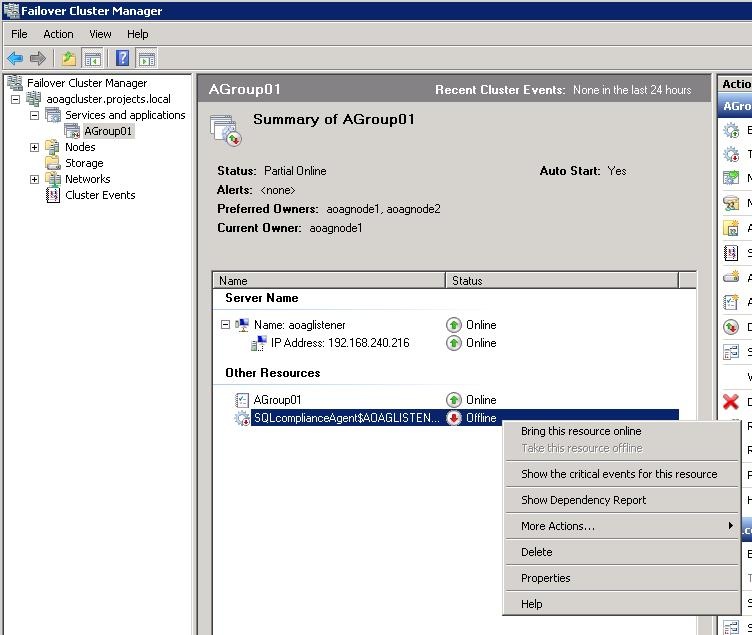
Failover Cluster Manager bring the service online and displays the updated status, as shown in the following example.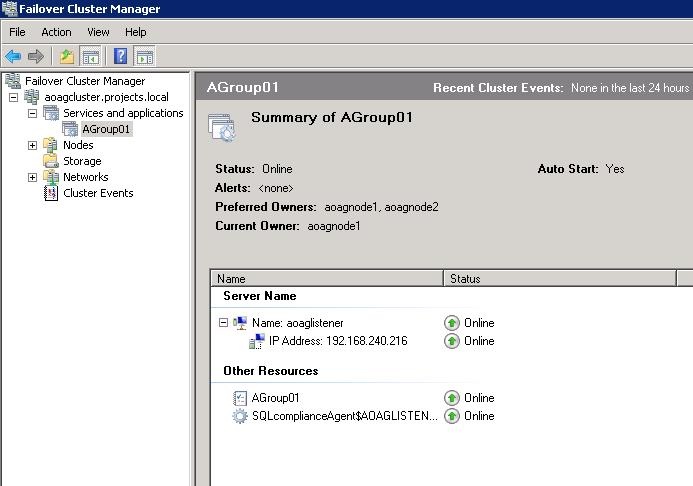
- While the cluster service is online, select the SQLcomplianceAgent$[listener name] cluster service, and then select Properties from the context menu. In the following example,
SQLcomplianceAgent$AOAGLISTENERis the cluster service name. Failover Cluster Manager displays the Properties window. - Verify that the
Agroup01dependency is added, as shown in the following example.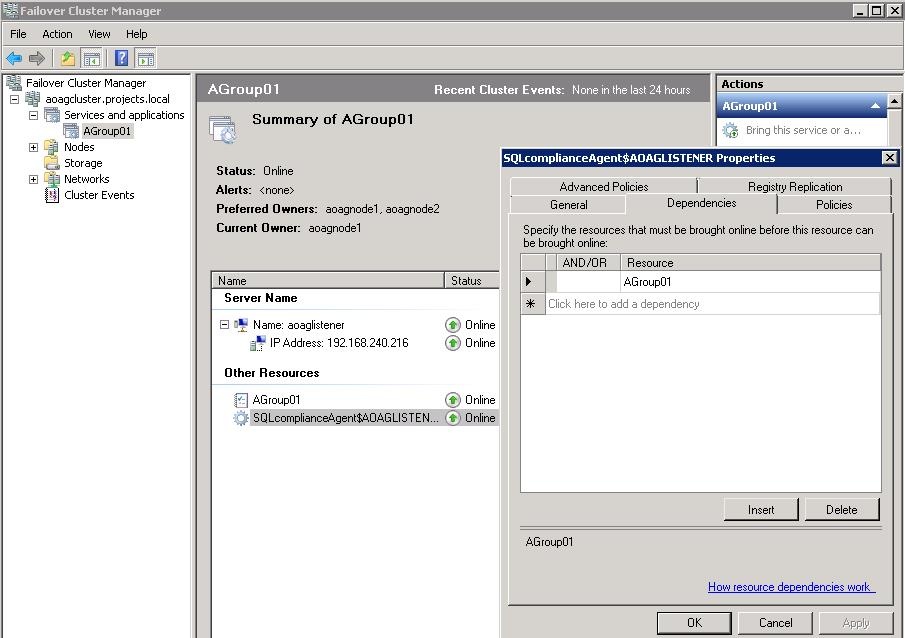
- On the Registry Replication tab, click Add. Failover Cluster Manager displays the Registry Key window.
- Type
SOFTWARE\Idera\SQLcomplianceas the registry key value, and then click OK.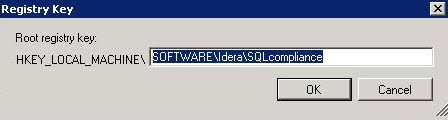
The new root registry key appears in the Registry Replication tab of the Properties window, as shown in the following example.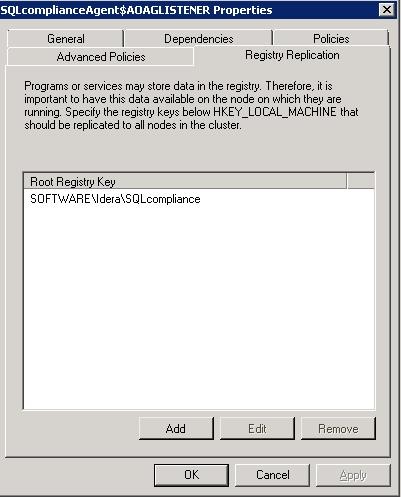
- Close the Properties window by clicking OK.
3. Add the Listener to SQL Compliance Manager
Use the following steps to add the listener to SQL CM for auditing.
- Start the SQL CM Management Console, and then click New > Registered SQL Server.
- In the SQL CM Configuration Wizard, specify or browse to the listener you want to register with SQL Compliance Manager, and then click Next. In this example, use the virtual SQL Server name
AOAGLISTENER.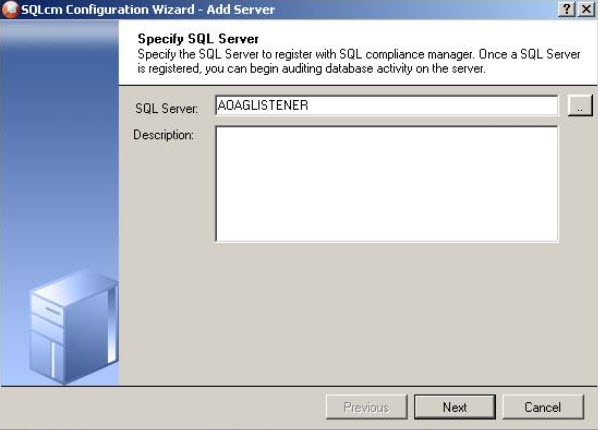
- In the SQL Server Cluster window, check This SQL Server instance is hosted by a Microsoft SQL Server Cluster virtual server, and then click Next. This step makes the listener, in this example
AOAGLISTENER, into a virtual SQL Server name.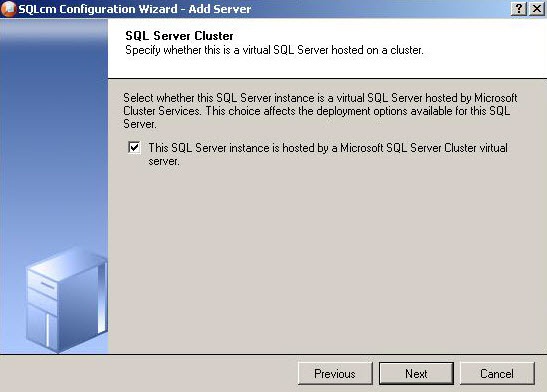
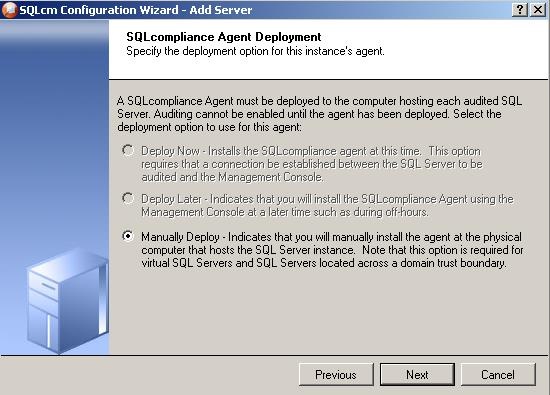
- In the SQLcompliance Agent Deployment window, verify that the Manually Deploy is selected, and then click Next. This option is required for all virtual SQL Servers.
- In the Select Databases window, check the AlwaysOn database that you want to audit, and then click Next. In the following example, the AlwaysOn database is
TestBase.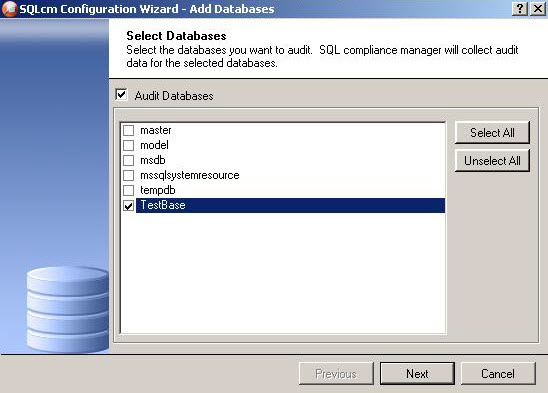
SQL Compliance Manager displays the AlwaysOn Availability Group Details window including a list of all nodes where the AlwaysOn database is replicated. Note that this window appears only if the database selected for auditing is AlwaysOn. The wizard skips this window for regular databases.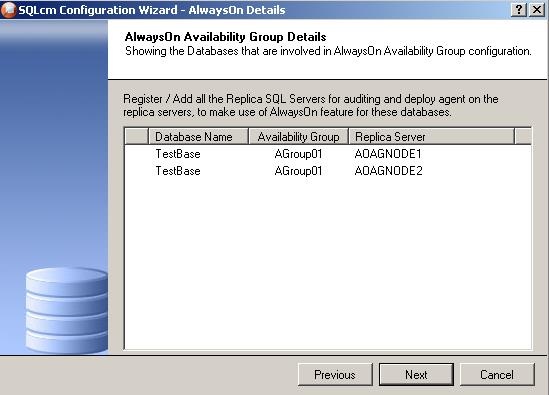
- If the AlwaysOn Availability Group Details window is displayed, click Next to continue.
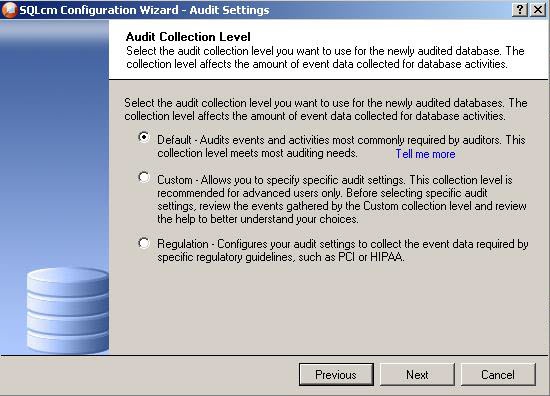
- In the Audit Collection Level window, select the desired audit collection level for the database, and then click Next.
In the Permissions Check window, SQL Compliance Manager verifies that all the required permissions are in place on the SQL Server instance you want to audit.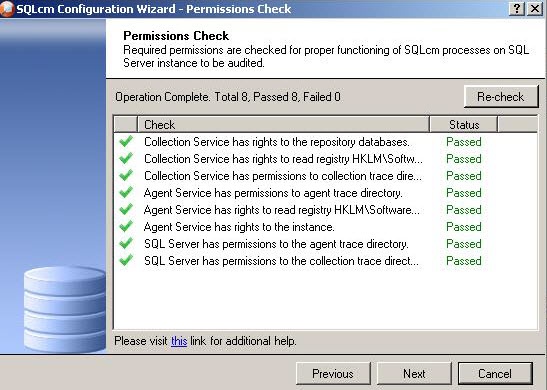
- After all operations are complete and all permissions checks pass, click Next. The Summary window displays the audit settings for the SQL Server instance, and shown in the following example.
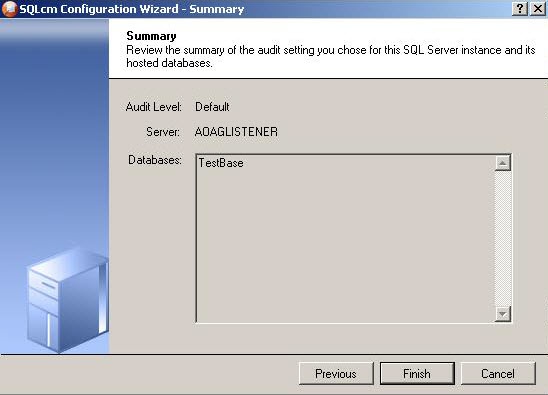
- Click Finish to close the wizard. SQL Compliance Manager displays the newly-added SQL Server instance and AlwaysOn database, as shown in the following example.
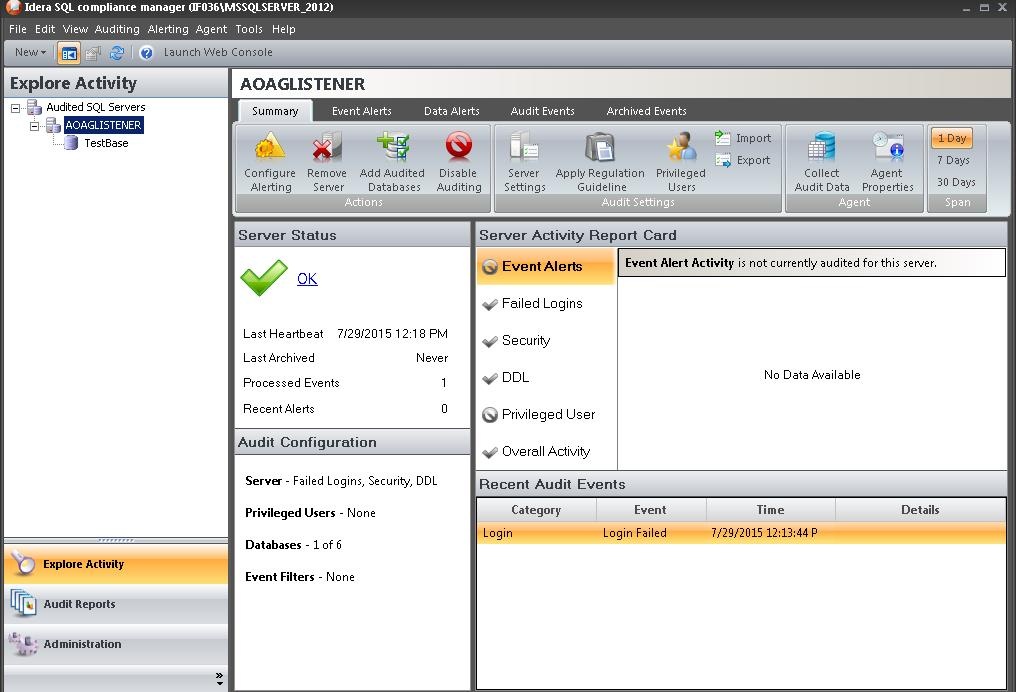
- Make all necessary audit settings for the listener and AlwaysOn databases, and then update the configuration and begin collecting data. It is recommended to update the configuration before collecting data because users are unaware of which node is PRIMARY. After updating the configuration, be sure to click Refresh in the node context menu to apply the settings to the displayed information.
Removing a Listener from SQL Compliance Manager
Use the following steps to remove the listener from SQL CM auditing.
- Open Server Manager.
- In the Server Manager tree, click Server Manager > Features > Failover Cluster Manager. The system displays Failover Cluster Manager.
- Take the cluster service agent SQLcomplianceAgent$[listener name] offline by selecting the service in the tree, clicking the cluster service agent in the Other Resources area, and then clicking Take this resource offline in the Actions panel. Verify in the confirmation message that you want to take the resource offline. In the following example,
SQLcomplianceAgent$AOAGLISTENERis the now offline cluster service agent.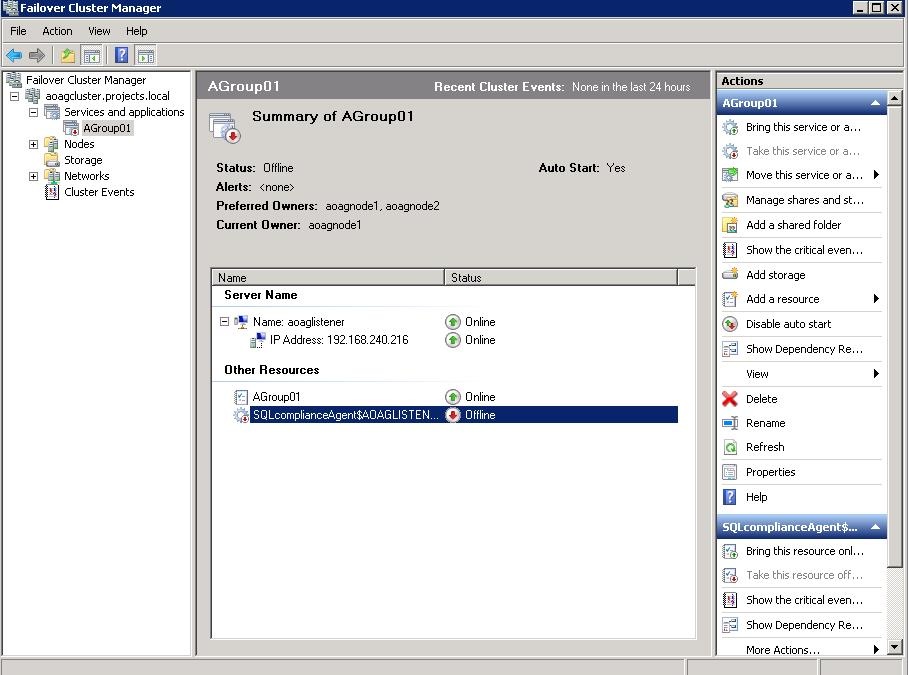
- Open the SQL CM Management Console.
- Click the listener name in the Explore Activity panel, and then click Remove.

SQL Compliance Manager displays an error message concerning the inability to contact the agent when removing the listener.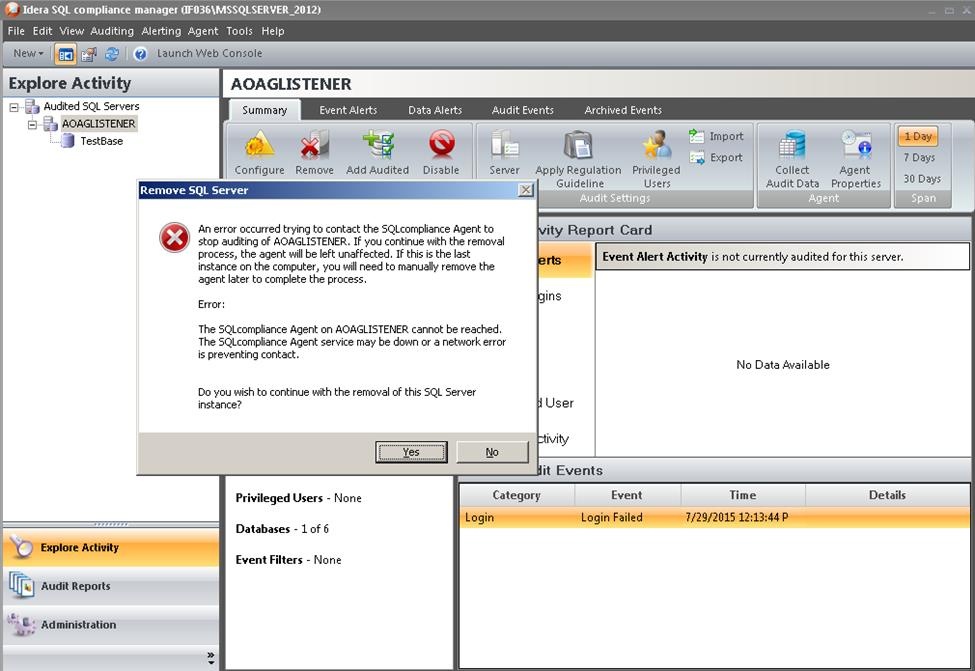
- Click Yes to confirm that you want to continue with removal of the instance.
- After removing the listener in SQL Compliance Manager,
- test
SQL Compliance Manager audits all activity on your server. Learn more > >