This procedure guides you through the installation of the IDERA Dashboard and SQL Workload Analysis.
Start your IDERA SQL Workload Analysis installation
You can install the IDERA Dashboard and SQL Workload Analysis on any computer that meets or exceeds the product requirements.
To start installing the IDERA Dashboard and SQL Workload Analysis:
- Log on with an administrator account to the computer on which you want to install SQL Workload Analysis.
- Run Setup.exe in the root of the installation kit.
- Click Next on the Welcome window of the setup program.

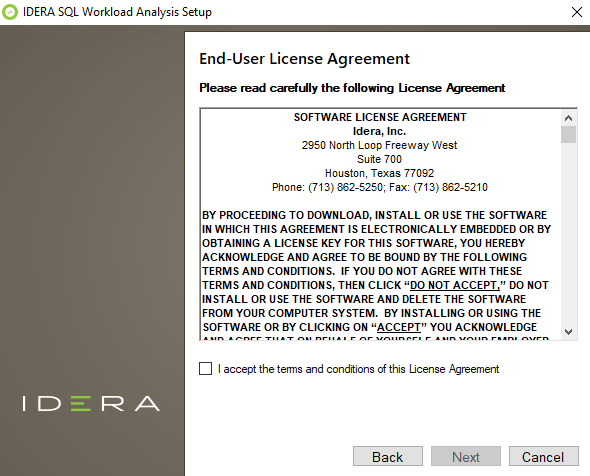
4. Review the license agreement. To accept this license agreement, click I accept the terms and conditions of this License Agreement, and then click Next.
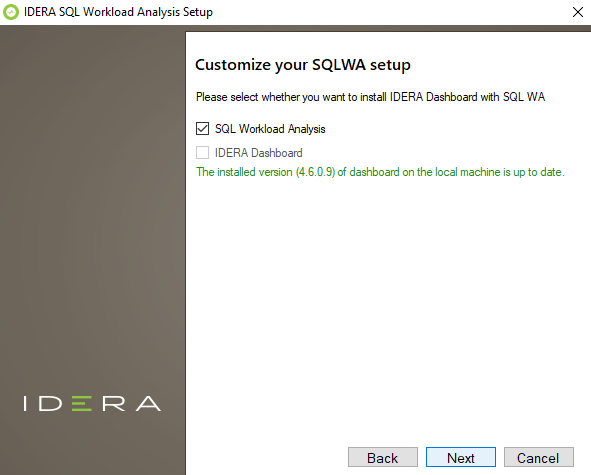
Select Products to install
By default both products (IDERA Dashboard & SQL Workload Analysis) are selected to be installed. You can choose to install only the IDERA Dashboard or only SQL Workload Analysis.
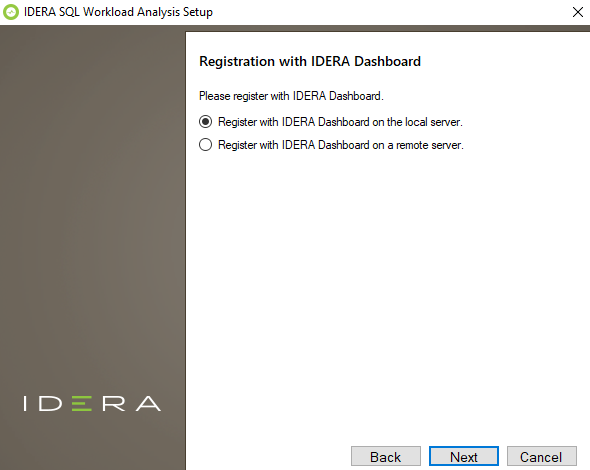
Select a registration option to install your IDERA Dashboard
You can select to install or upgrade your IDERA Dashboard on your local machine or on a remote server. If you have previously installed the IDERA Dashboard, provide the URL and the administrator credentials, and click Next.
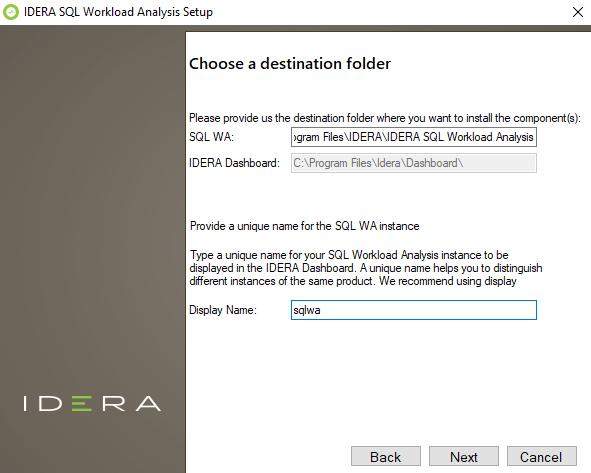
Select an installation location and type a display name for your instance
You can use the default install location or specify a different path. For your first install, we recommend using the default location for SQLWA and the IDERA Dashboard.
On the Display Name text box, type a unique name for your SQLWA instance, and click Next to continue with the installation.
Display name
The display name helps you to distinguish different instances of the same product.
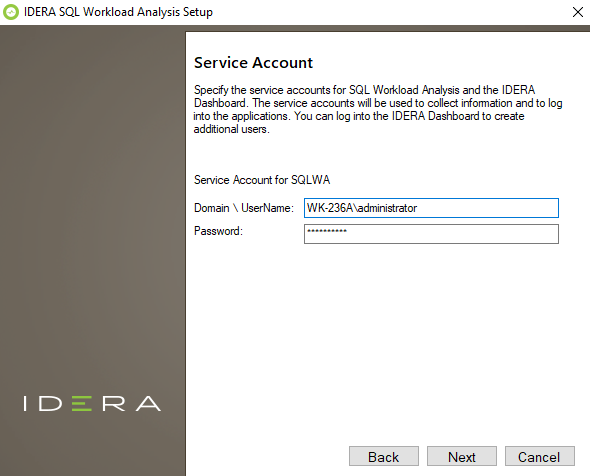
Select a Windows user account to use for the service account
SQL Workload Analysis uses the service account to communicate with the monitored SQL Server. The IDERA Dashboard uses this account to connect, discover, and gather configuration information from SQL Servers in your environment. The installer grants the "Log on as a Service" right to the account that you specify, you can also choose to use different Windows credentials for each of the products.
To specify a service account:
- On the Service Account window, type appropriate credentials in the provided fields under which the services run.
- Click Next. SQL Workload Analysis verifies the connection before continuing.
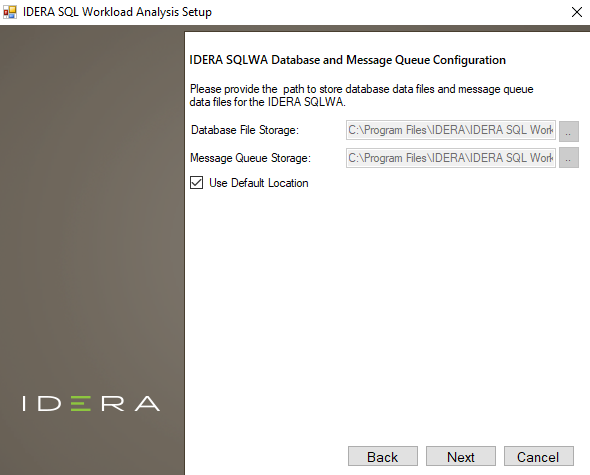
IDERA SQLWA Database and Message Queue configuration
To change the storage paths for the Database File and the Message Queue, first uncheck the Default Location, and enter the new storage paths.
Service Ports
The SQL Workload Analyzer services use the following ports:
- IDERA Framework Service Port: 20700
- IDERA SQLDB Service Port: 1433
- ActiveMq Message Queue Port: 20705
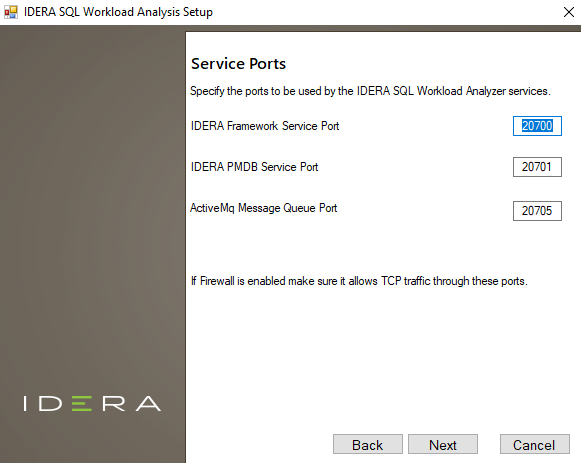
Verify that the Firewall allows TCP (Transmission Control Protocol) traffic through your specified ports.
Purge Schedule Details
Configure the schedule to run the purge process in SQL Workload Analysis. The Purge Schedule Details is set at 2:00 AM, every 2 weeks, on Sunday, by default.
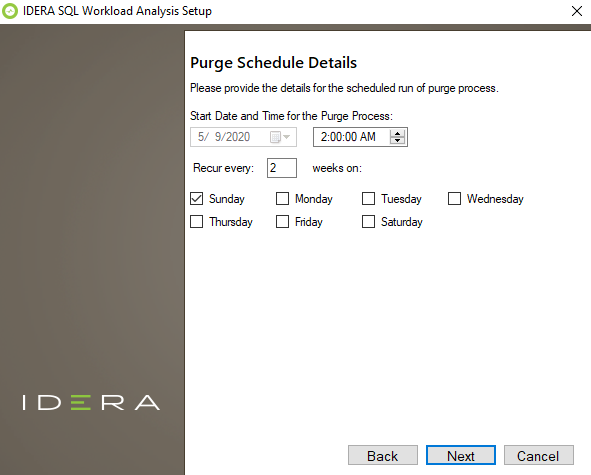
The purge process does not affect historical data that is visible to users. It is a cleanup utility to improve stability.
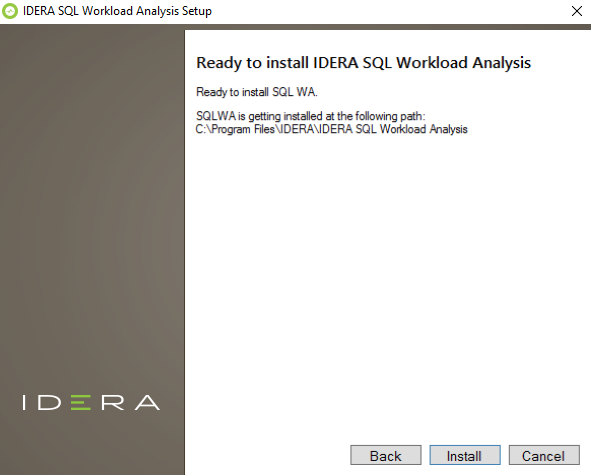
Complete the install
The setup will grant the provided accounts access to SQL Workload Analysis and the IDERA Dashboard. The user that installs the IDERA Dashboard has access to this application by default as a Dashboard Administrator. You can choose whether you want other users to have access to the IDERA Dashboard in the Administration view. Click Install to indicate that you are ready to complete your installation with the configurations you specified. If you want to review or change any of your settings, click Back.
To complete the SQL Workload Analysis, click Finish to exit the IDERA Dashboard Setup Wizard.
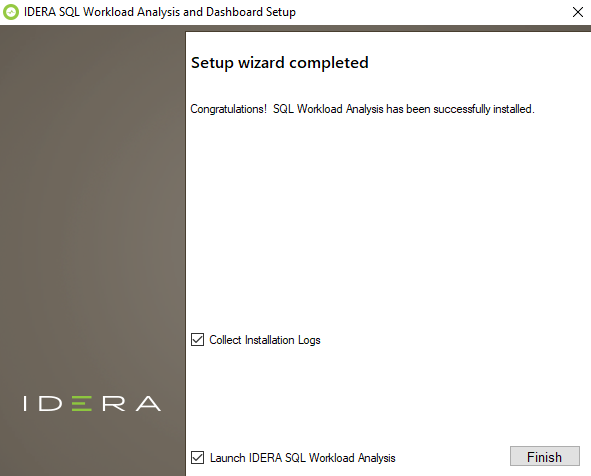
To access the IDERA Dashboard and the SQL Workload Analysis web console, see Log in the IDERA Dashboard and web console.
Uninstalling the IDERA Dashboard
If you wish to uninstall the IDERA Dashboard, make sure to unregister all products by clicking the Manage Products link of the Products widget in the Administration view. For additional information, see Managing products in the IDERA Dashboard.
IDERA | Products | Purchase | Support | Community | Resources | About Us | Legal