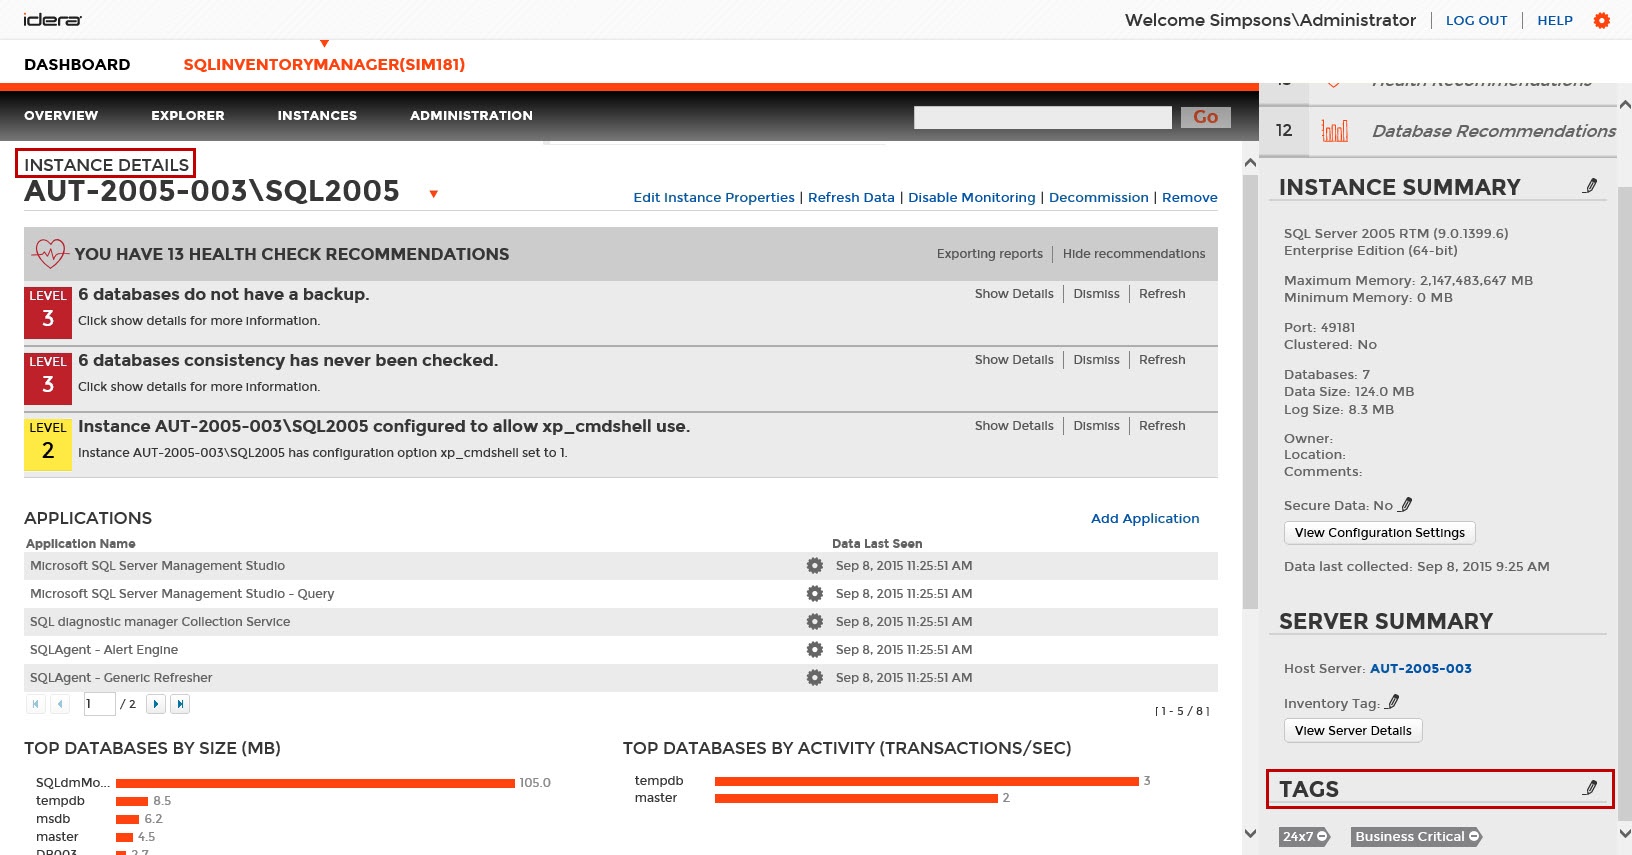
The Instance Details view allows you to manage tags for a specific instance. After accessing the Instance Details view for the instance you want to manage, click the pencil icon on the Tags section of the right sidebar.
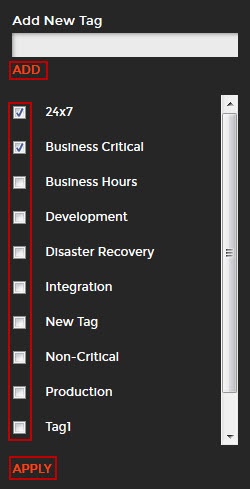
SQL Inventory Manager opens a window for managing the instance tags. On this window you can:
- Type the name of a new tag, and then click ADD. SQL Inventory Manager adds the new tag to the list. You can add several tags at once by separating each name with a semicolon ( ; ).
- Check or uncheck those tags you want to add or remove for this instance. Previously-added and newly-added tags are checked by default.
When you finish making your edits, click APPLY.
Tip
You can also remove tags by clicking the tag name on the sidebar without opening the Manage Tags window.
Warning
- The tag name must begin with an upper or lowercase alphanumeric character.
- Your tag name must have a maximum length of 20 characters.
Need more help? Search the Idera Customer Support Portal.